iPhone X SIM Card Reader Replacement
Prior to commencing any repair work, it is essential to disconnect the device entirely from all electrical power supplies.
- Necessary Tools:A Phillips head screwdriver is needed.
Consult the device's user manual for detailed information pertaining to your specific model and for supplementary safety guidelines.
Step 1 | SIM Card Reader
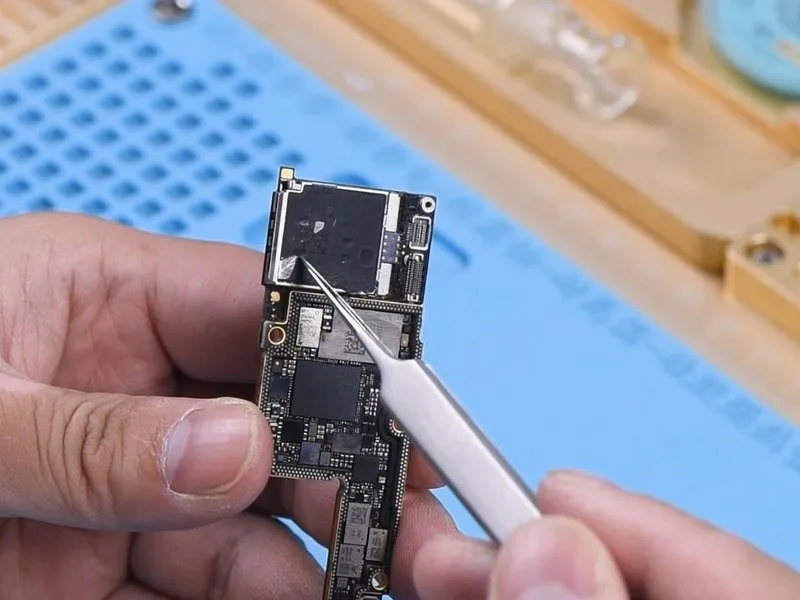

- TheSIM card readerDue to the iPhone X utilizing medium-temperature solder for the SIM card reader and low-temperature solder for the motherboard's internal layers, dislodging the motherboard prior to SIM card reader removal is advised.
- Additional integrated circuits are present on the SIM card reader assembly.
- A plastic component is situated centrally within the SIM card reader.
Step 2
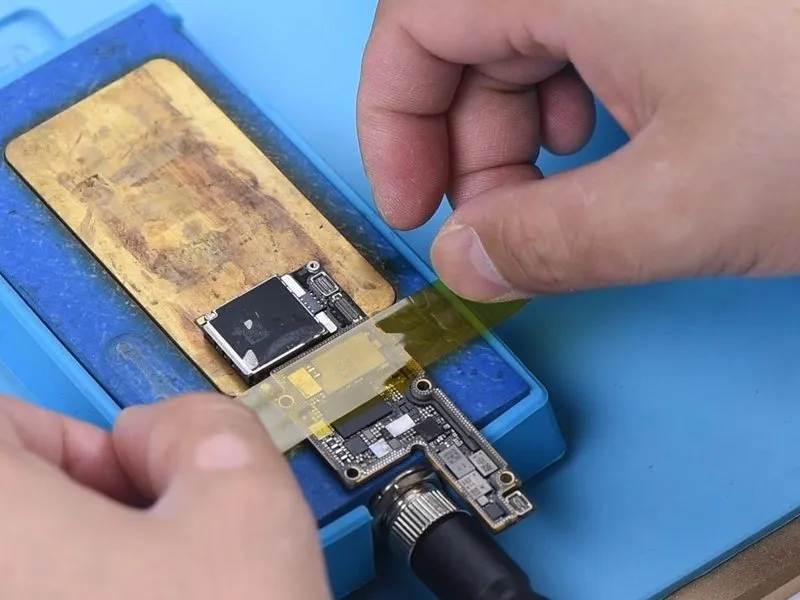

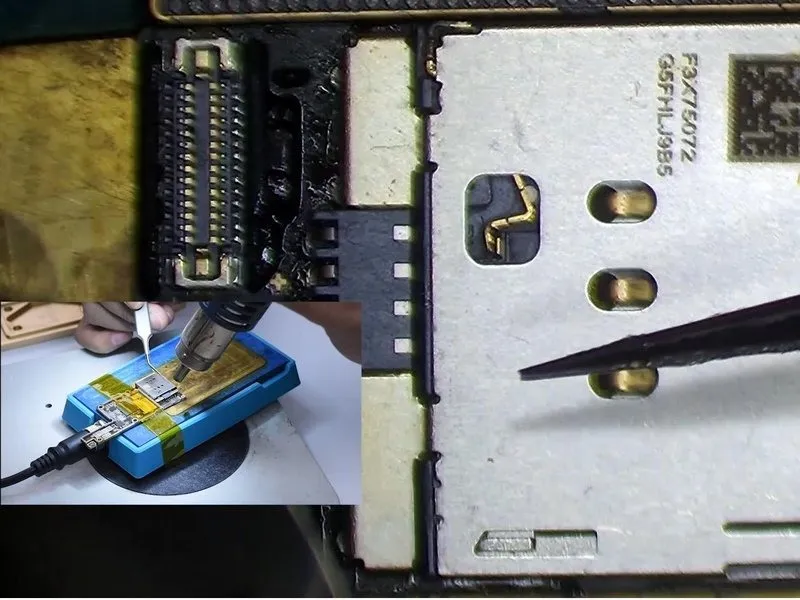
- While disassembling and soldering components, utilize rotational airflow to manage the temperature, and secure the motherboard to the PCB Holder.Apply heat using a Hot Air Gun, maintaining a temperature of 240°C and an airflow setting of 7.Remove the adhesive backing from the motherboard's rear surface.
- Position the motherboard onto the Heating Platform, focusing the heat solely on the SIM card reader area.
- Secure the motherboard in place with a high-temperature adhesive.Configure the Heating Platform's temperature to 200°C.Proceed with the next step.
- Employ a Hot Air Gun to heat the SIM card reader's perimeter, using a temperature of 280°C and an airflow of 7.Ensure precise temperature control during this process.This step is crucial for successful component removal and replacement.
Step 3

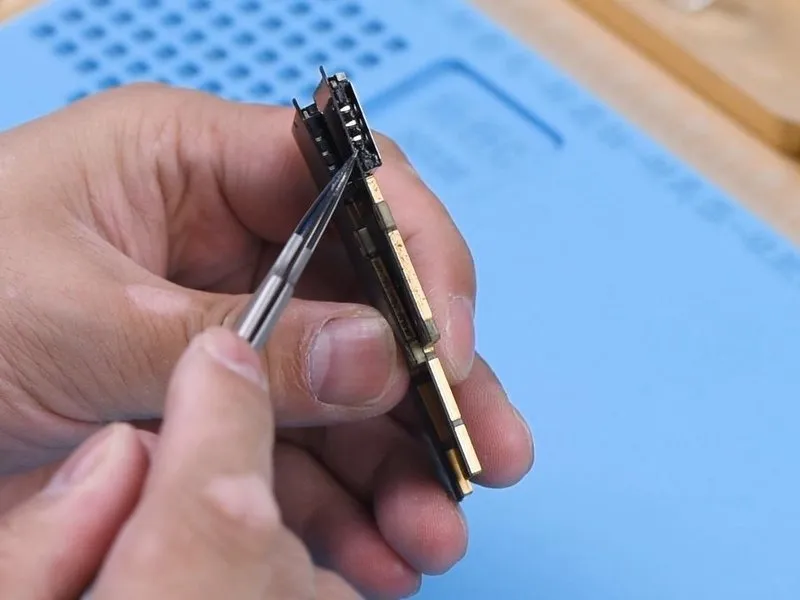
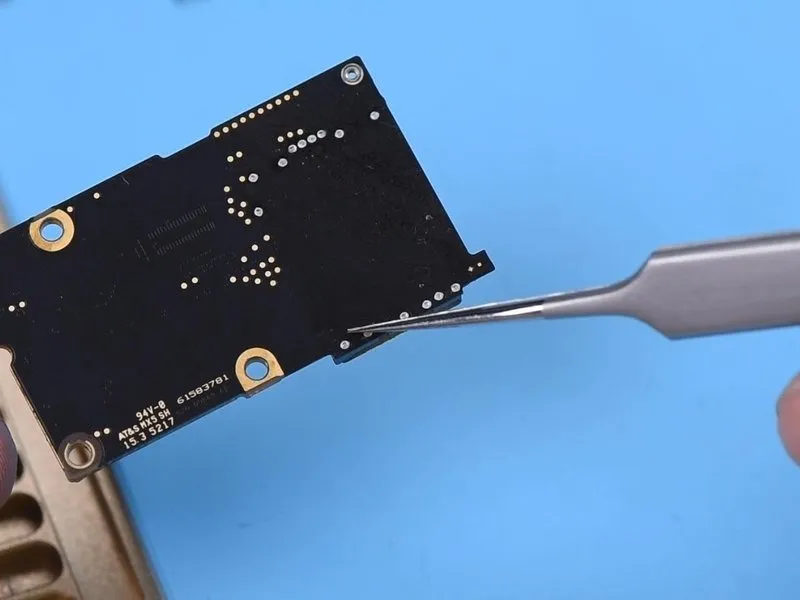
- Employ tweezers to manipulate the SIM card readerduring the heating process; detach the SIM card reader once it exhibits signs of releasing.
- It is essential to observe that the SIM card reader must be extracted in a strictly upright orientation.
- Preventing harm or incorrect placement of underlying parts near the SIM card reader, refrain from using tweezers to lever or force anything.
Step 4

- Following this, substitute the existing SIM card reader with a replacement unit, utilizing Paste Flux on the bonding area of the SIM card reader.
- Position the newly installed SIM card reader correctly within its designated space.
- Maintain a temperature of 200°C using the Heating Platform.
- Apply heat uniformly across the perimeter of the SIM card reader utilizing a Hot Air Gun set to 280°C with an airflow setting of 7.280°C and airflow 7.
- Apply slight pressure to the SIM card reader during the heating process, confirming that the SIM card reader makes firm contact with the printed circuit board.
Step 5

- Deactivate the electrical supply.
- Allow the motherboard to return to ambient temperature.
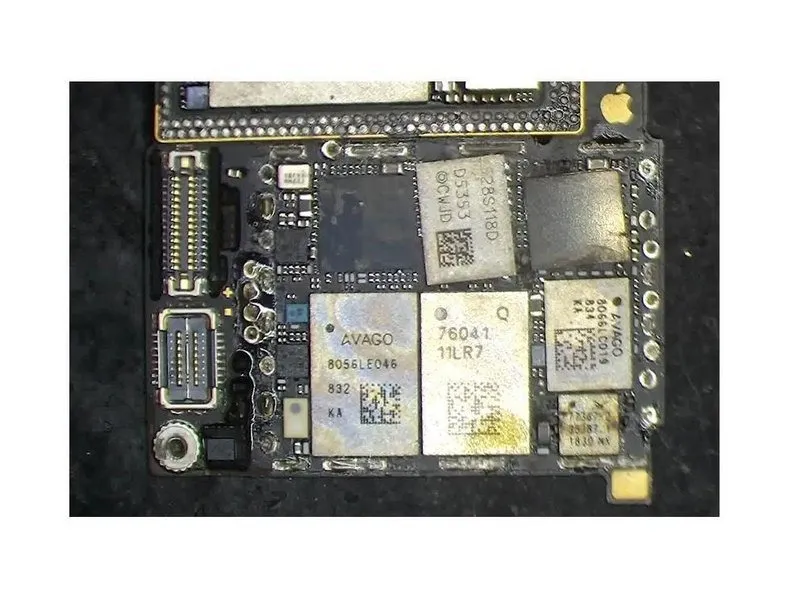
- Inspect the solder joints connecting the SIM card reader.
TheSIM card readerought to maintain firm contact with the printed circuit board. - Each solder connection needs to be free from any signs of false soldering; reapply solder using aSoldering Ironif any false soldering is detected.
- Adjust the temperature setting on theHot Air Gunbased on the surrounding conditions and the device manufacturer's specifications; the provided temperature is intended as a guideline only.