Desoldering & Soldering of iPhone X PMU
Prior to commencing any repair work, it is essential to disconnect the device from all electrical power supplies to guarantee safety.
- Necessary tools for this procedure include:A Phillips head screwdriver is needed.
Consult the device's user documentation for precise specifications related to your particular model and to understand further safety guidelines.
Step 1 | PMU
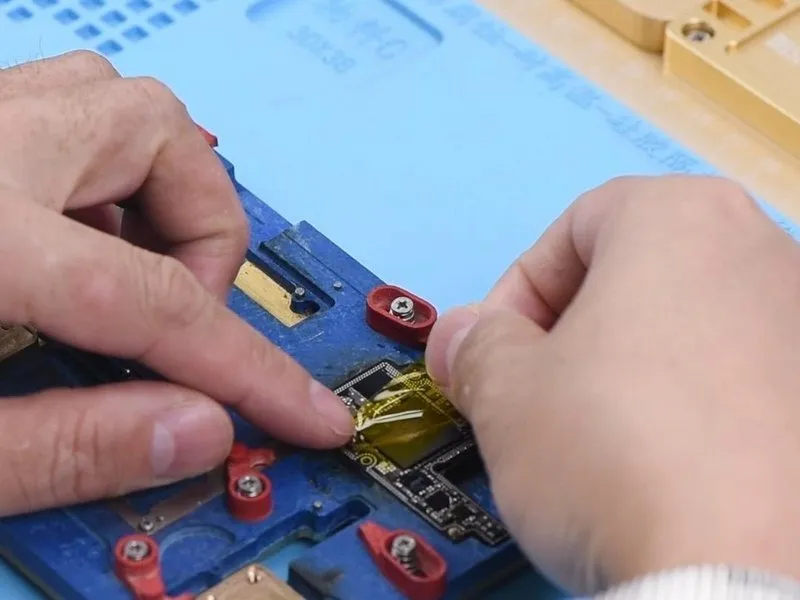
- Secure the motherboard's top section to the PCB Holder for stability.
- ApplyHigh-temperature Tapeto the areas surrounding sensitive components.
Step 2
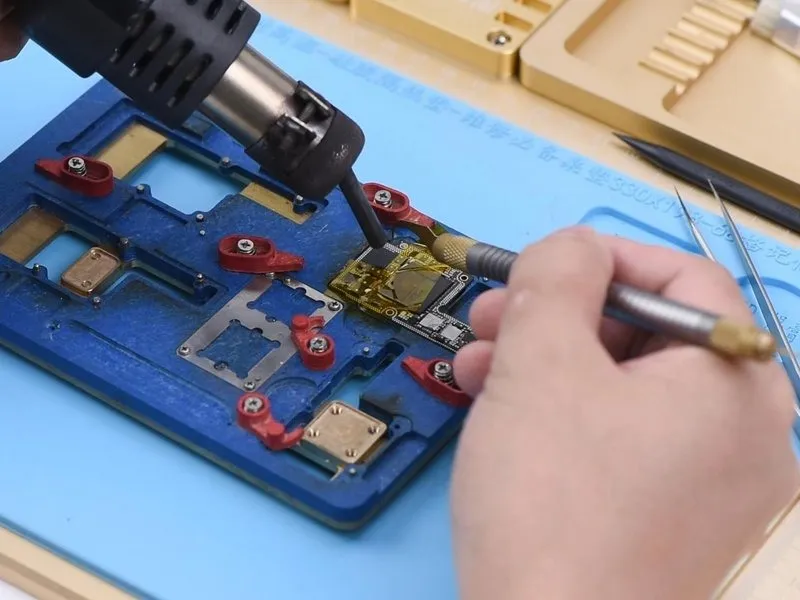
- Important considerations: Due to the proximity of sensitive components to the PMU, exercise extreme caution when removing the black adhesive to prevent accidental dislodgement of parts from the circuit board.
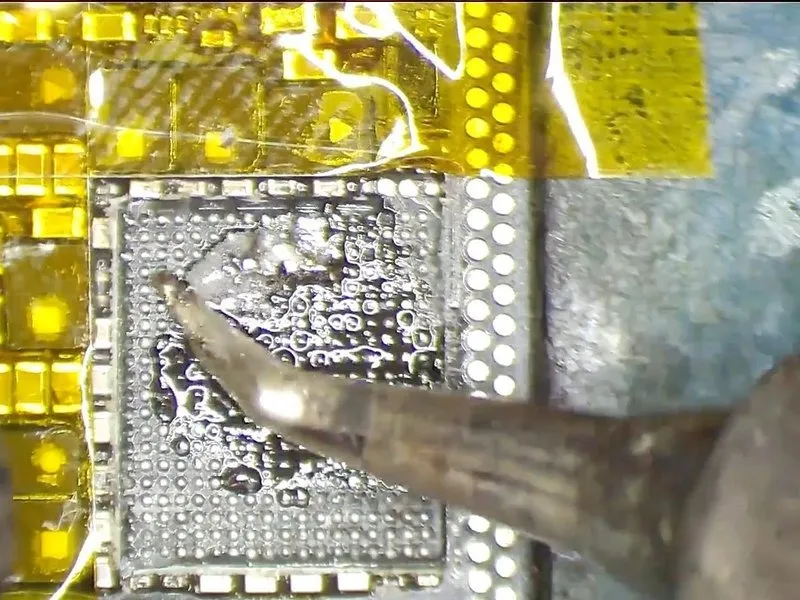
- Proceed with heating the PMU usinga Hot Air Gunset to a temperature of 330°C and an airflow rate of 5. Simultaneously, secure one lever of the tweezers to maintain stability. After a 15-second interval, as the solder begins to liquefy, swiftly lift the chip with the second lever.
- Critical note: Ensure precise timing when prying up the chip to avoid potential damage to the bonding pads.
Step 3
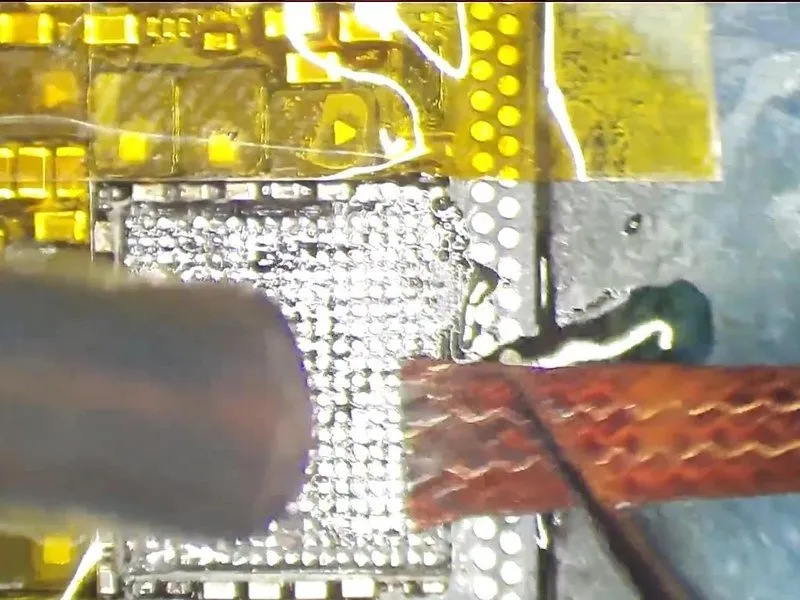
- Following this, the bonding pad requires cleaning; a moderate-temperatureSolder Pasteshould be applied to its surface. Utilize aHot Air Gunto provide heat at a temperature of 280°C. Simultaneously, employ aSoldering Ironset to 360°C to remove residue. Further cleaning can be achieved with
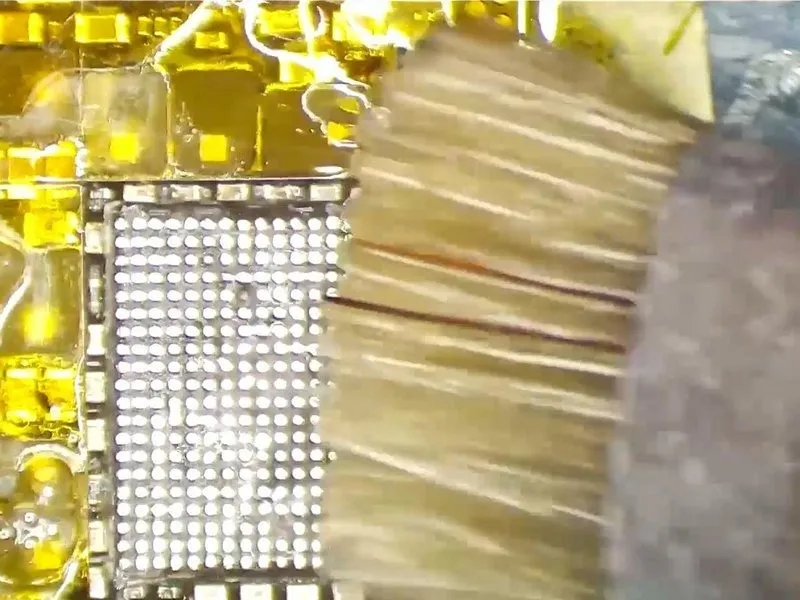
- Solder Wickthat has been saturated with rosin. Subsequently, usePCB Cleanerto ensure a thoroughly clean surface.
- Important note: During the cleaning process, bonding pads associated with unused pins may become dislodged from the circuit board; this is a typical occurrence and does not necessitate intervention.
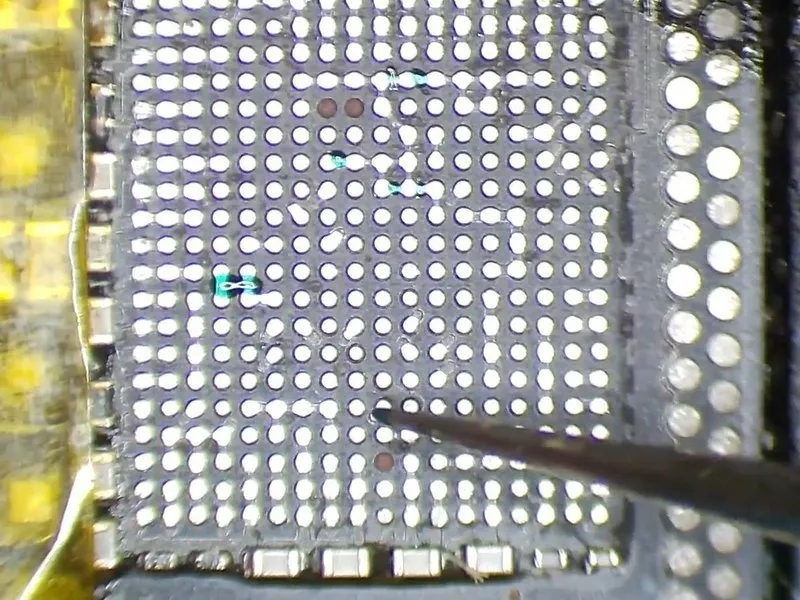
Step 4

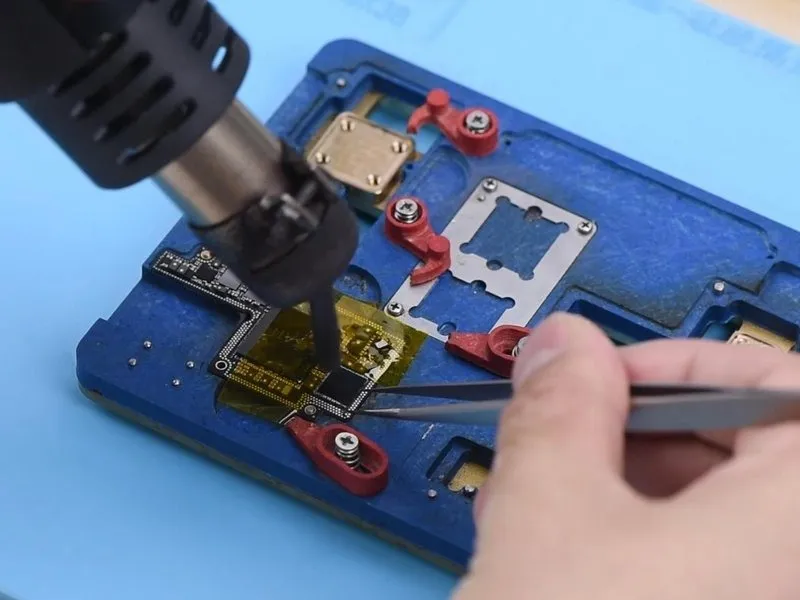
- Proceed with the removal of the dark adhesive material located on and immediately surrounding the bonding pad area.
- During the chip lifting process, surrounding components are frequently dislodged from the circuit board; therefore, the subsequent step involves re-soldering these detached parts. Initially, apply a layer of Paste Flux to the bonding pads. Subsequently, utilize a Soldering Iron.
- Carefully reposition the components. Following this, employ a Hot Air Gun set to a temperature of 330°C and an airflow rate of 3.
Step 5


- Prior to applying heat for soldering the component, a repeat cleaning of the contact area is essential.
- Following the cleaning process, utilize PCB Cleaner to ensure a pristine surface.
Step 6

Furthermore, during the removal of the black adhesive, portions of the insulation varnish coating the printed circuit board have detached, necessitating repair using UV Curable Solder Mask; a quantity should be retrieved using tweezers.UV Curable Solder MaskEmploying tweezers, dispense the UV Curable Solder Mask onto the bare regions of the board, subsequently employing a UV Dryer Lamp to cure the material for a duration of 5 minutes.
Step 7

- The next step involves soldering the PMU component.
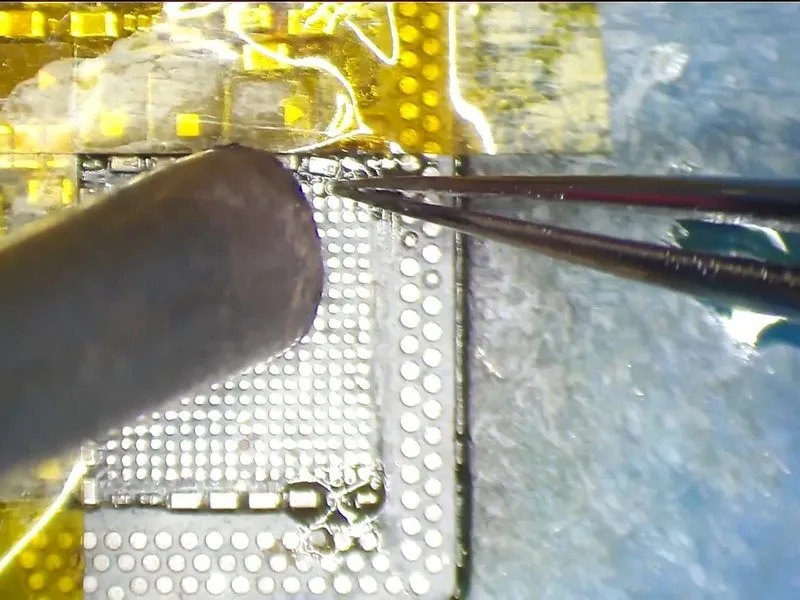
- Introduce a quantity ofPaste Flux onto the designated bonding pad.
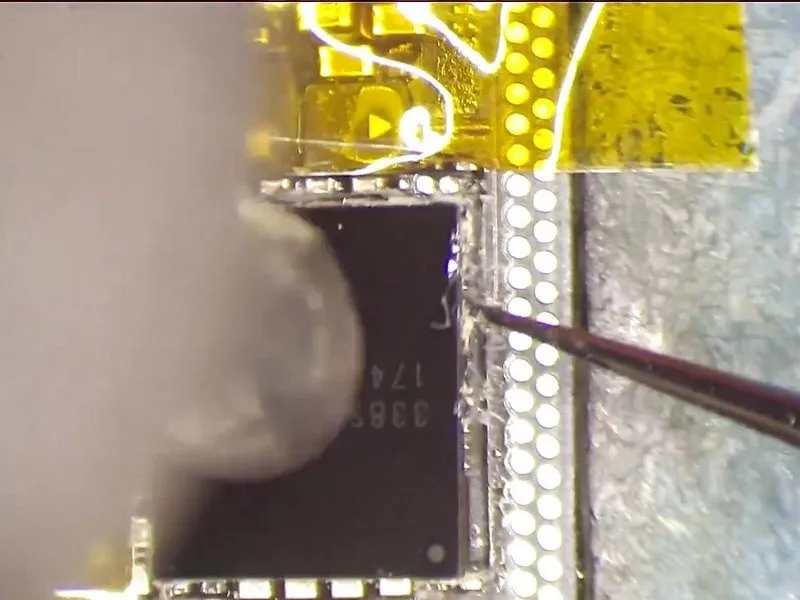
- Carefully position a replacement PMU, verifying correct orientation before proceeding.
- Utilize a Hot Air Gun, setting the temperature to 330°C and airflow to level 3, for a duration of 20 seconds to perform the soldering.
As the chip begins to melt and the Paste Flux spreads, maintain heat application for an additional 10 seconds. Allow a cooling period of 5 minutes for the upper layer to stabilize. Remove theHigh Temperature Tape and subsequently cleanse the area with PCB Cleaner. The iPhone X PMU soldering and desoldering process has been successfully finalized.