iPhone 7 Camera Cover Glass Replacement
Following these instructions, the camera cover glass on an iPhone 7 or 7 Plus can be exchanged with a reduced amount of component separation; however, exercise caution to prevent camera damage.
- Troubleshoot a malfunctioning iPhone 7 rear camera, provided the protective glass covering is intact.To replace the rear camera on an iPhone 7, you will need to perform the repair.To substitute the rear camera, consult this guide.
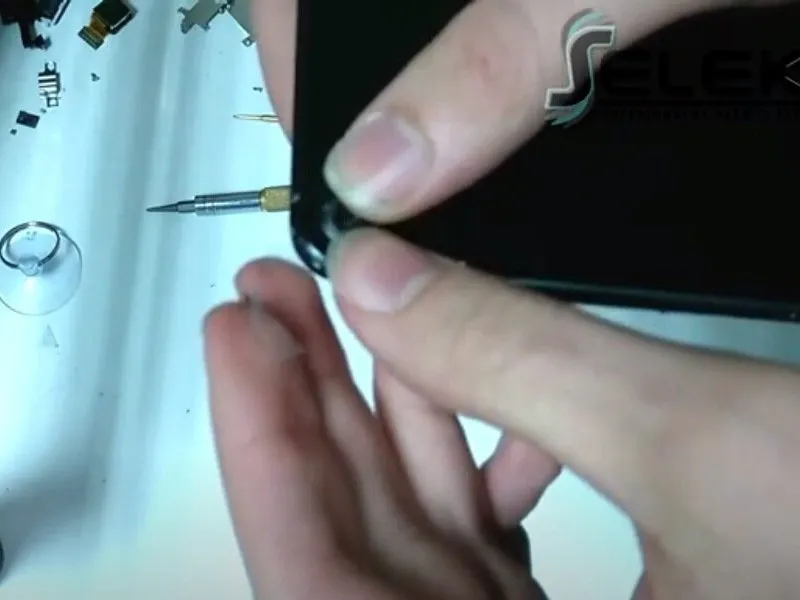
- To proceed, this guide details the process of replacing a damaged glass component with a "frameless" substitute; confirm you have obtained the appropriate replacement part before beginning.
- As an alternative, consult the documentation.A YouTube video demonstrates how to replace the glass lens covering the iPhone 7 camera..
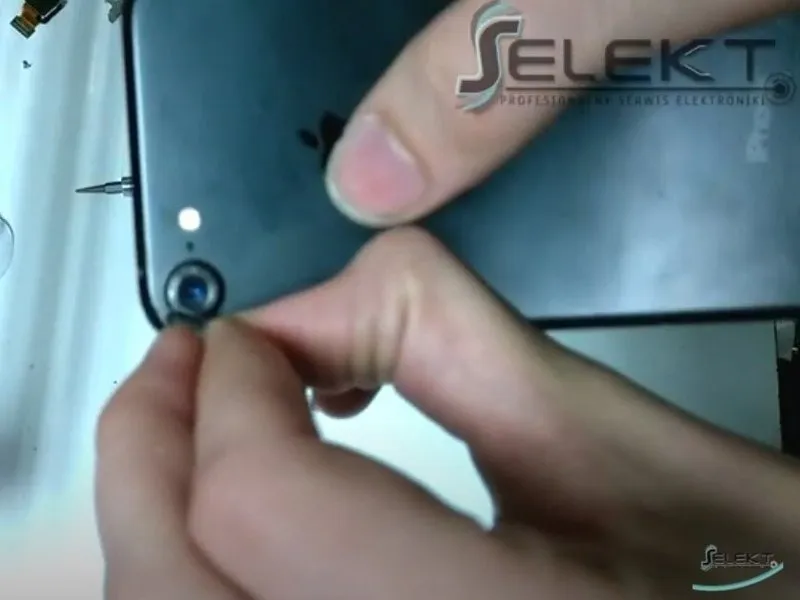
Step 1 | iPhone 7 camera lens glass replacement
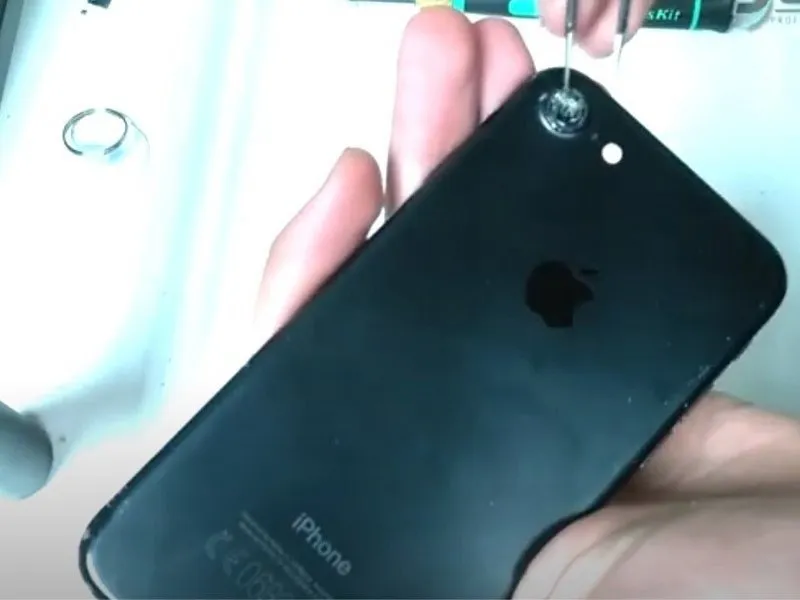
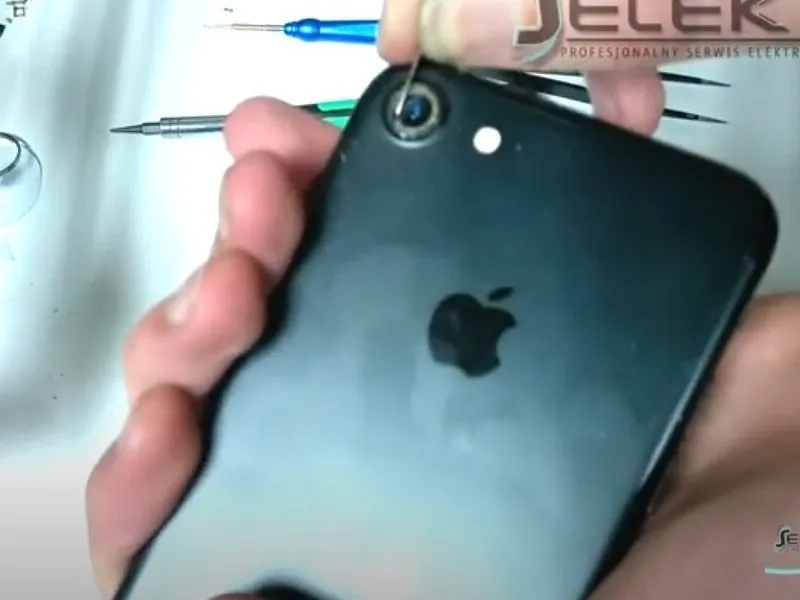
- Employ the specified tool to perform the action.Use tweezers to gently extract any fragments of shattered glass from the damaged camera cover.
- To avoid damaging the camera's lens, exercise extreme caution during glass removal, ensuring neither the fractured glass fragments nor your tweezers make contact with the lens surface; any scratches could impair the camera's focusing ability.
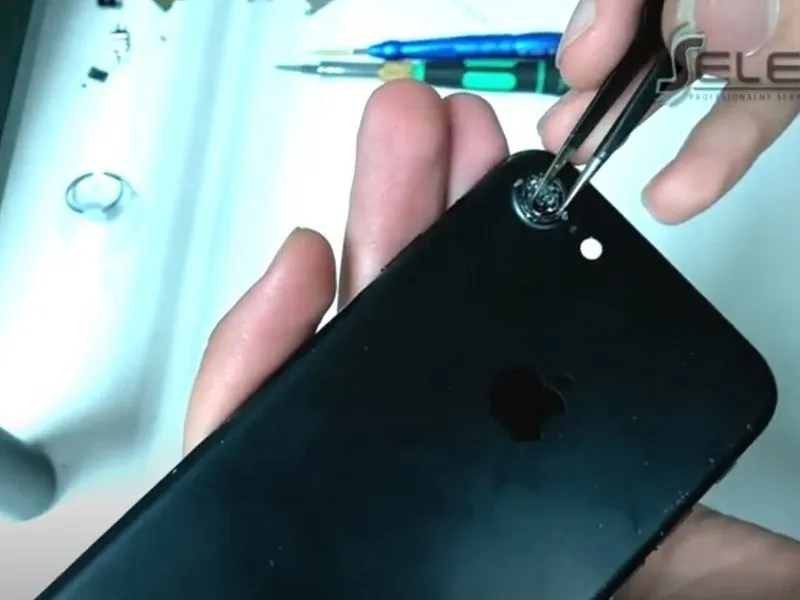
Step 2

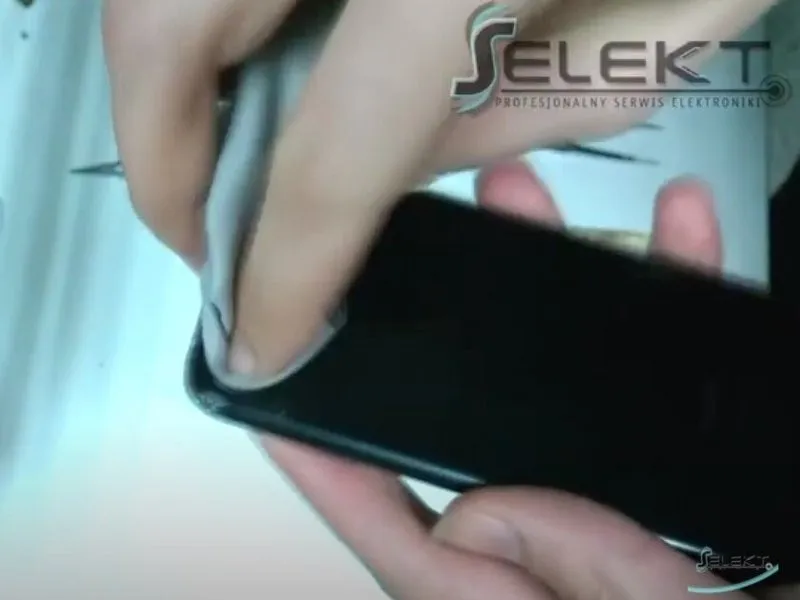
Employ the specified tool to perform the action.Use a soft cloth to carefully remove any small glass fragments from the camera lens.
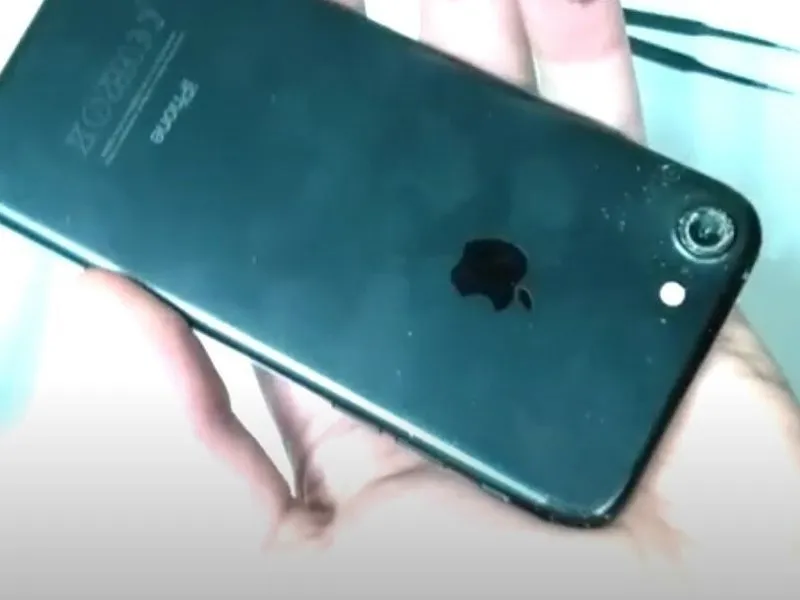
Step 3
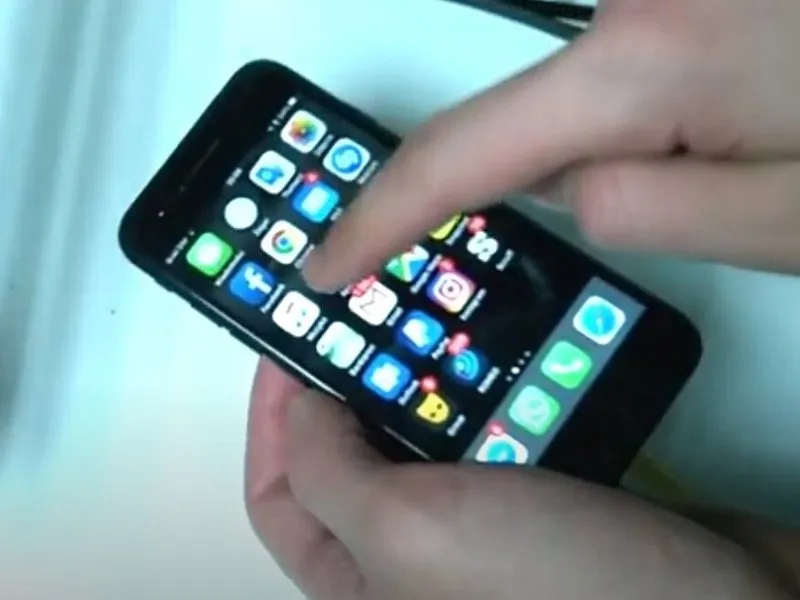
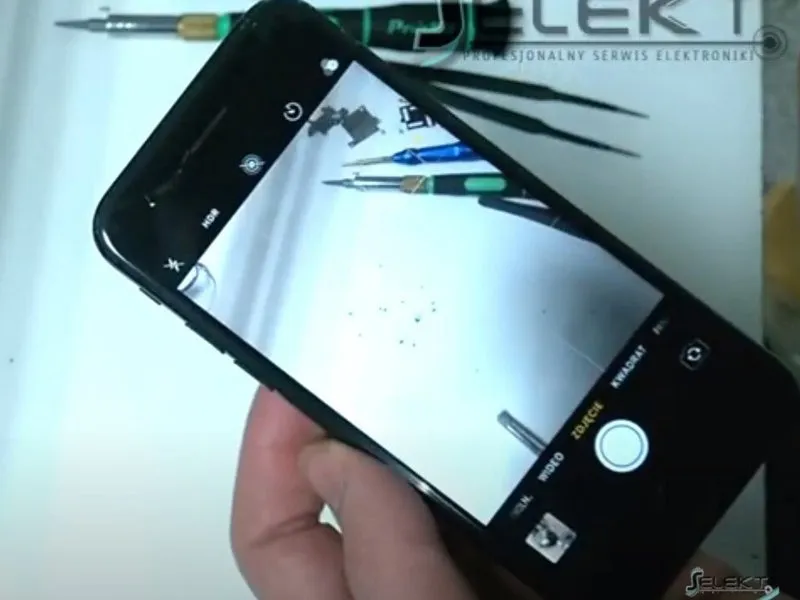
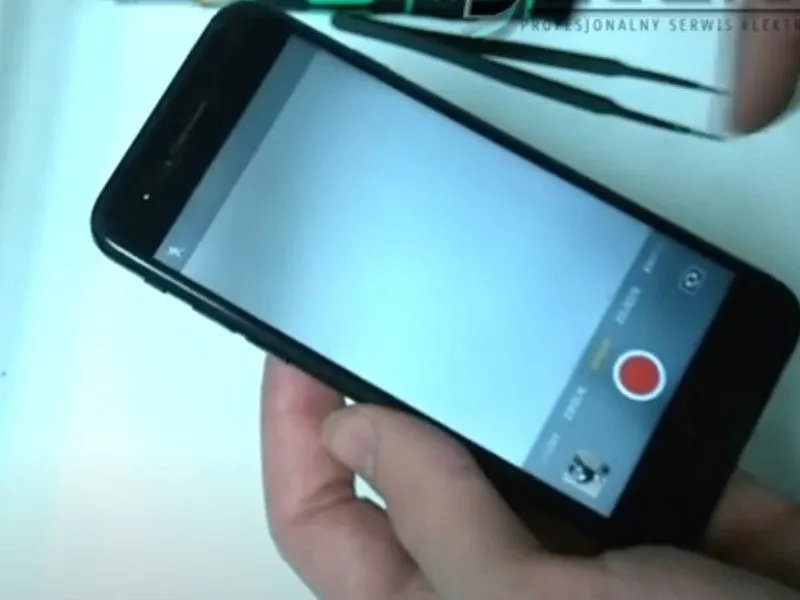
- Release the retaining mechanism.Launch the Camera application on the powered-on device.
- Verify camera functionality by confirming accurate focus and inspecting the lens for any remaining traces of cleaning agents.
- Persistent focusing issues with the rear camera may indicate remaining fragments of glass on the camera cover; meticulously extract any such pieces.
- Even after eliminating all fragments of glass, a failure to achieve proper focus suggests the lens surface might have sustained scratches.Employ the specified tool to perform the action.This guide details the procedure for substituting a new rear camera assembly into an iPhone 7.
Step 4
- Employ the specified tool to apply force, ensuring the measurement of 1.5 Newton-meters is achieved, and observe the warning regarding potential damage to the component if excessive torque is used.Use a paperclip to carefully dislodge any adhesive residue surrounding the camera lens.
- Employ the specified tool to perform the action.Use a soft cloth to wipe away any remaining adhesive residue.
Step 5

- Carefully position and secure a replacementProtect the camera lens with the cover.Secure it in place.Apply a silicone adhesive..
- Avoid excessive application.Use a bonding agent.Ensure the camera cover is properly aligned; excessive contact is unacceptable.Use a bonding agent.Application of the adhesive can potentially block the camera lens.
- Apply light pressure to the recently fittedProtect the camera lens with the provided cover.Ensure the cover is firmly affixed.