iPhone 6s Display Teardown
This iPhone model incorporates a Force 3D Touch display, prompting a more detailed examination of the front panel than previously undertaken in iPhone teardowns.
To illustrate the intricacies of the Retina HD display assembly's design, we will perform a complete disassembly, examining each component individually. Please note that this procedure is intended for demonstration purposes only; due to the display's fused construction, attempting repair and reassembly requires professional expertise and specialized tools, and a repairability score will not be provided.
- Stay updated by subscribing to our channel.Meta Platforms, Inc.,Use the provided Instagram application on a compatible mobile device to access and manage your account, ensuring your device meets the minimum system requirements of iOS 11.0 or Android 5.0 and that you have a stable internet connection.Using a 5/32-inch hex key, carefully tighten the retaining screw to a torque of 4.5 Nm, ensuring the sensor remains securely positioned and avoiding damage to the threads.Carefully loosen the four 3.5mm Phillips head screws securing the rear case, then gently separate the case from the chassis, being mindful of the ribbon cable connecting it to the main board, and avoid applying excessive force to prevent damage.To accompany and support all technical procedures.
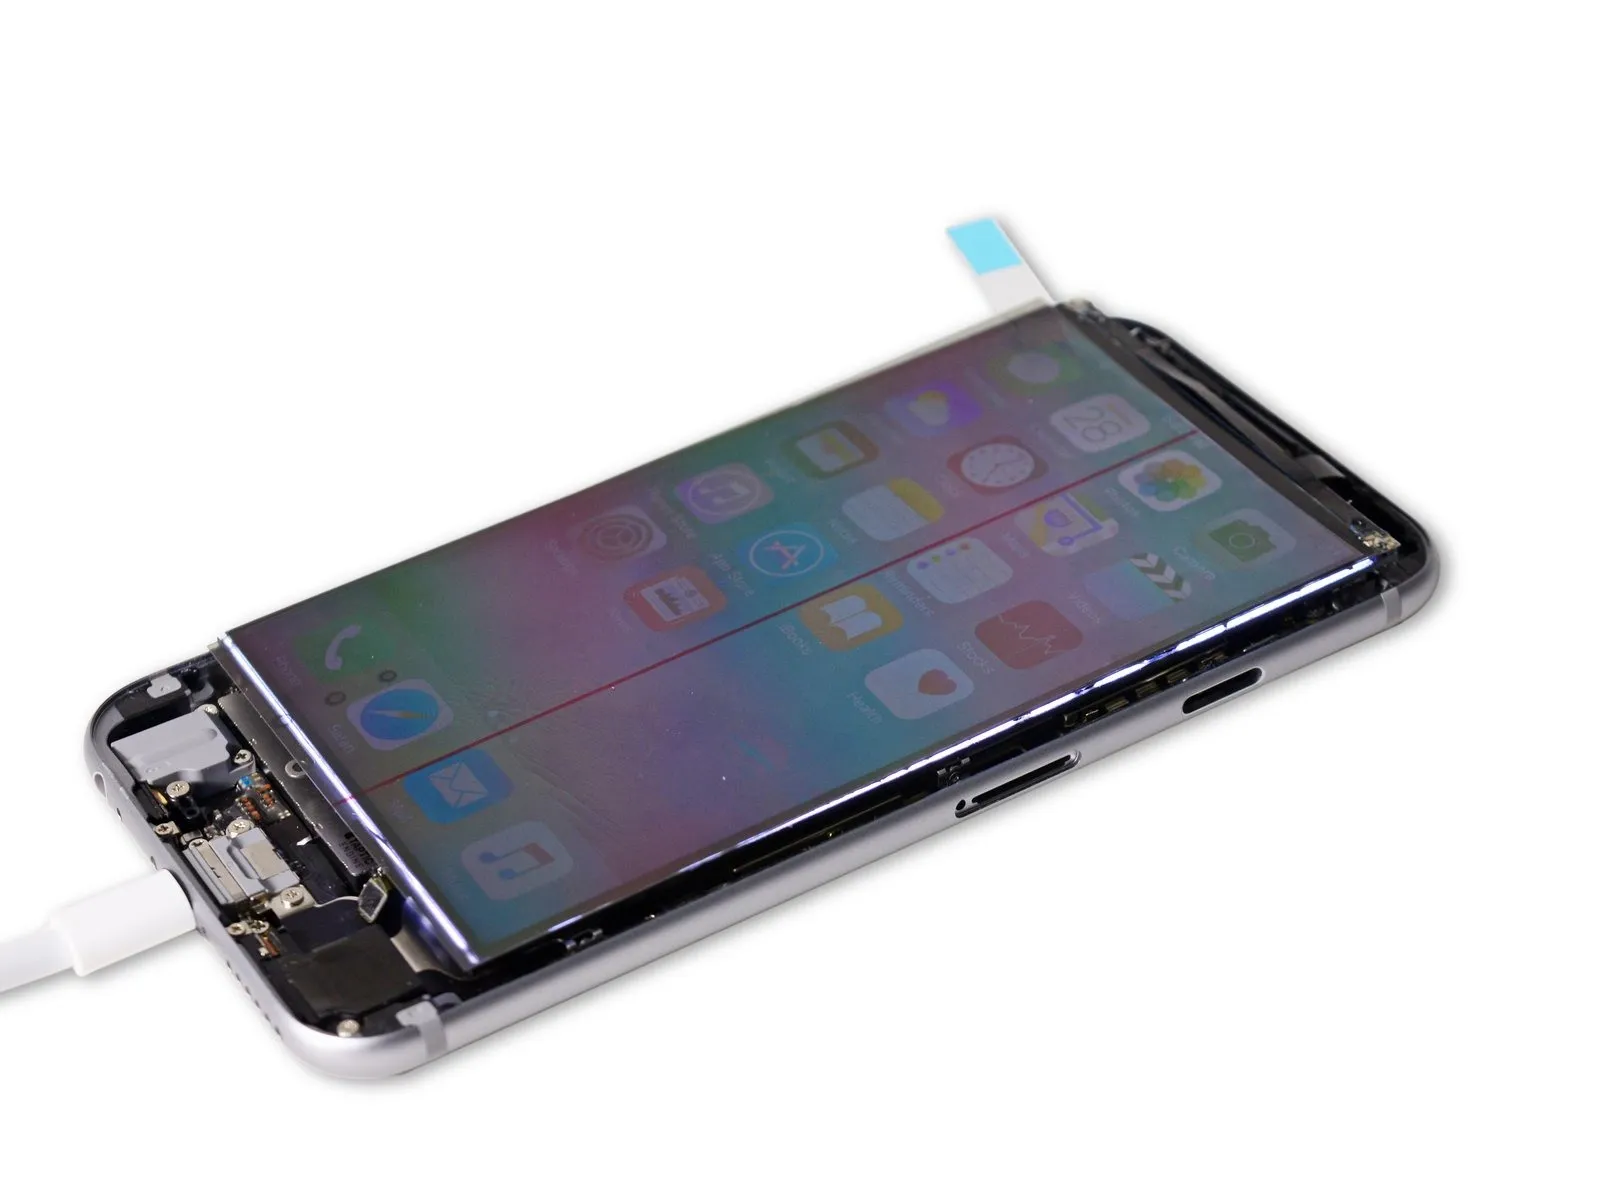
Step 1 | iPhone 6s Display Teardown

- A three-dimensional touch feature is enabled by aThe component responsible for detecting proximity utilizes capacitive sensing technology.
- The cover glass utilizes a dual ion-exchange process to achieve flexibility.
- The display measures 4.7 inches diagonally and has a resolution of 1334 by 750 pixels.Resolution is 326 pixels per inch.The display panel is a Retina HD model.
- Combining multiple components into a single unit.Apply gentle pressure to the display surface to activate the touch-sensitive layer.
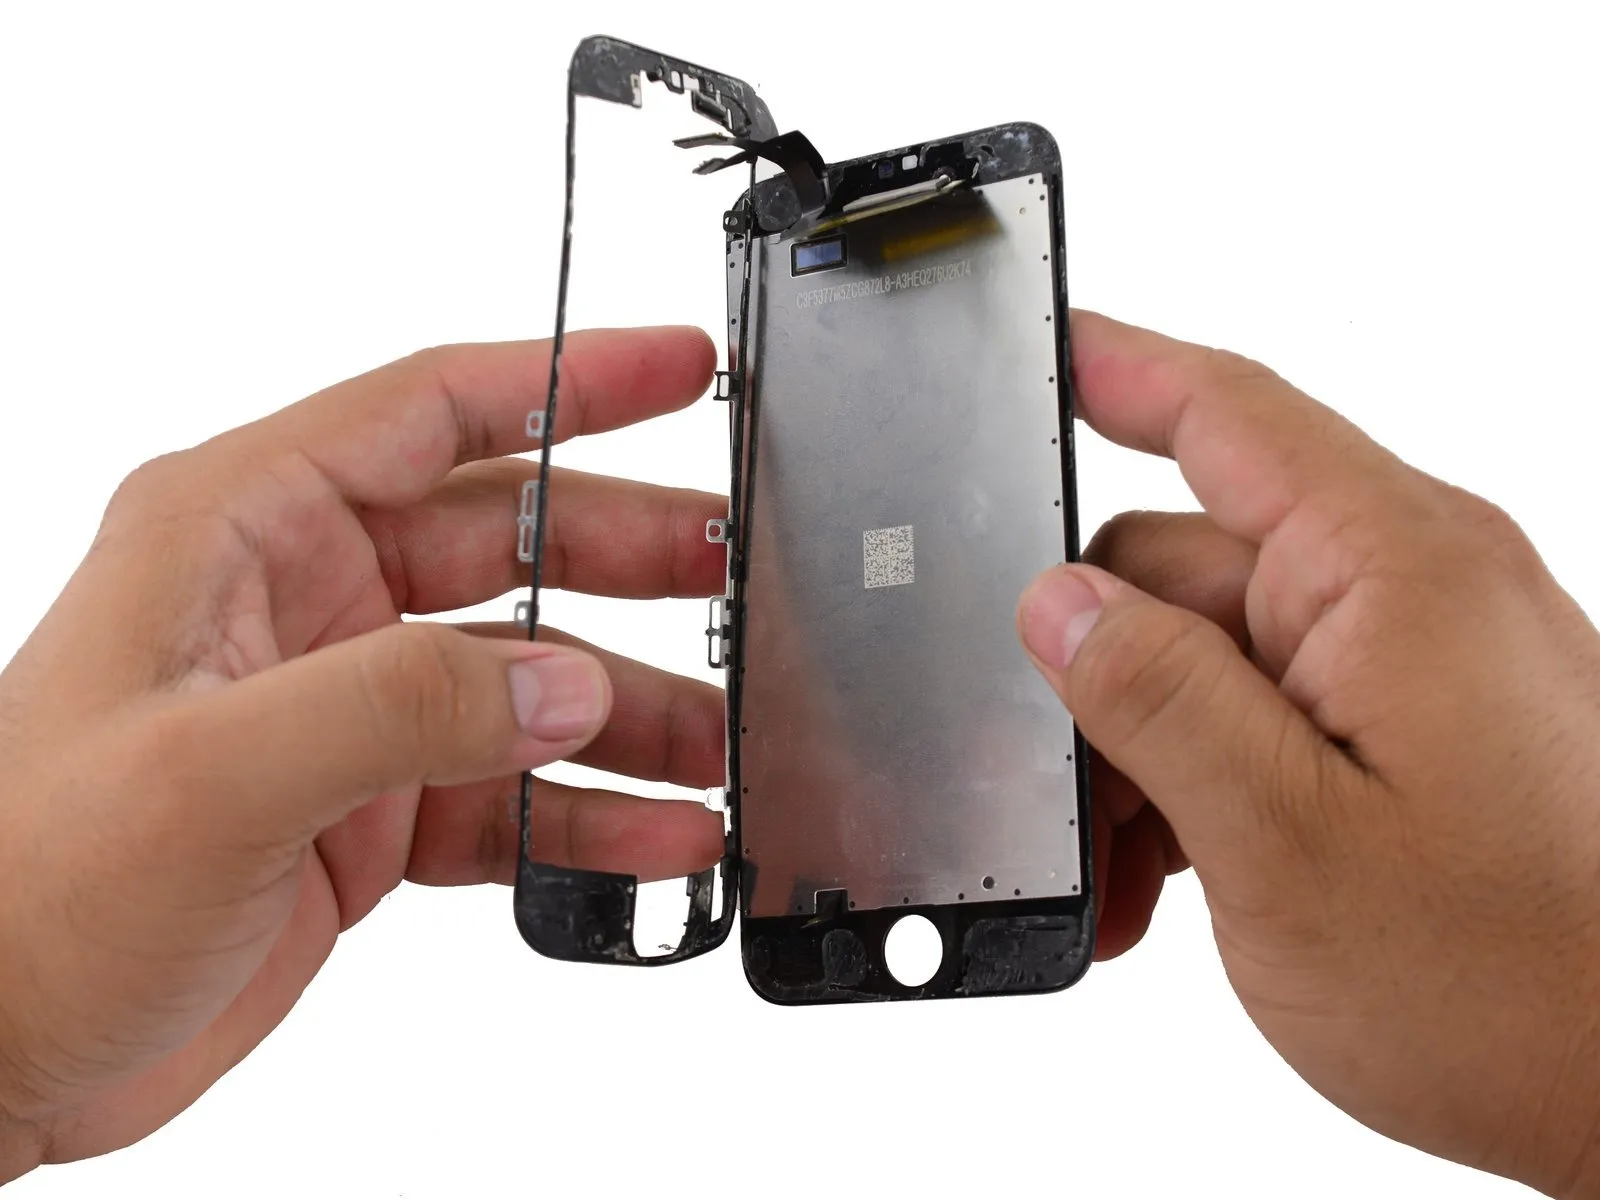
Step 2
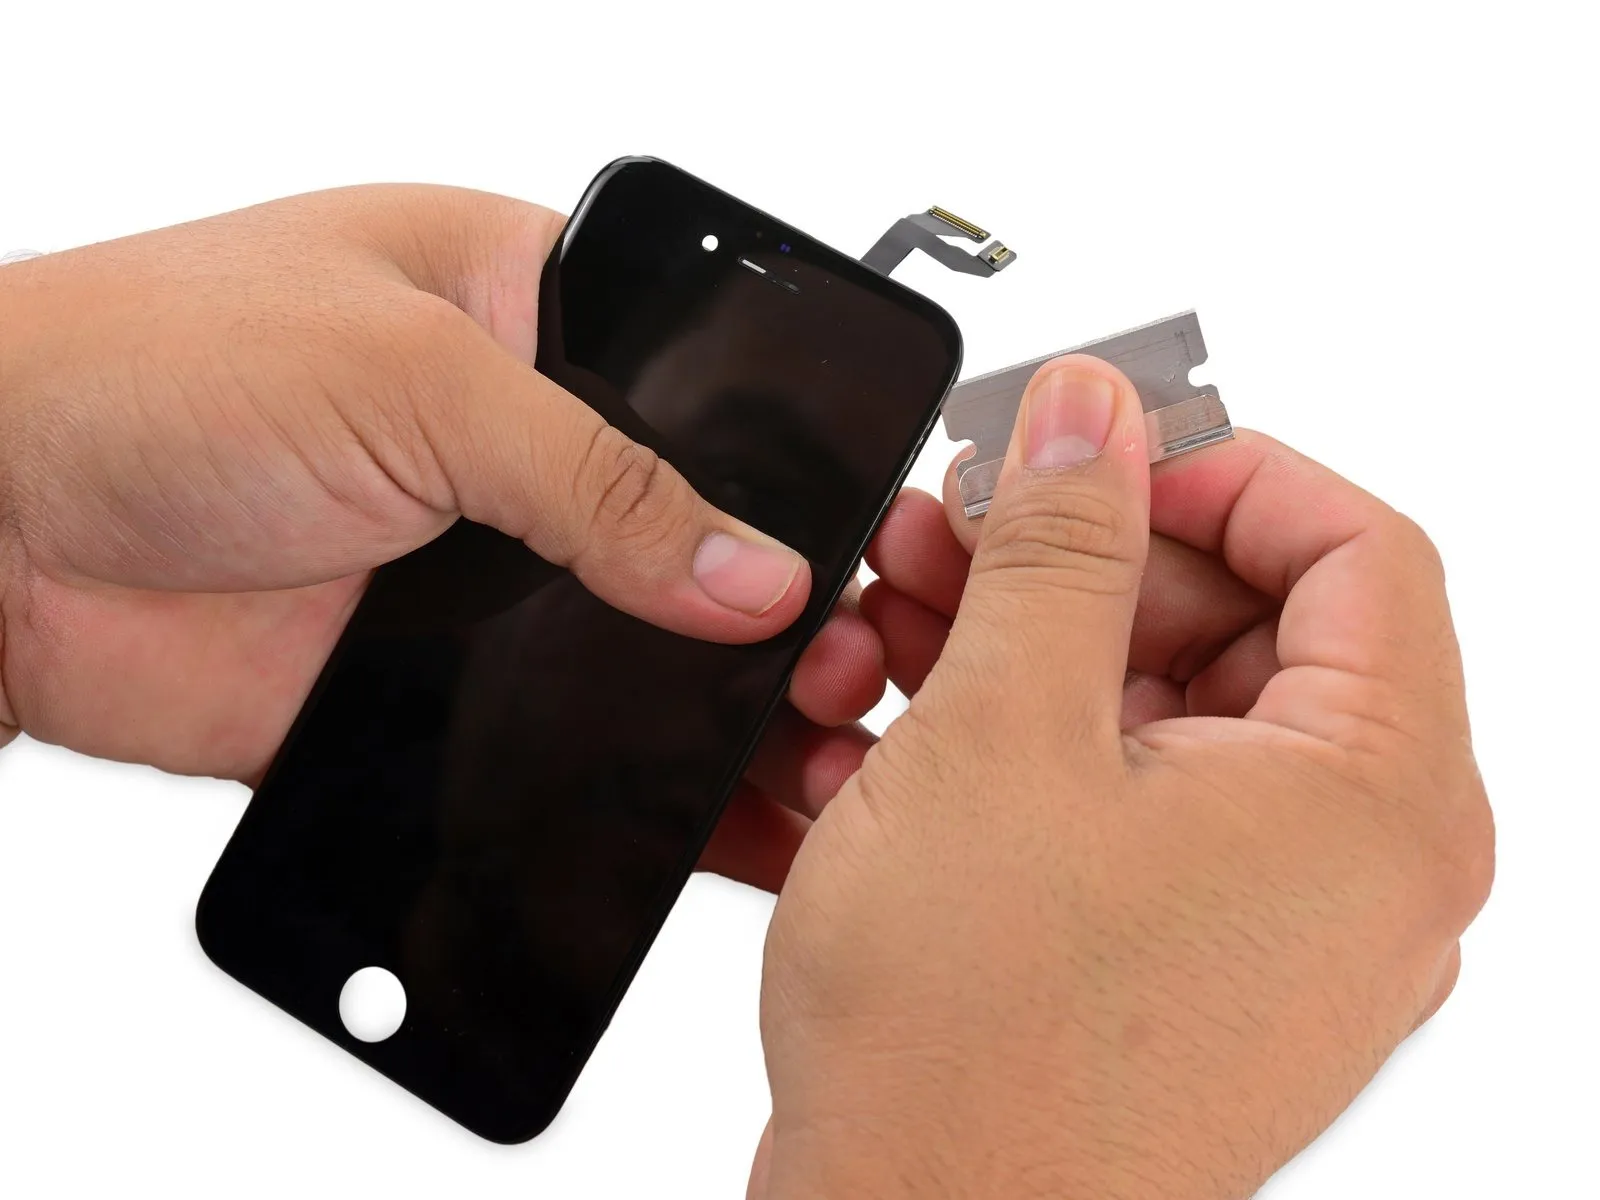
- Begin by detaching the plastic component that holds the display’s securing clips in place; this frame connects the display assembly to the iPhone’s chassis.
- To restore the frame, technicians typically excise the narrower sections on the left and right sides, retaining the upper and lower segments which remain adhered to the glass.
- Using a cutting tool, detach the plastic mounting frame from its surroundings by carefully severing it along its outer edges.
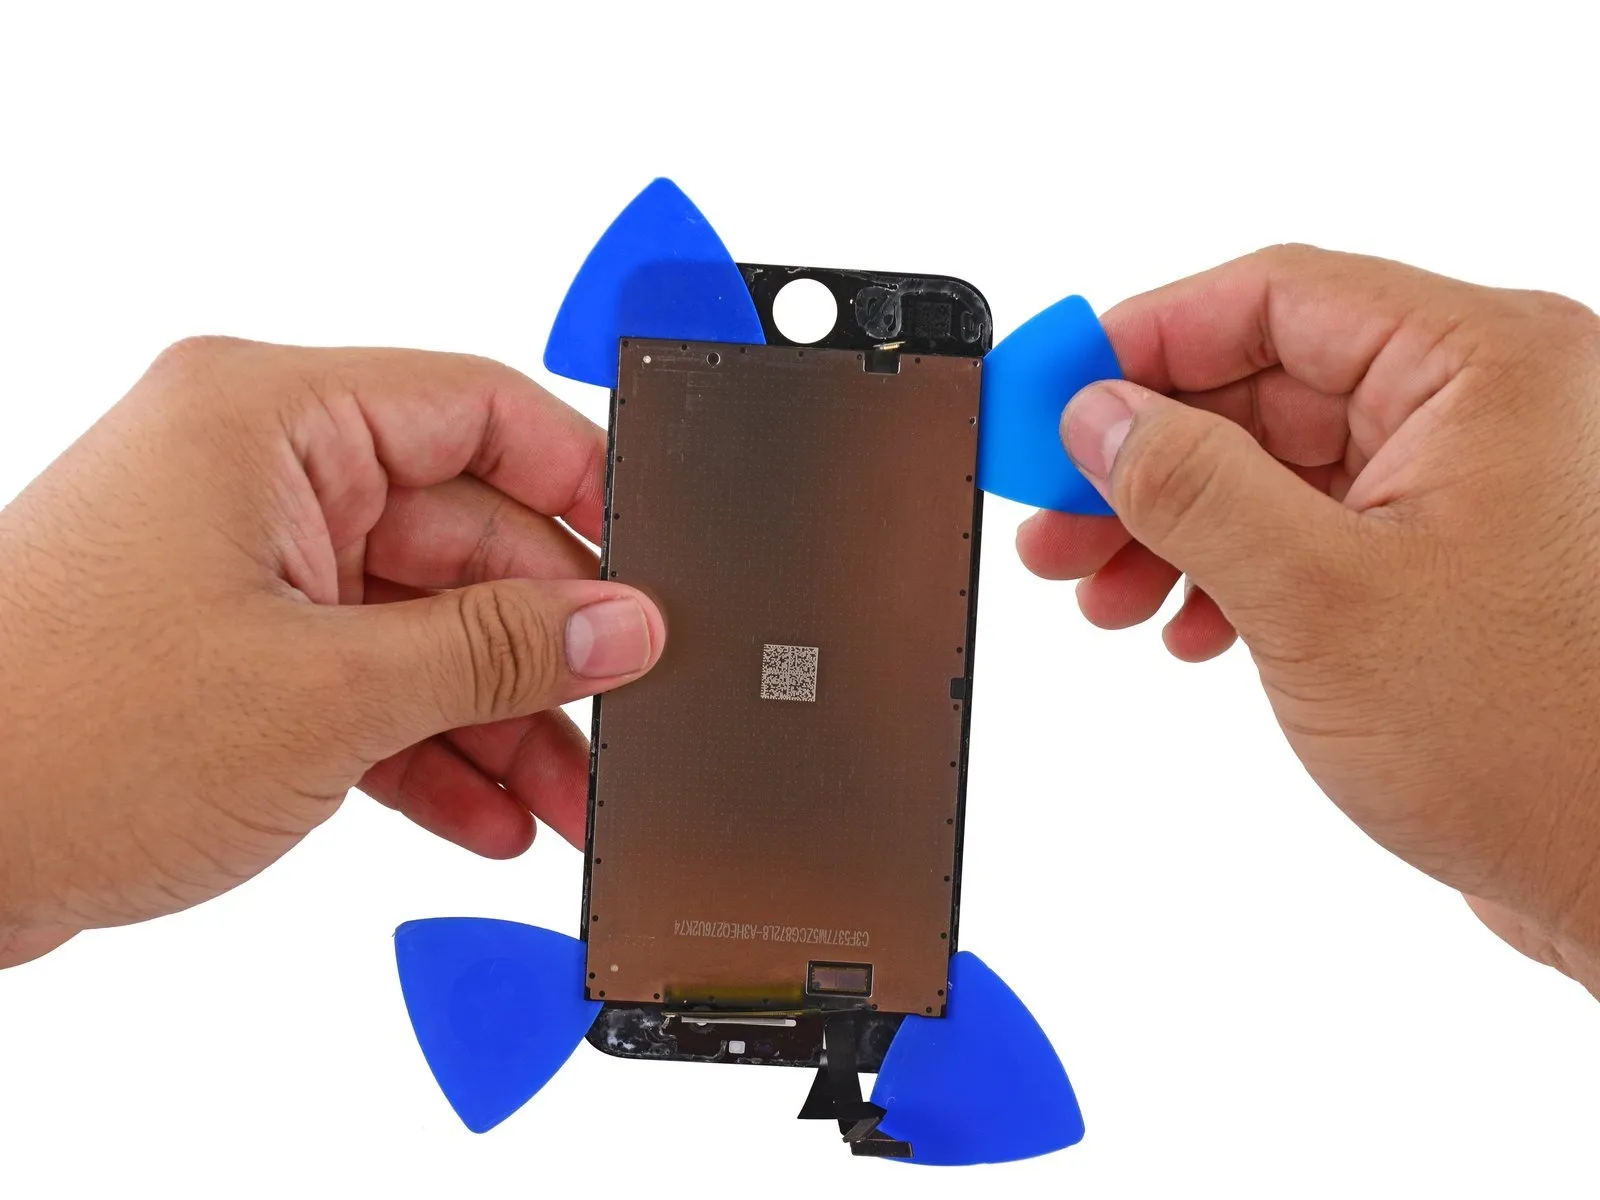
Step 3
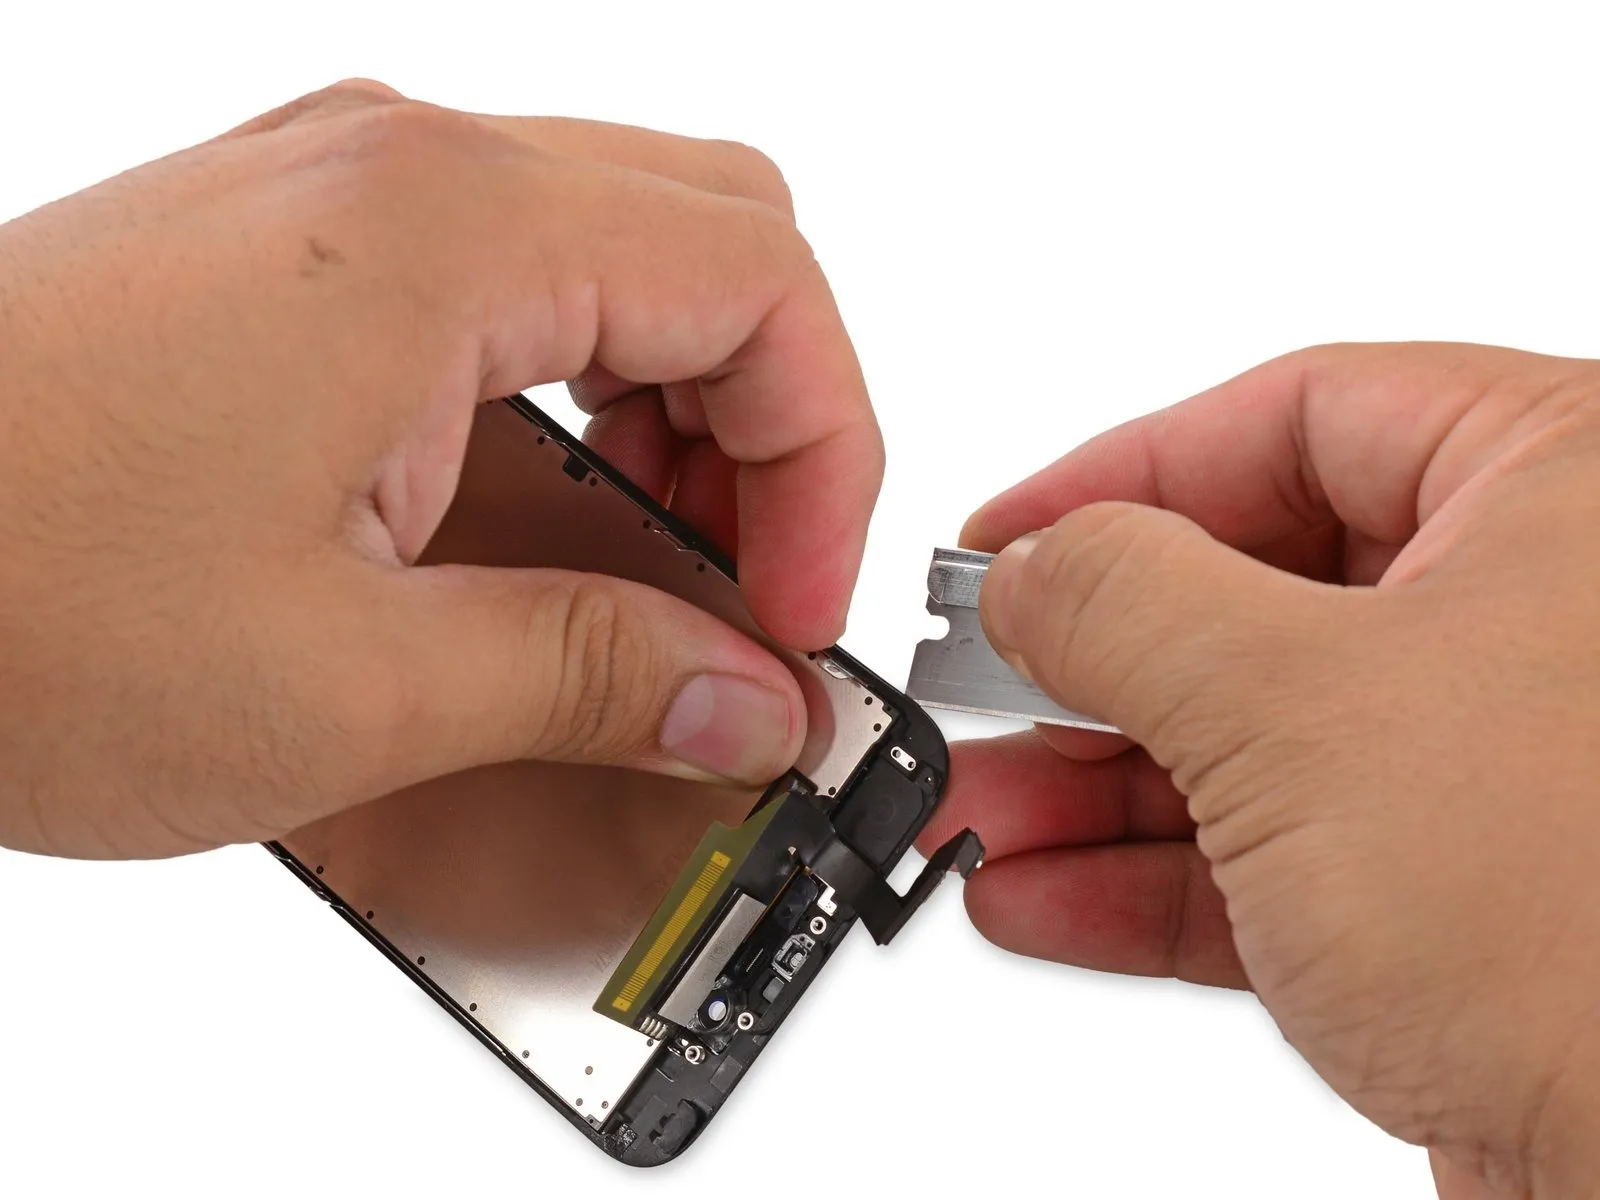
- Carefully detach the mounting frame from the front panel by employing a combination of precise cutting, localized heating, and meticulous effort.
- Previously, on older iPhone models, these clips served as the sole fasteners holding the display assembly in place against the device's frame.
- During a recent iPhone 6s disassembly, a novel adhesive gasket was found to be bonding the display assembly to the device’s frame, a design feature that enhances the iPhone’s water resistance.
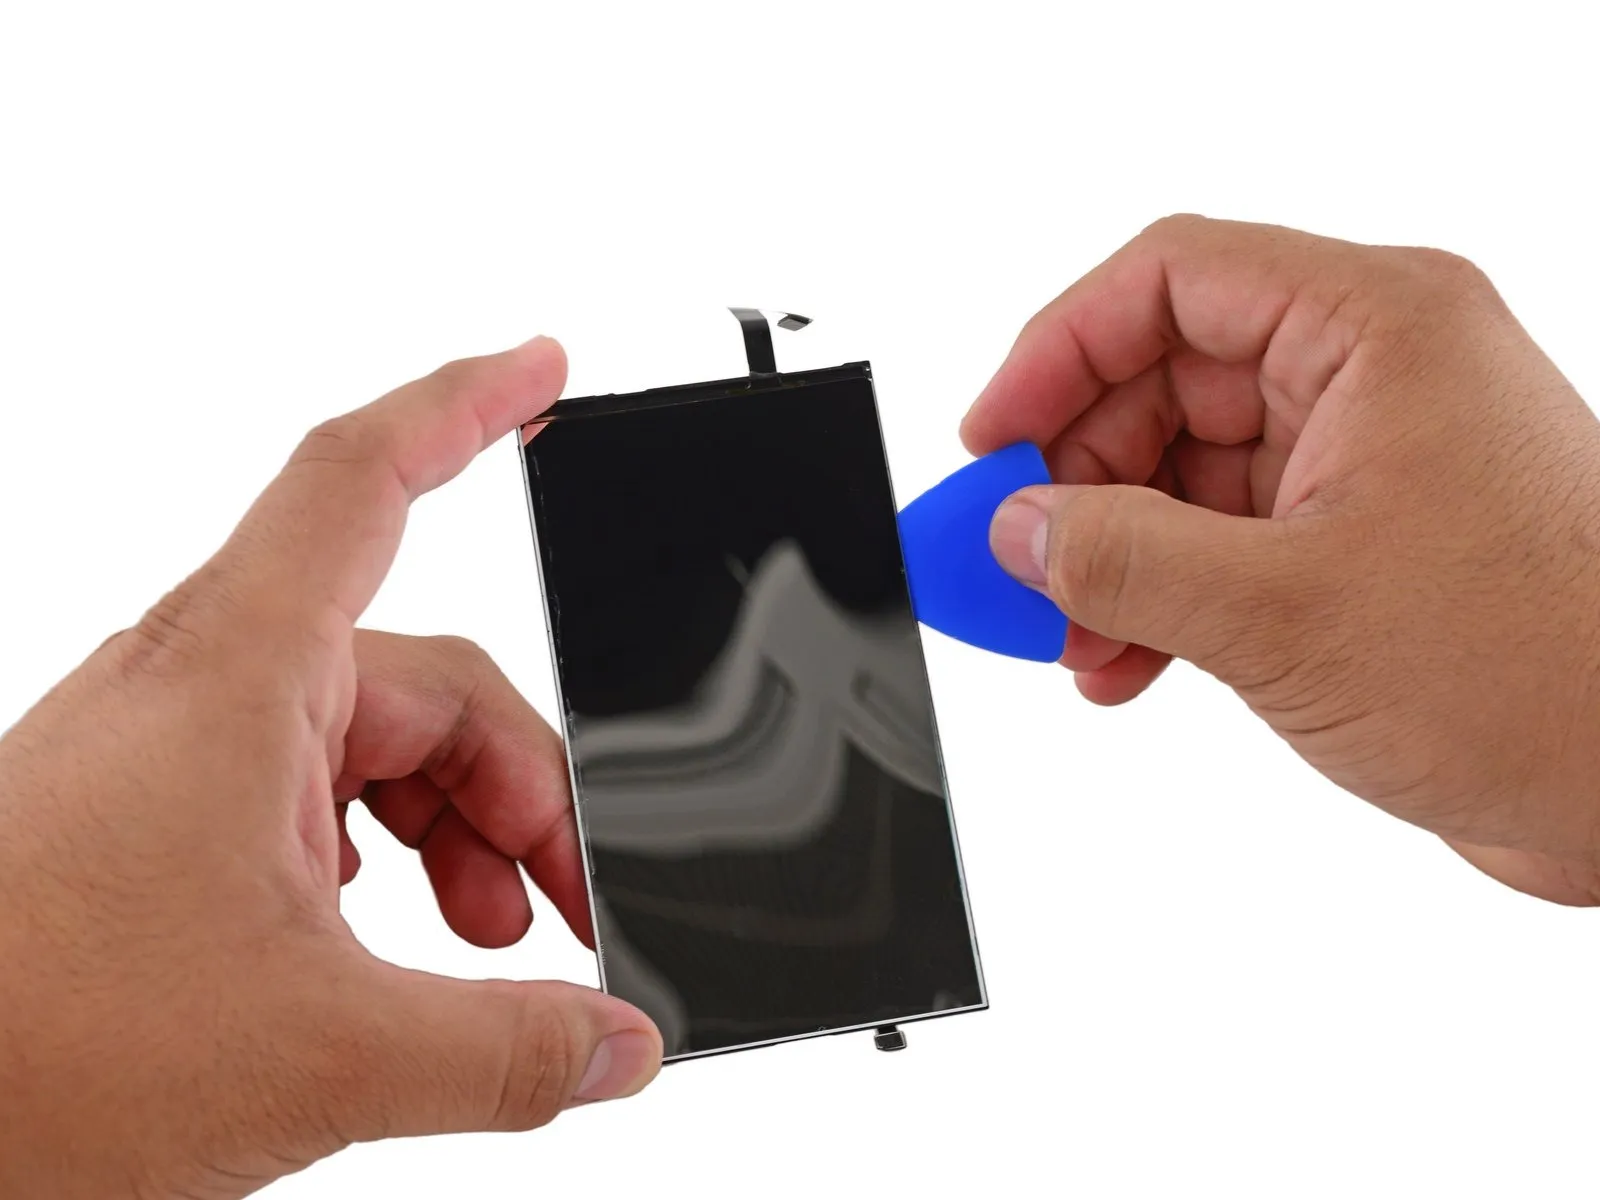
Step 4
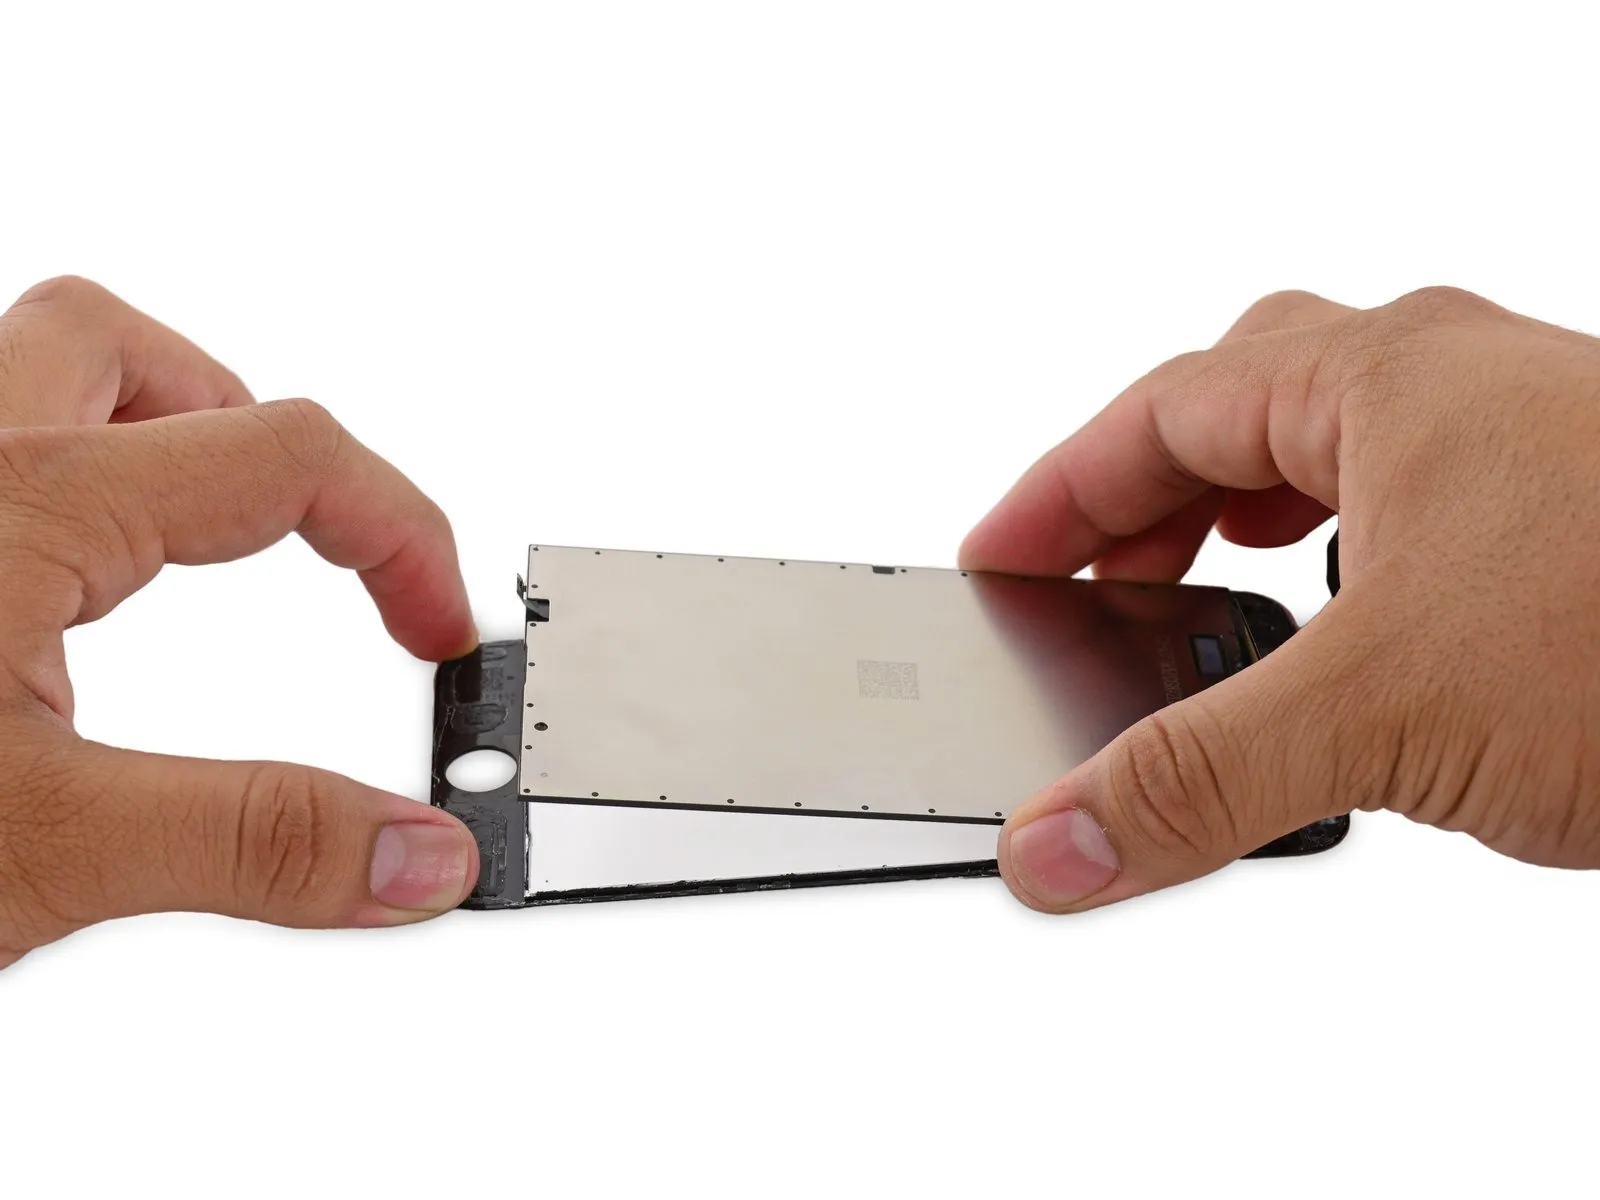
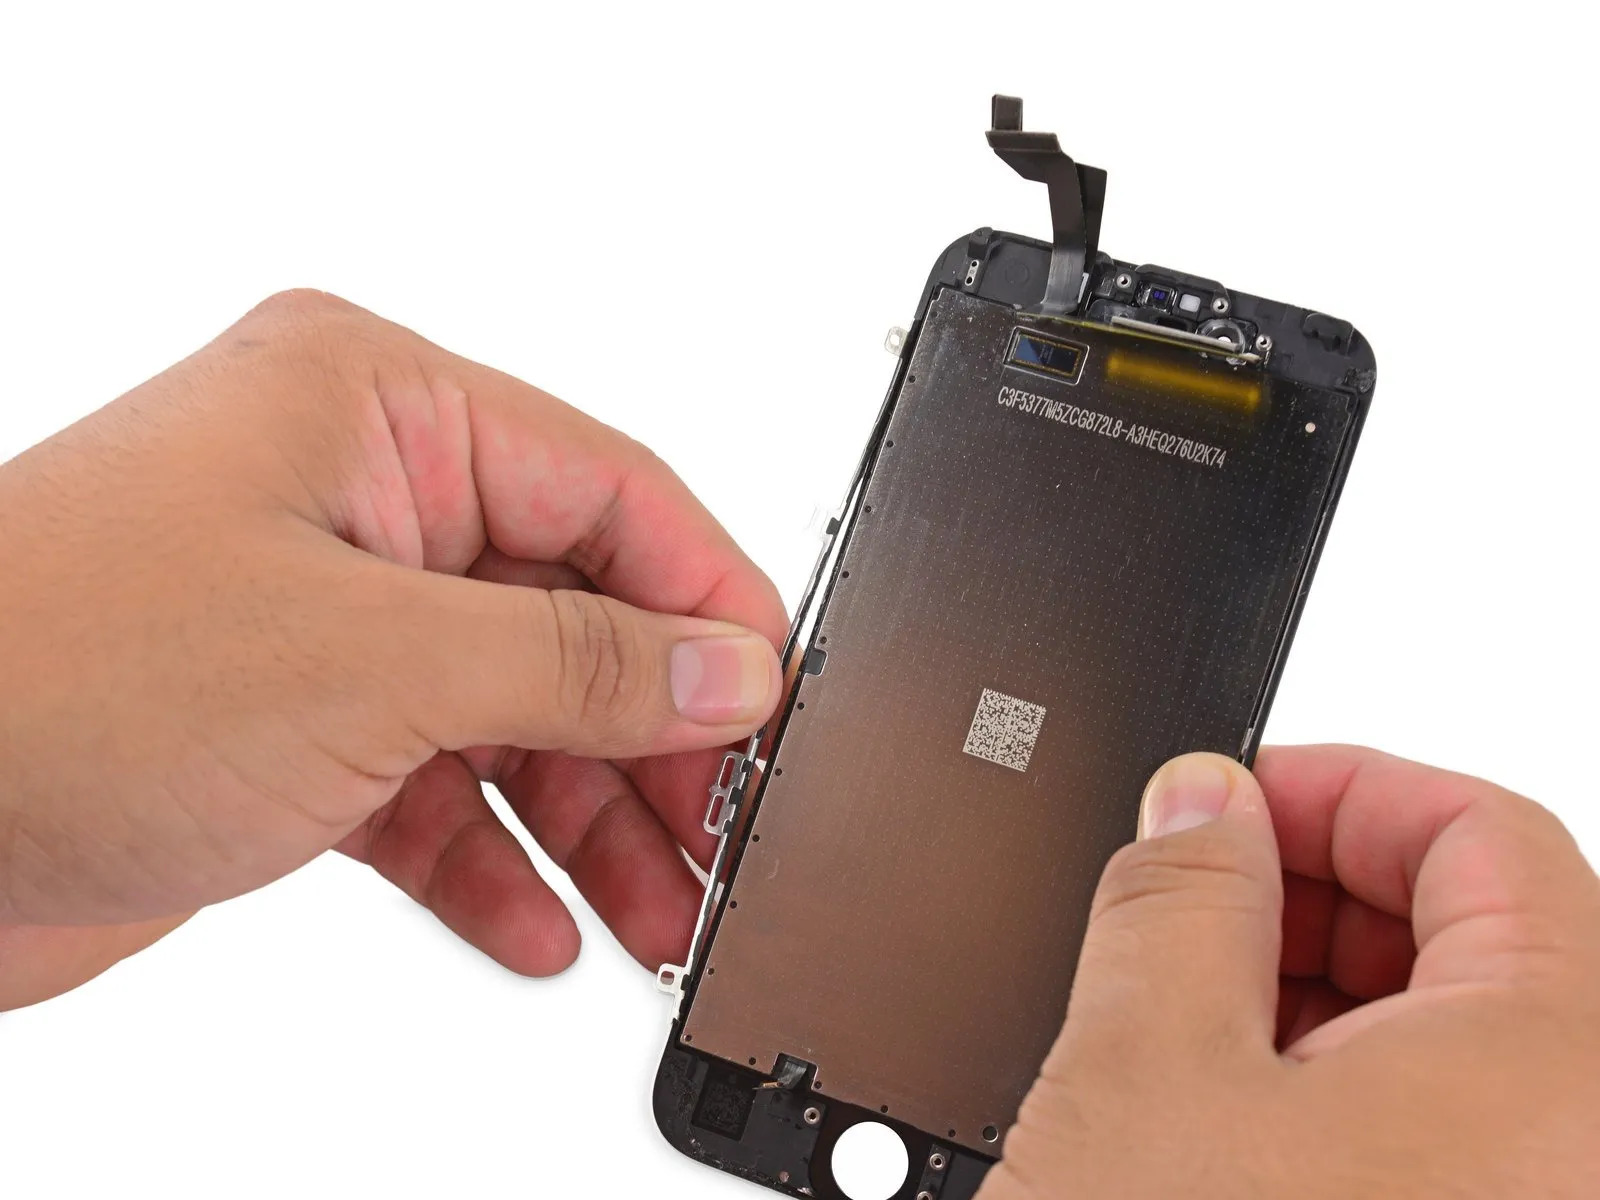
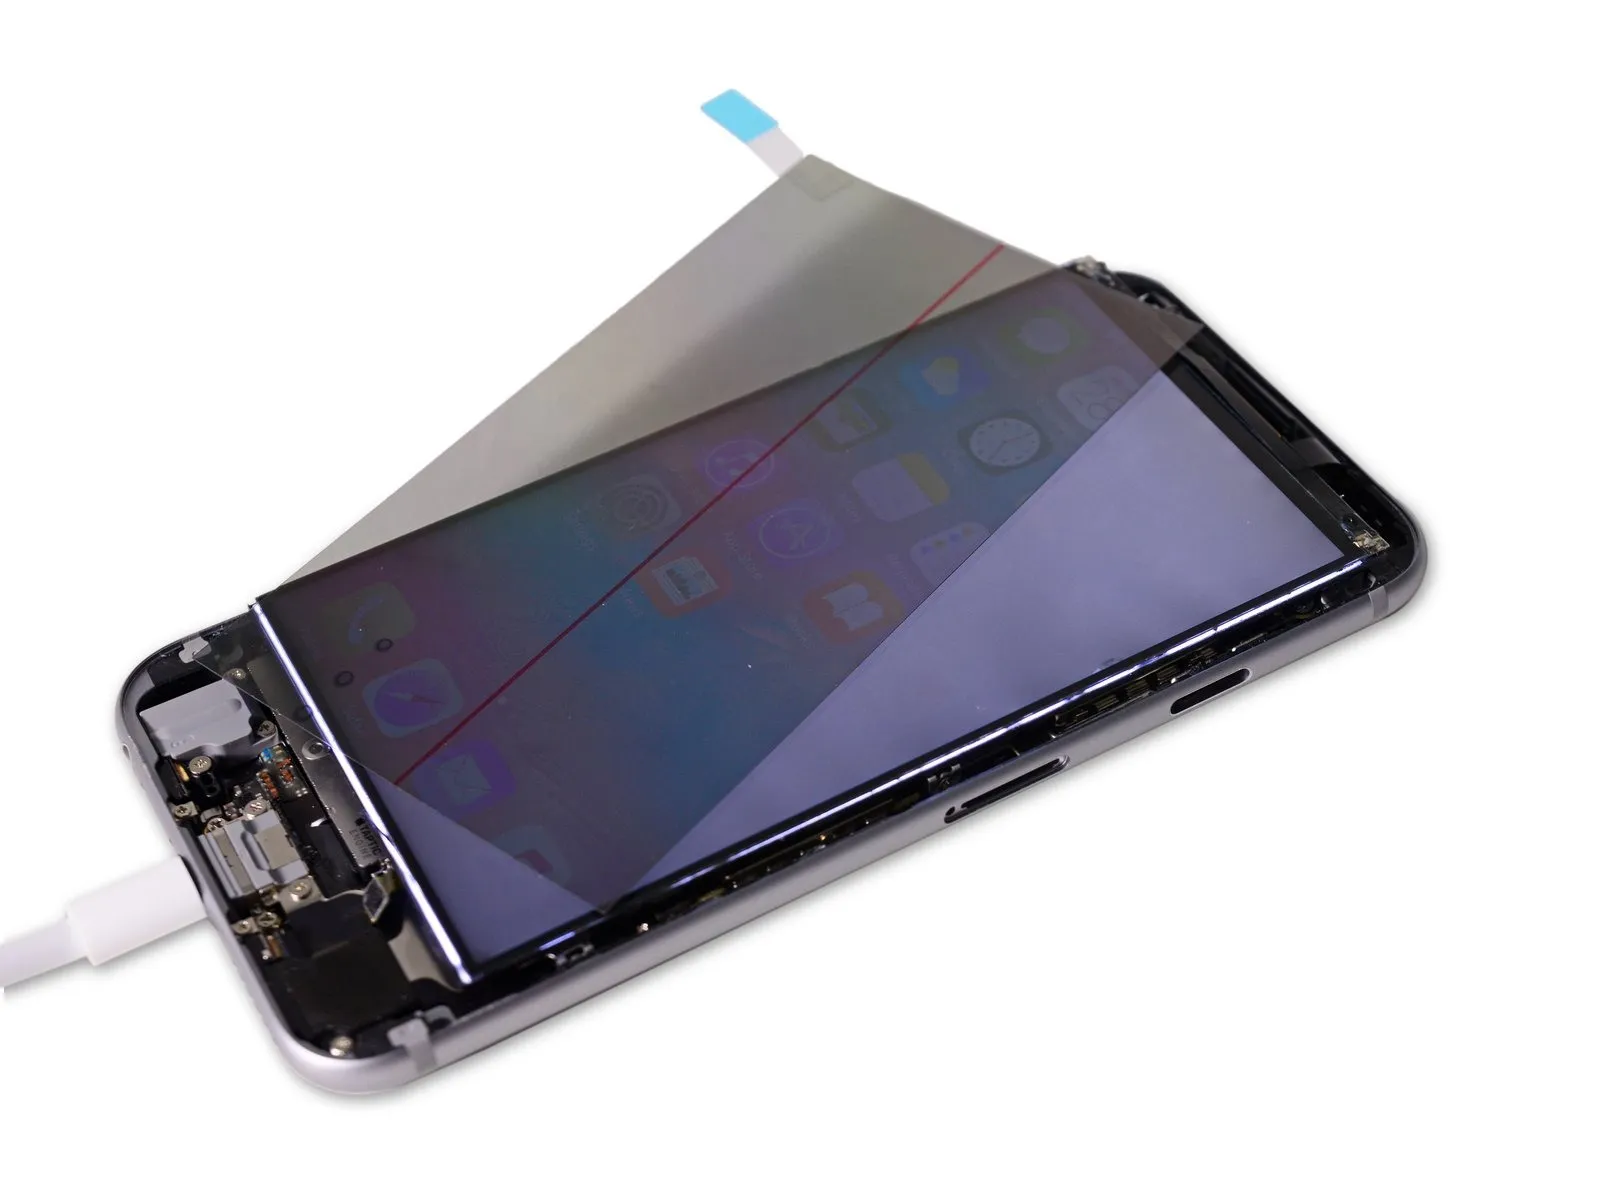
- Next, carefully detach the backlight assembly from the metal backing, proceeding with the remaining steps.
- The thin mylar sheet is notable; previously found as a backlight layer in older iPhone models, it now shields an unidentified component.
- Due to the display's thinness, its underlying components are visible; the mylar layer serves to obscure these parts during typical operation.
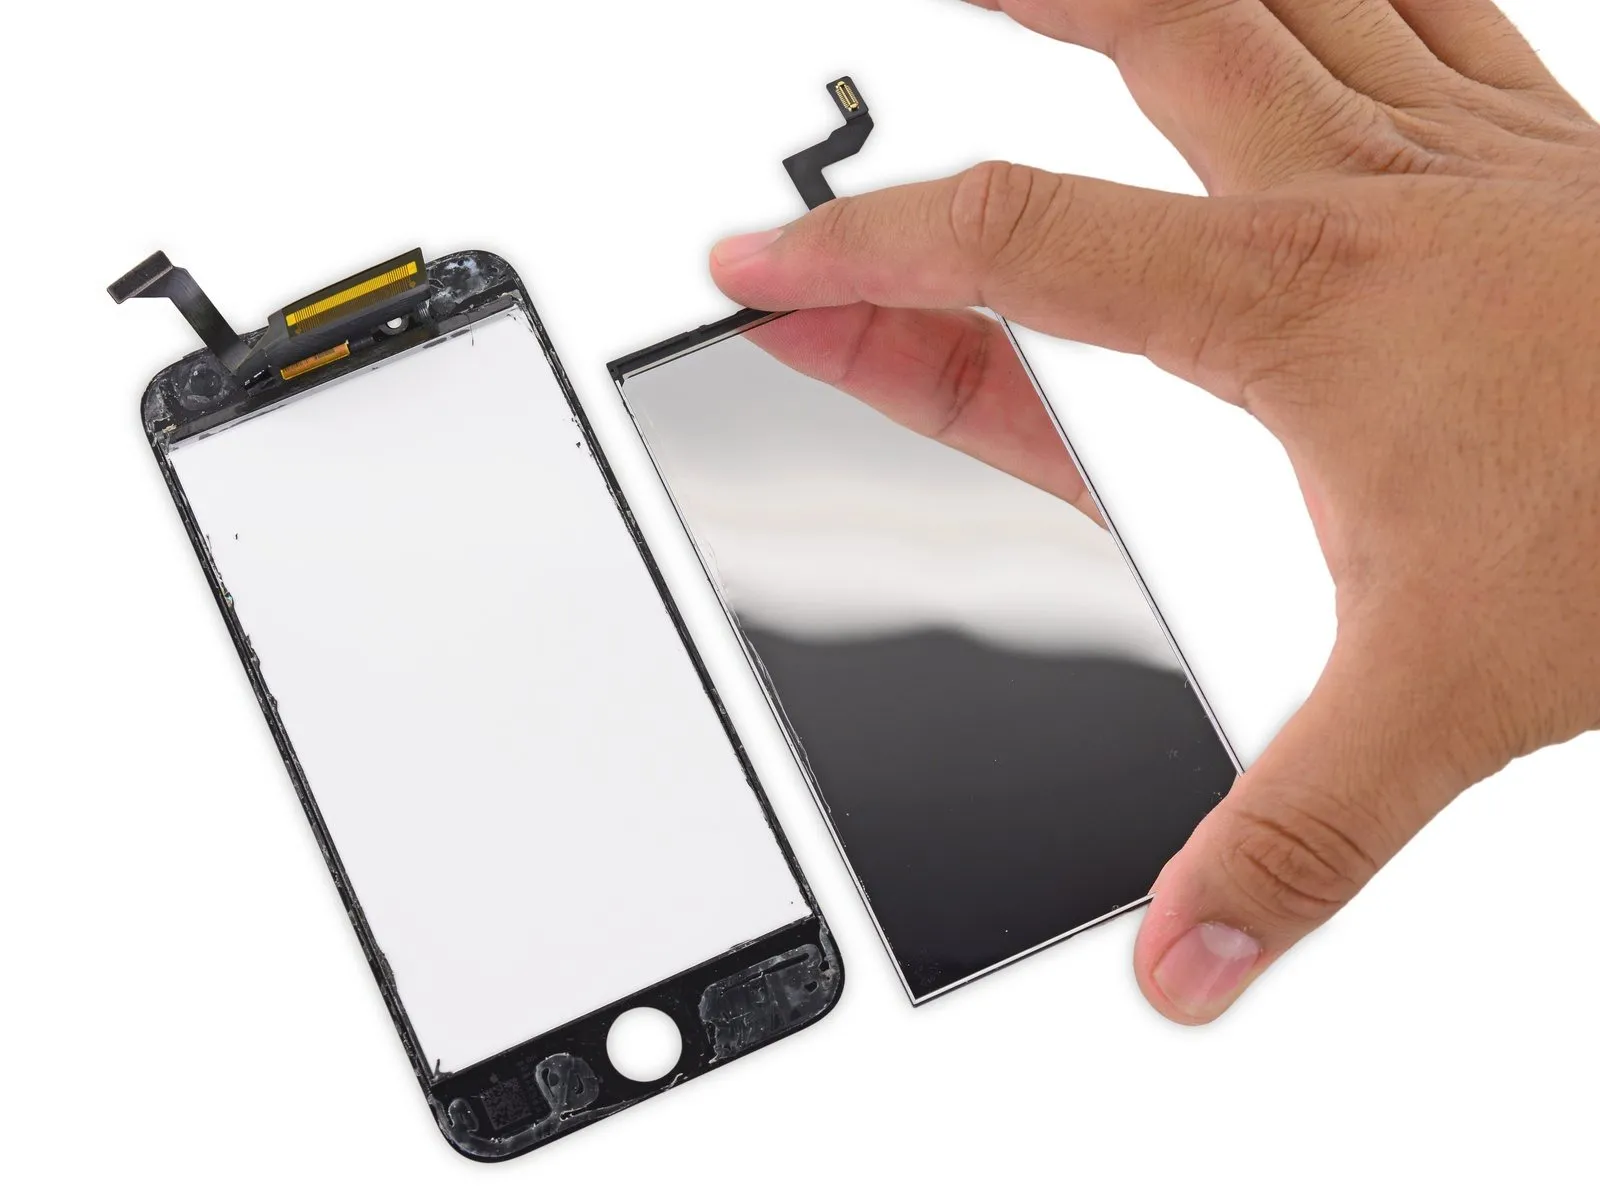
Step 5
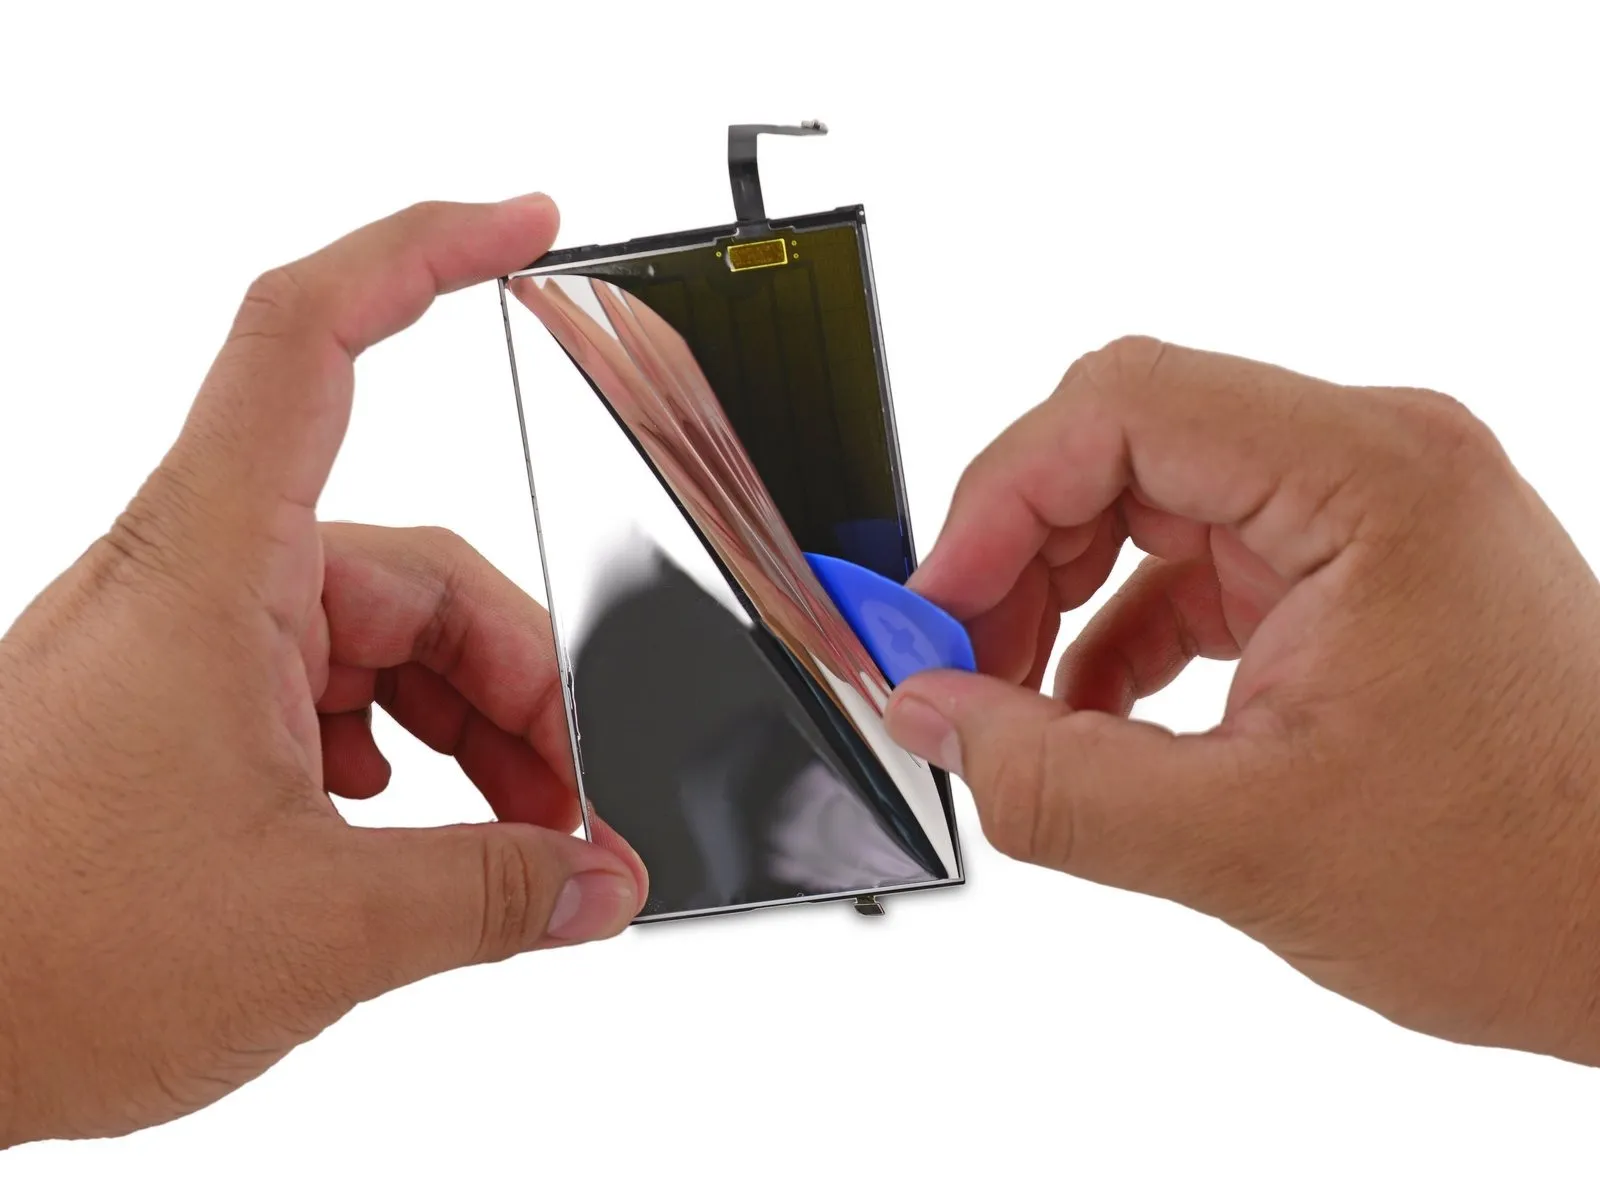
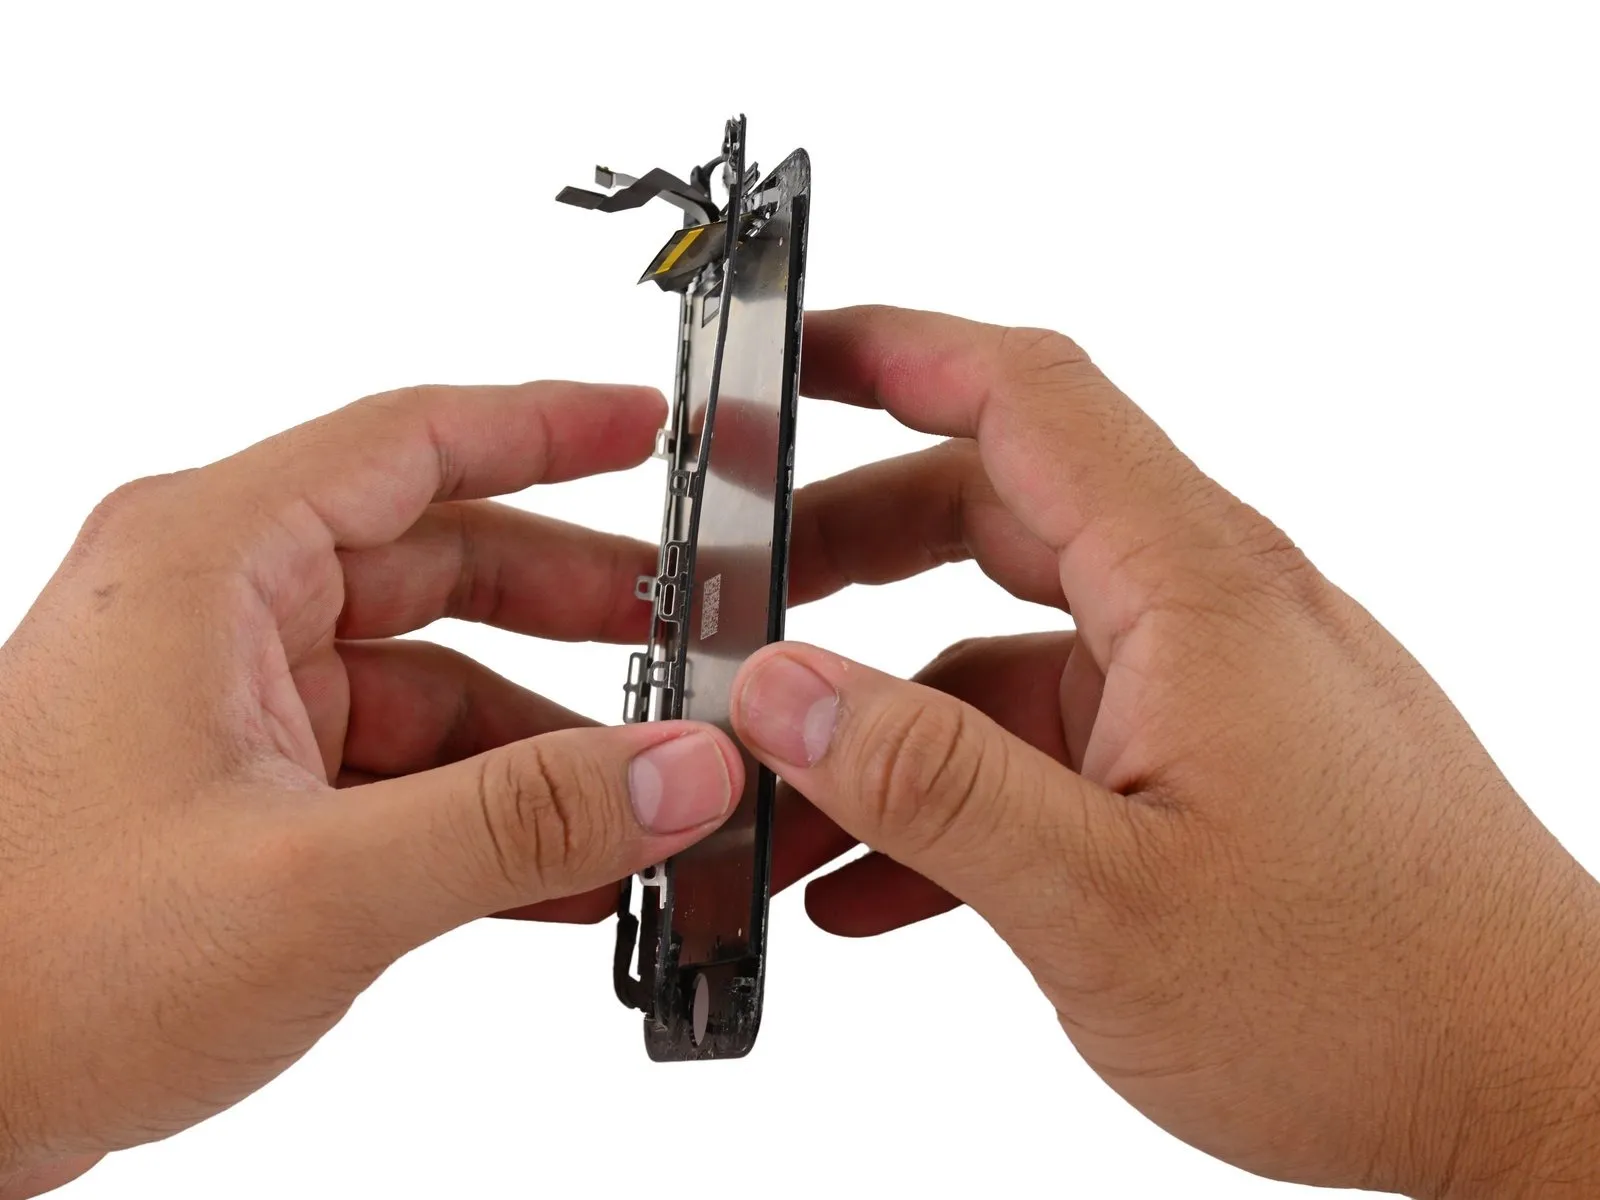
- Lifting the reflective covering reveals a second layer of sensors, seemingly capacitive in nature and likely responsible for 3D Touch functionality.
- The unexpected finding reveals that the 3D Touch technology doesn't rely on the previously described backlight-integrated sensors; instead, it utilizes a distinct, independent sensor.
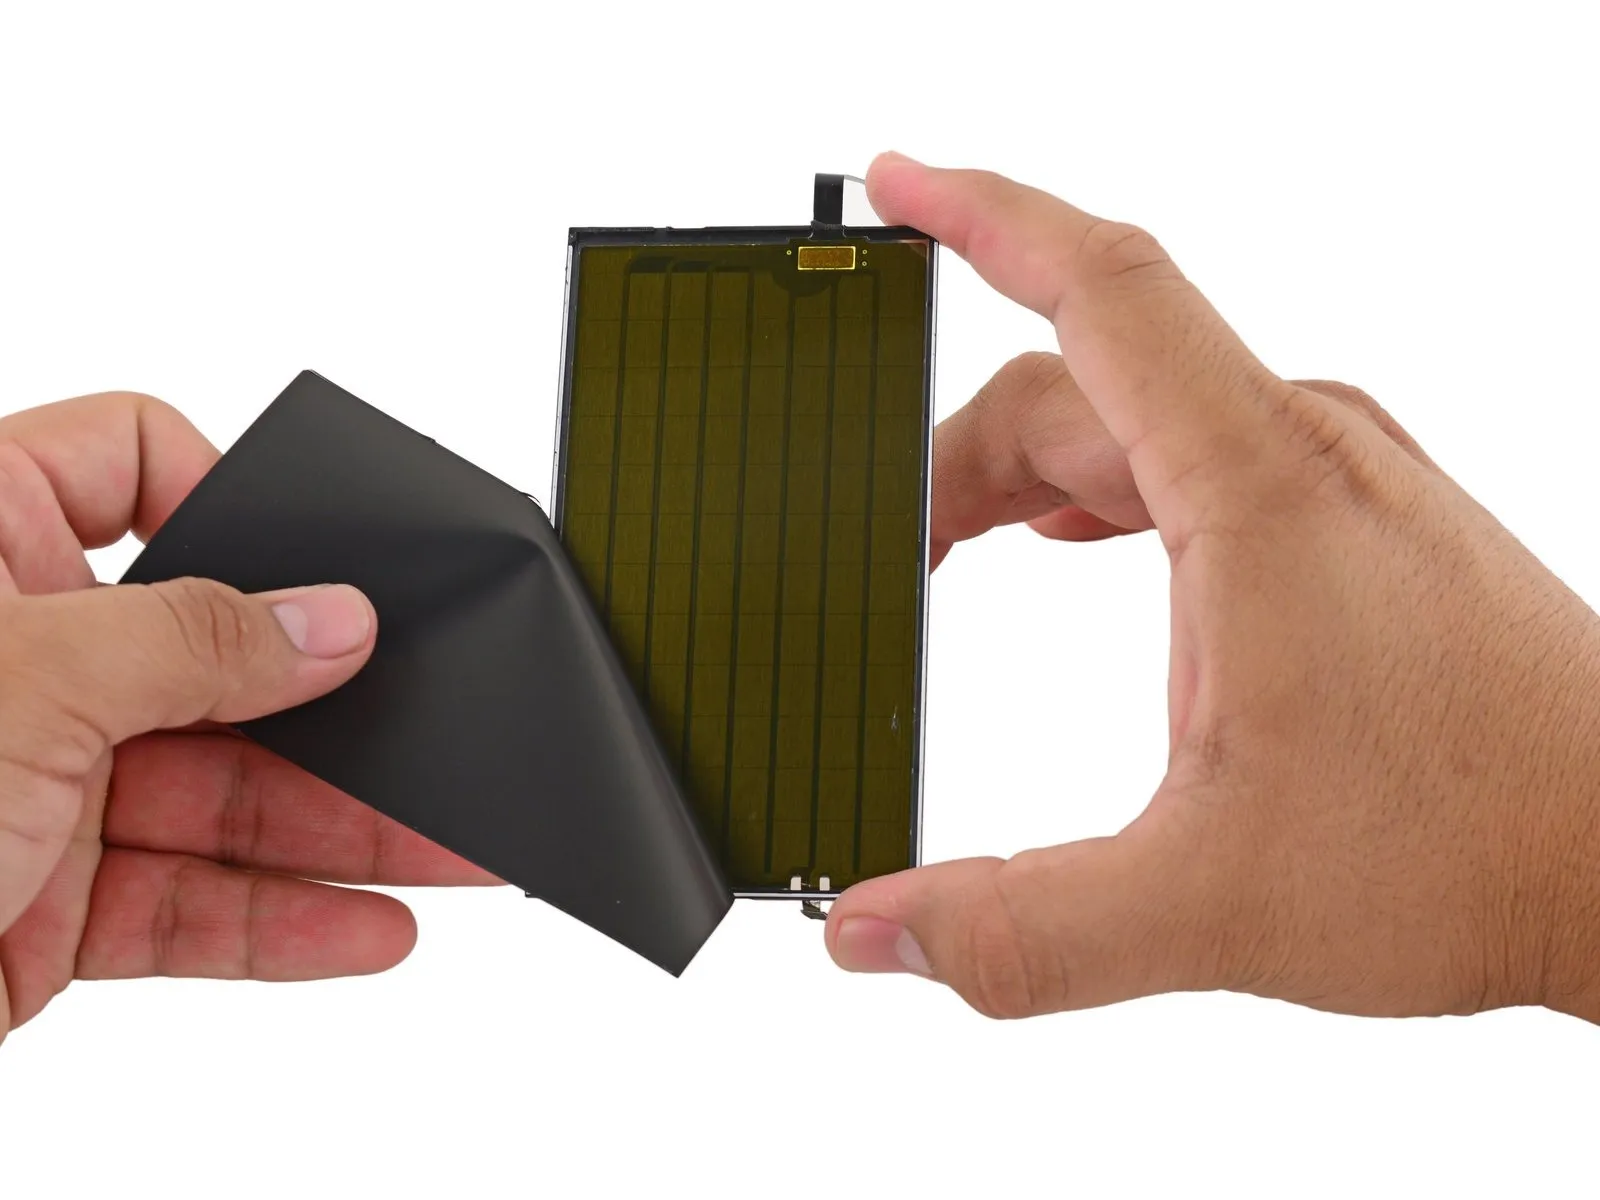
Step 6
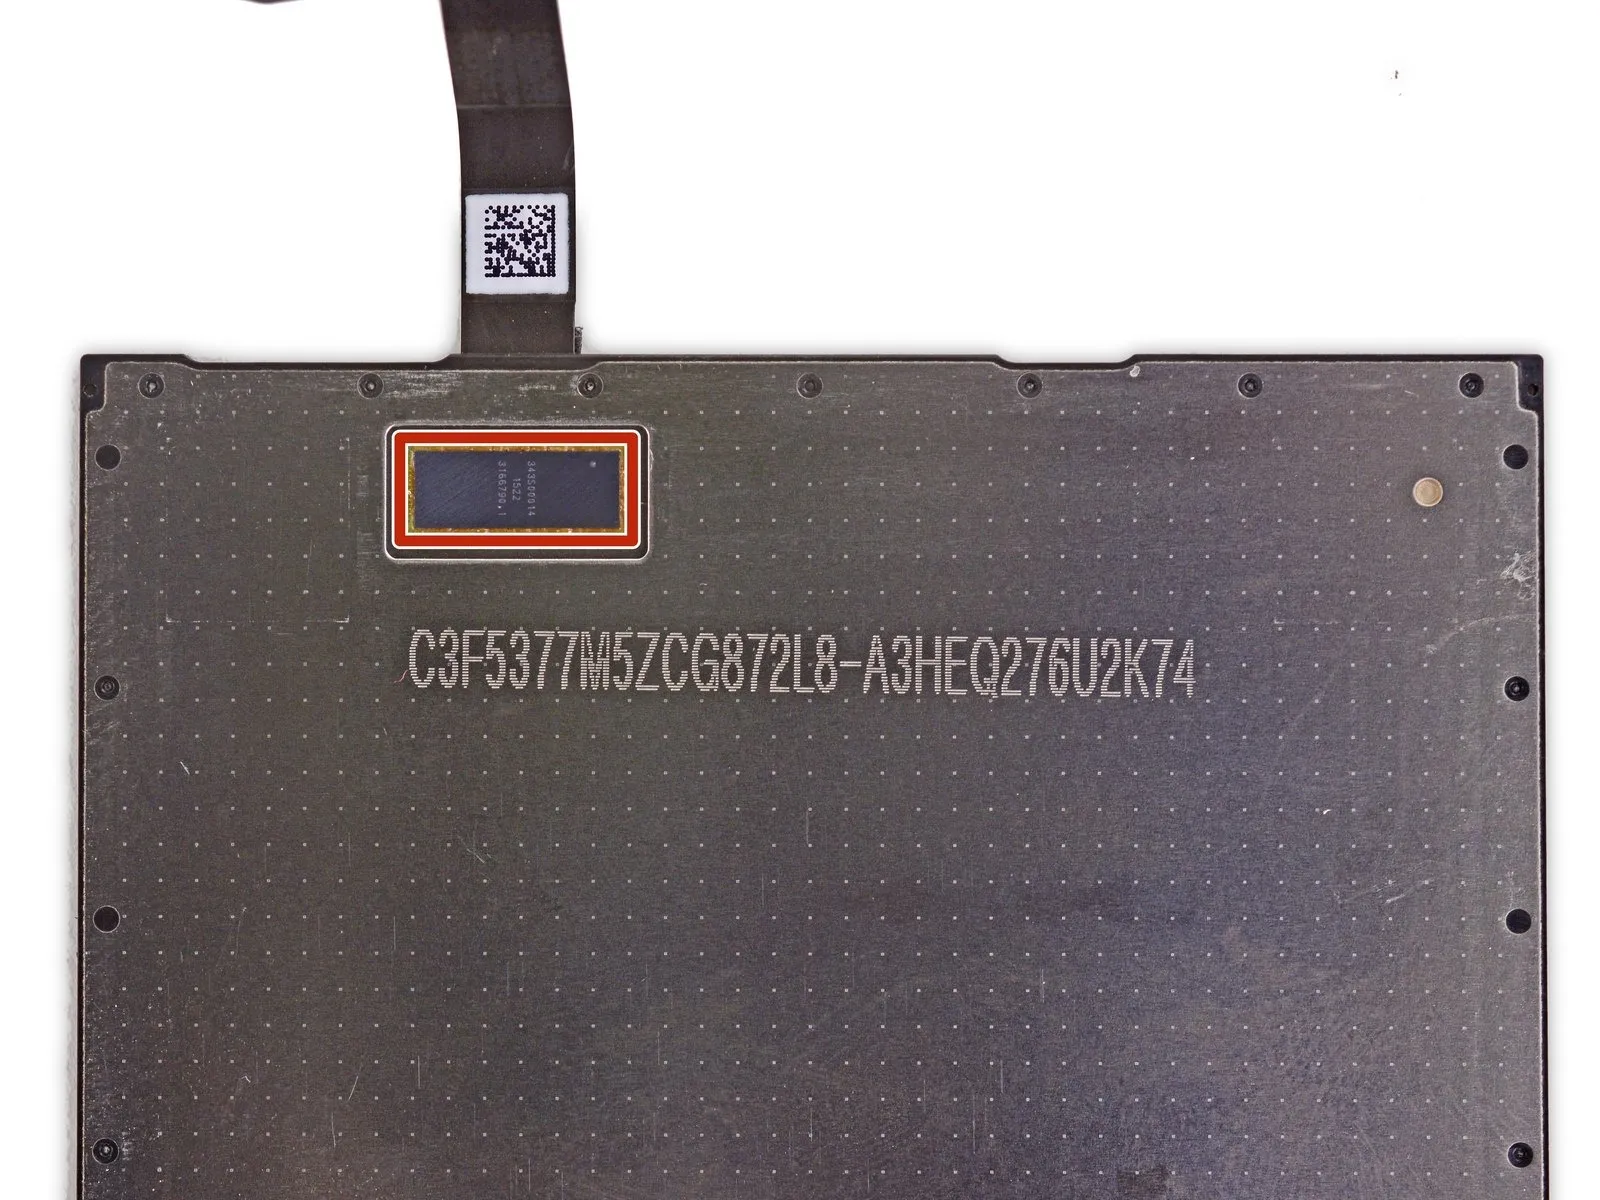
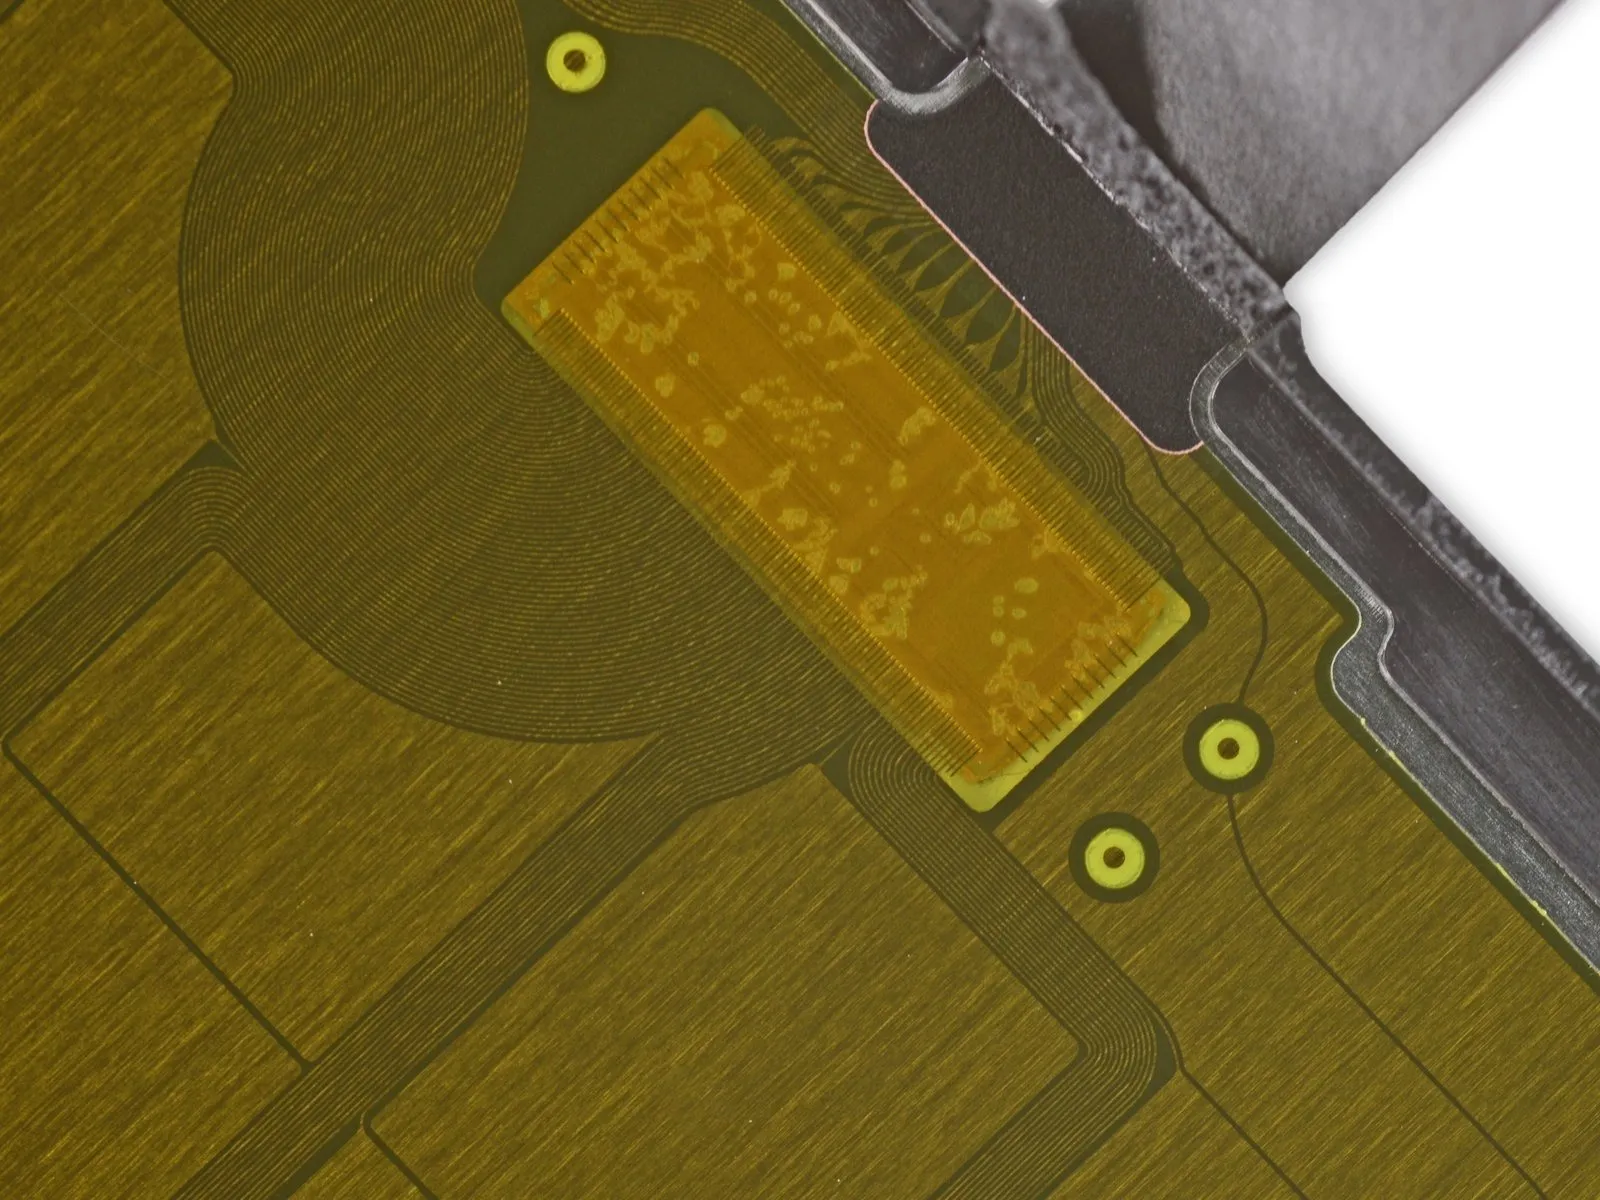
- The back panel's gold rectangular areas function as individual plates within a parallel plate capacitor configuration.
- Within each enclosure, a minute conductive pathway—appearing as darkened regions representing numerous interconnected traces—extends to the control chip.
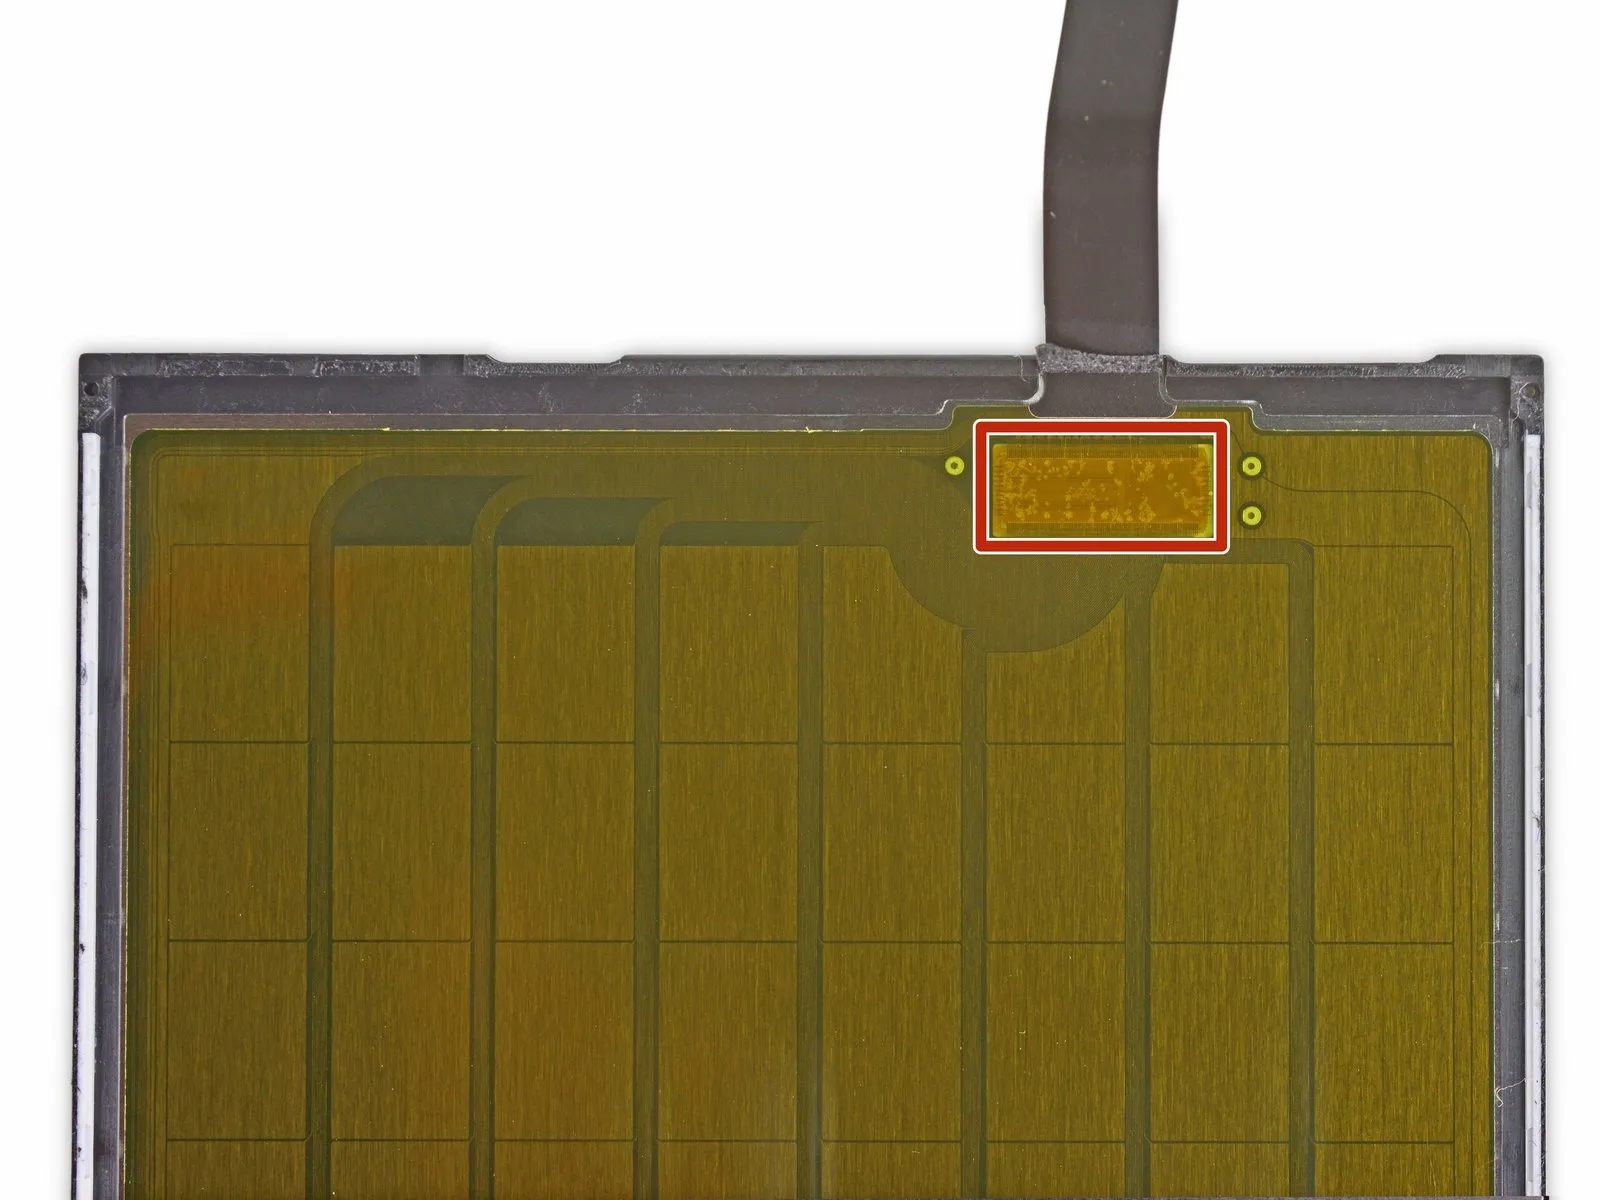
Located on the panel's rear side, likely, is a proprietary Apple chip that manages the capacitors, maintaining their charge and monitoring current fluctuations both to and from each.
Step 7
- Applying pressure to the glass surface causes a minimal deflection, effectively reducing the separation between your fingertip and the underlying capacitor array, which the system interprets as a pressure input instead of a surface contact.
- Because the capacitance of a parallel plate capacitor decreases as the distance between the plates lessens, a reduced separation allows for a higher charge accumulation, which the integrated circuit will detect as current entering the sensor board.
These components function like touch screen layers but are oversized, preventing precise finger input, a characteristic that is not required for their operation.
Despite the presence of a functional digitizer for accurate positioning, the plates are designed solely to sense bending within the glass, without needing to pinpoint the location of that bend.
Step 8
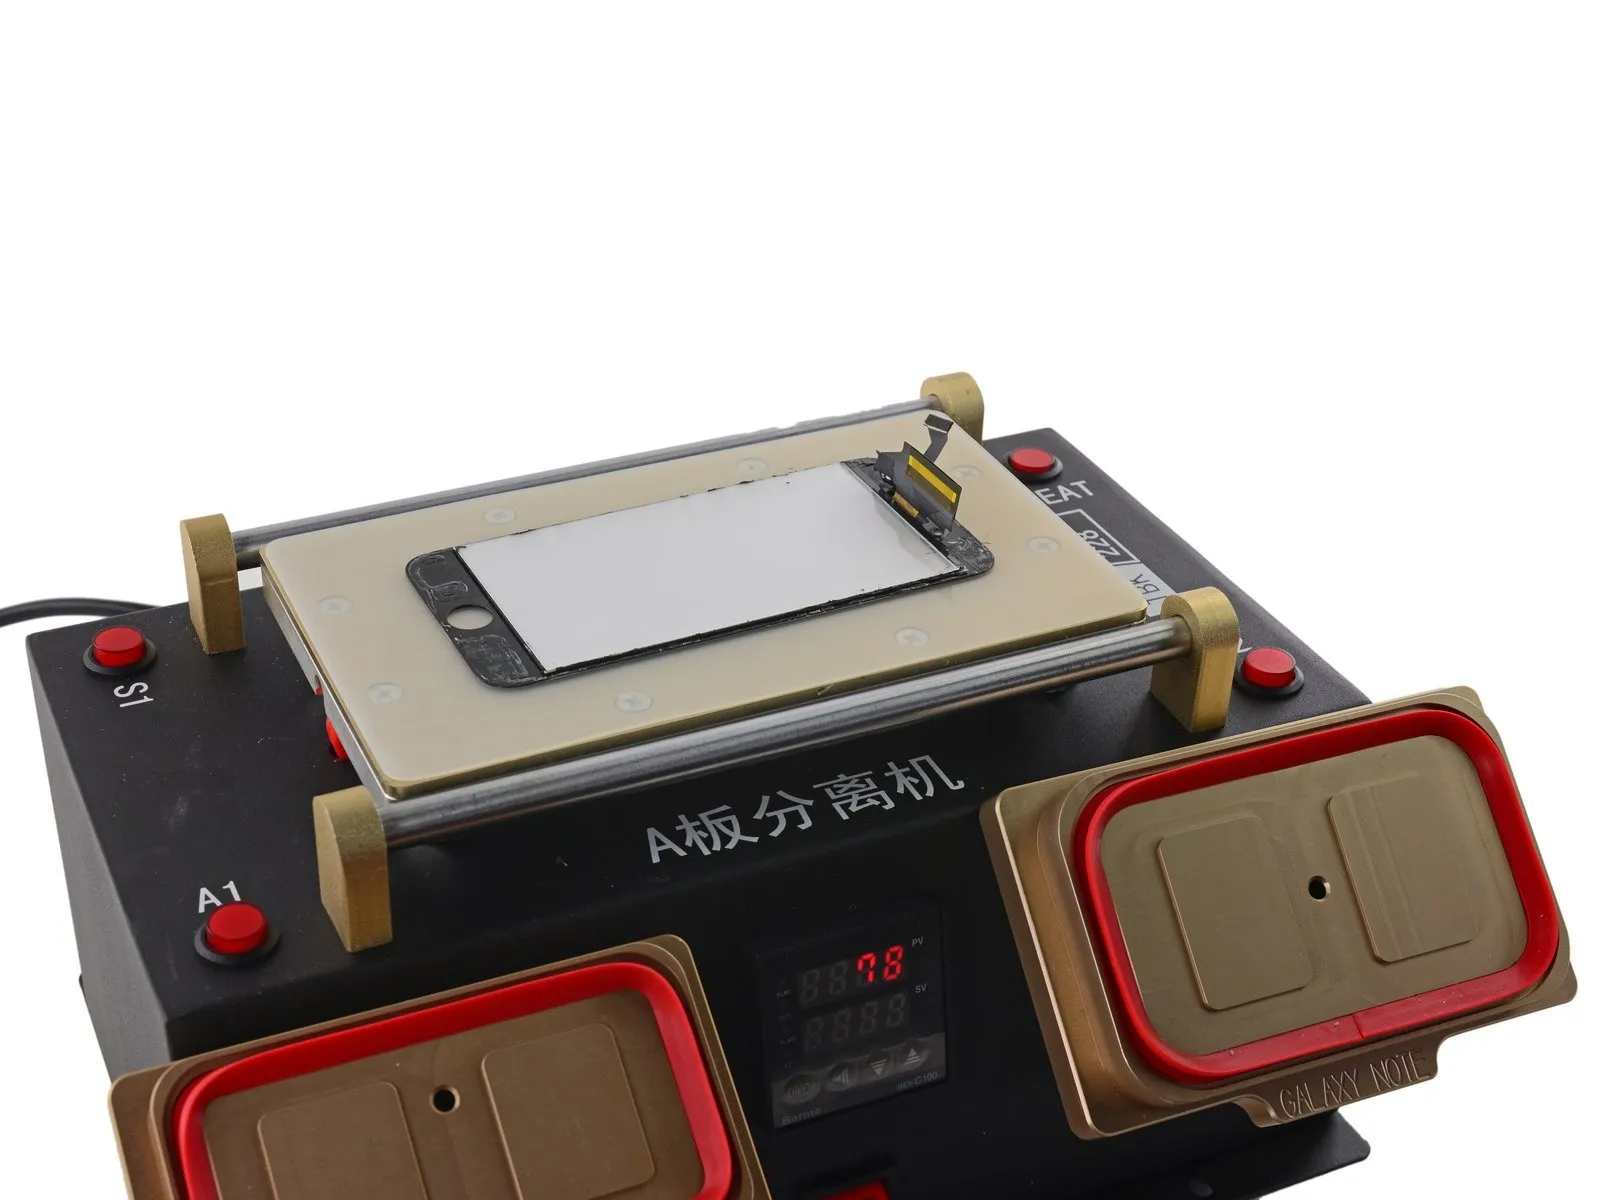
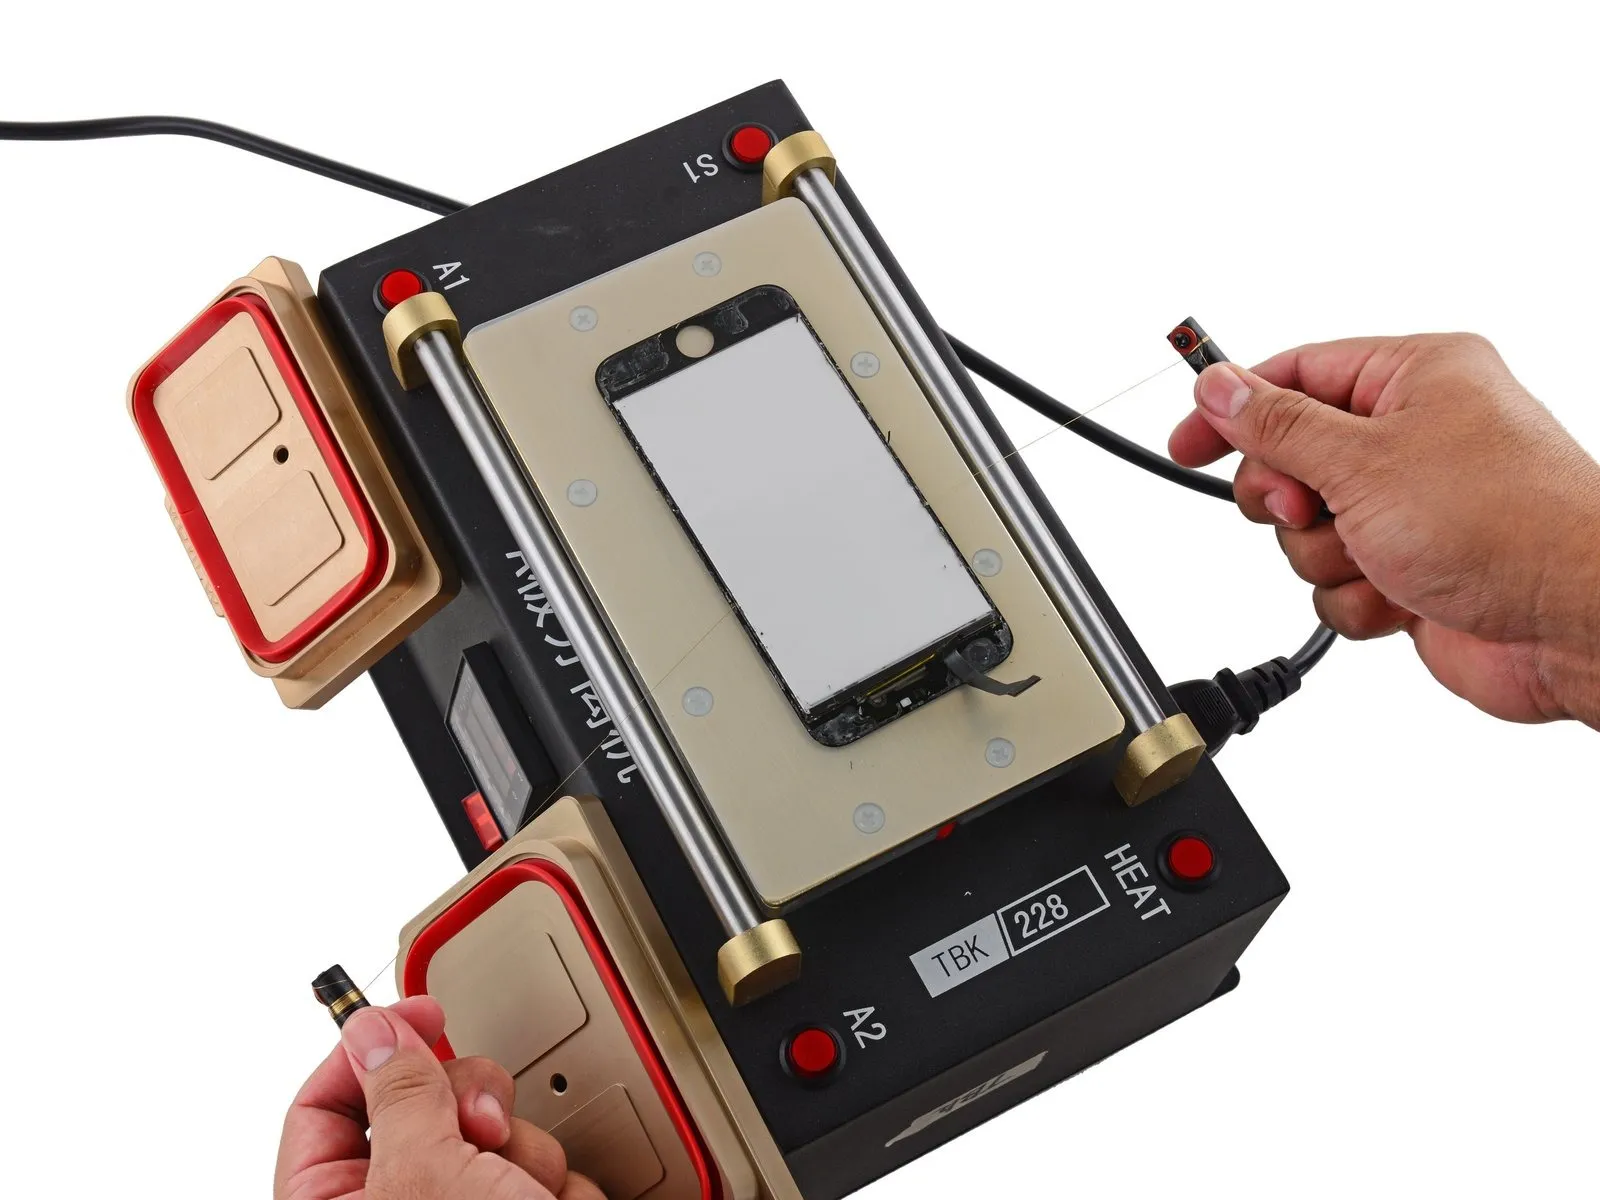
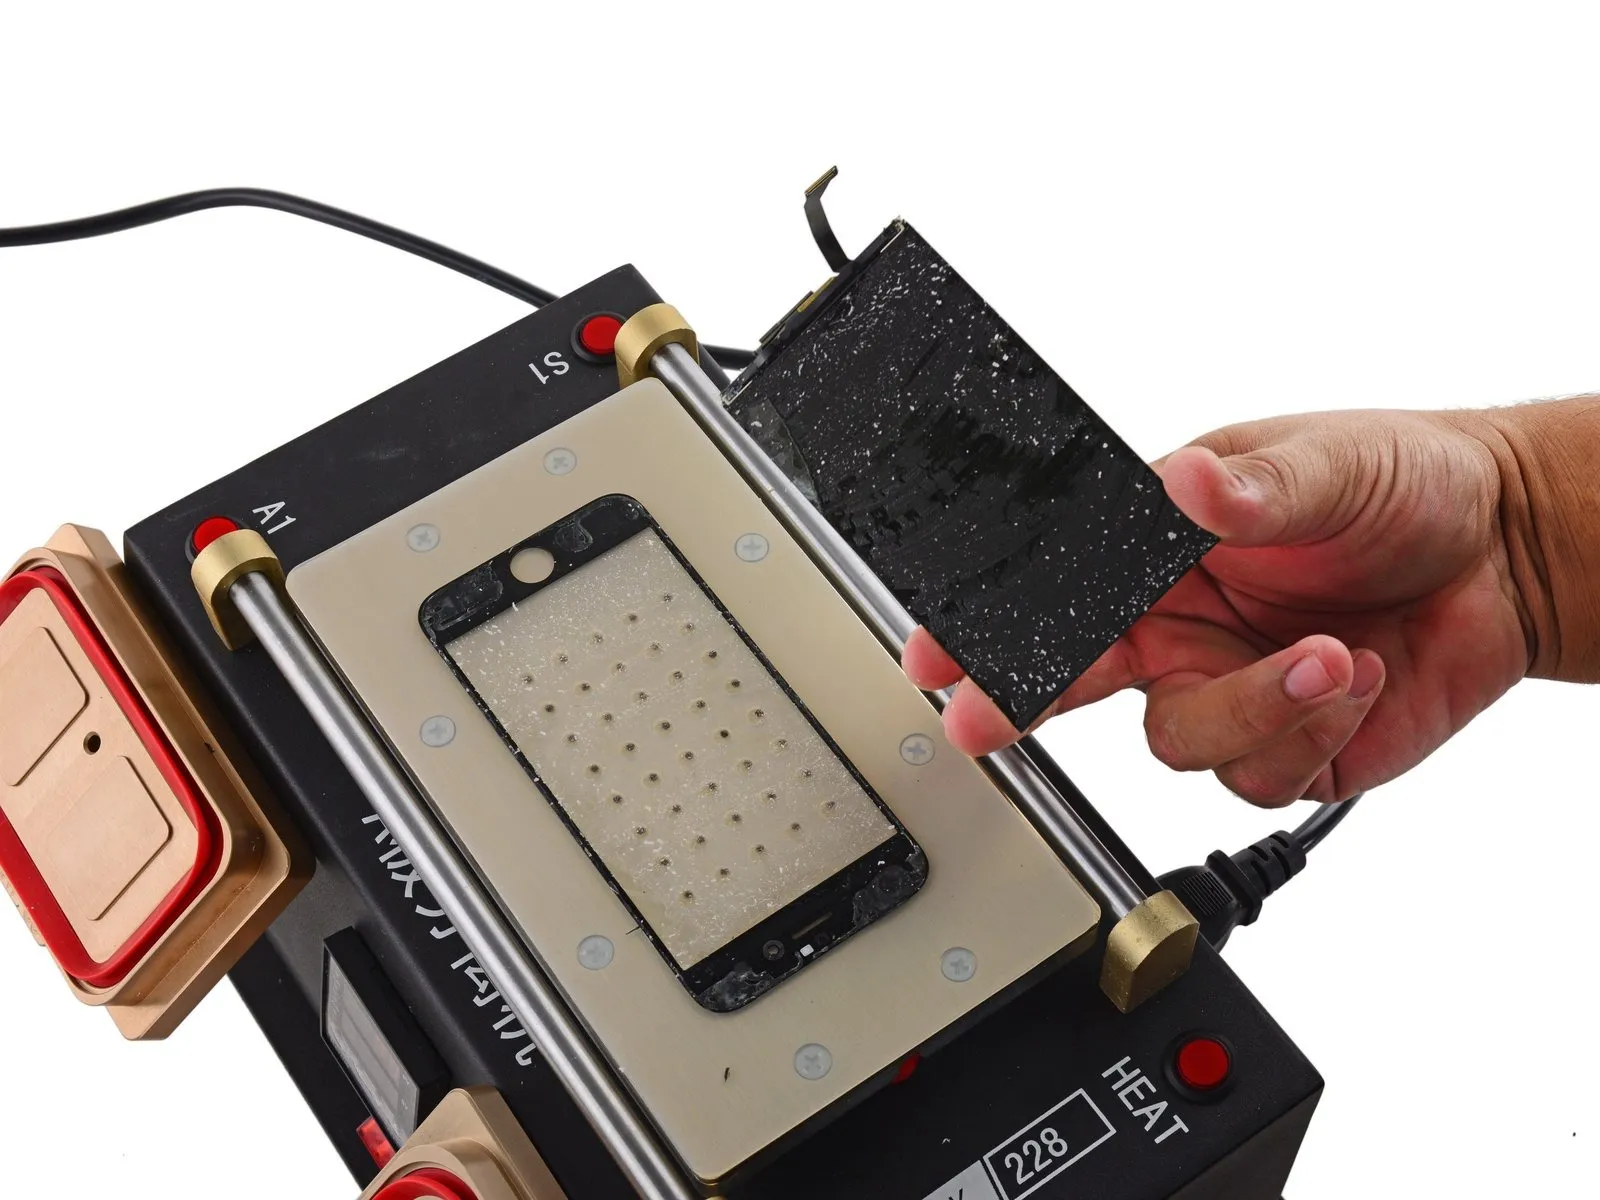
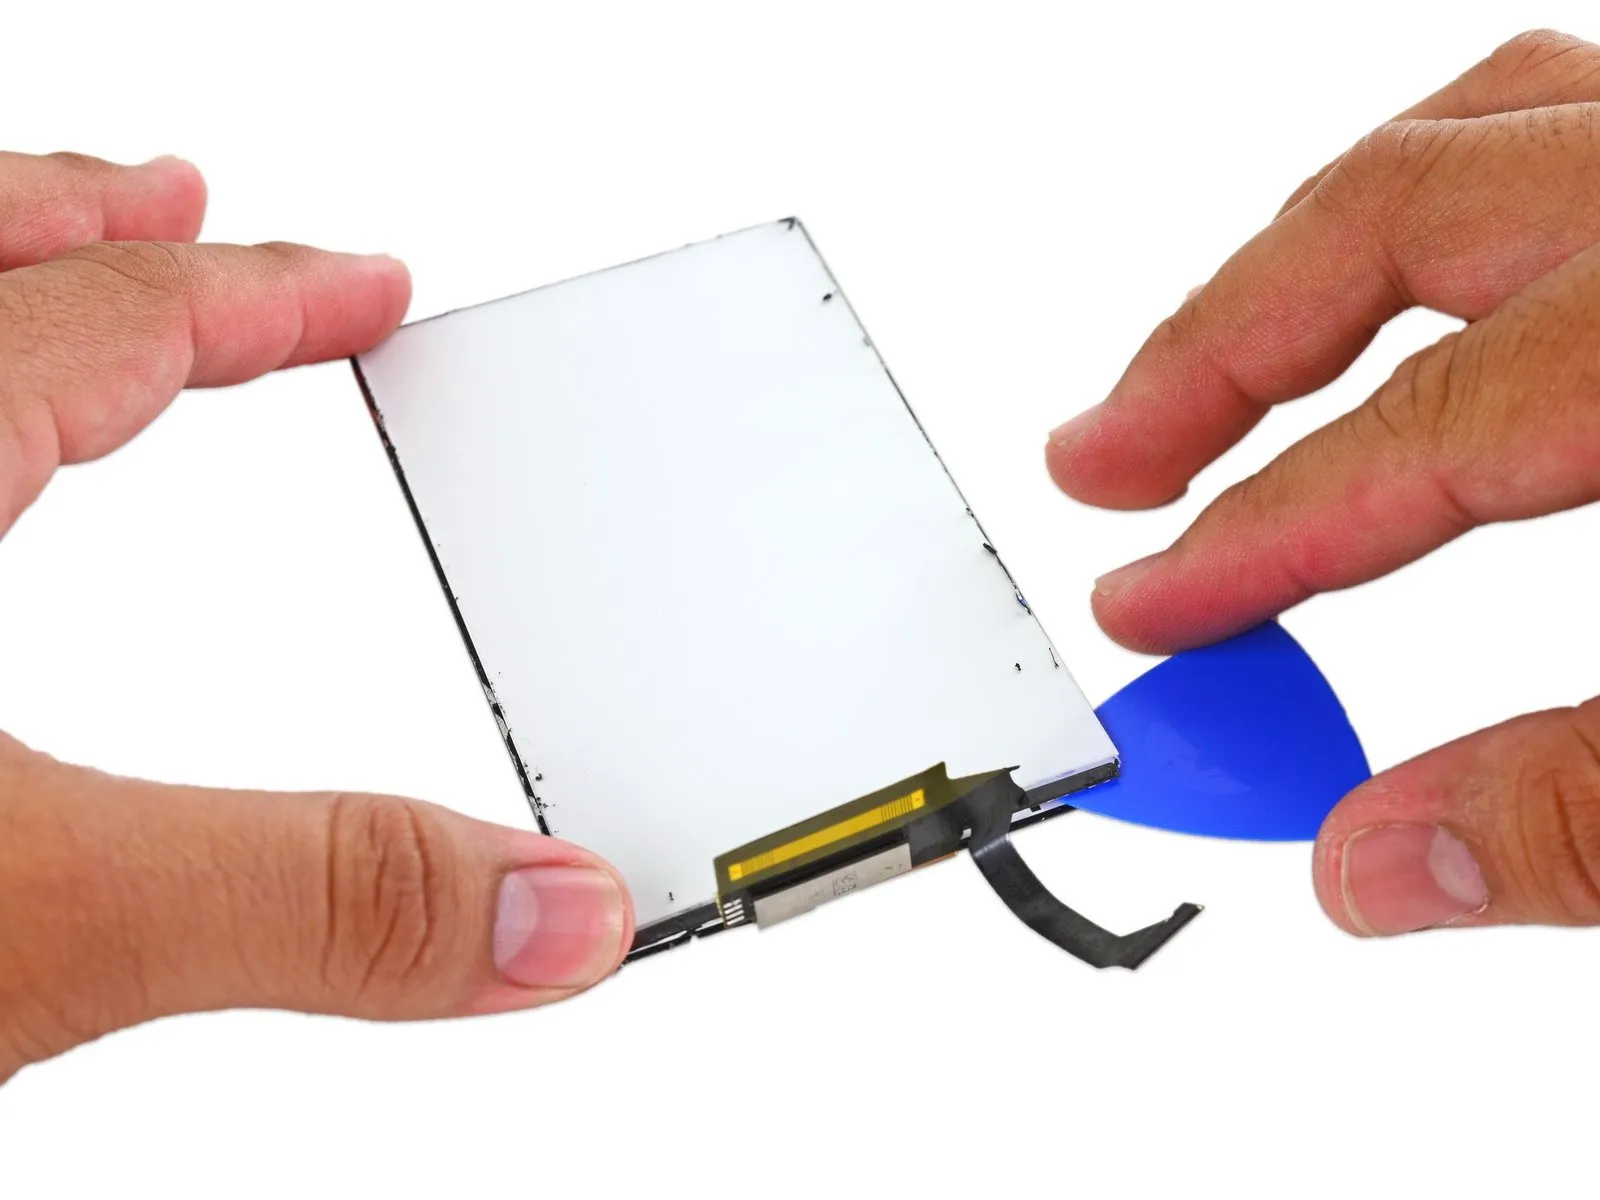
- To detach the iPhone's glass, the device is placed on a heated platform while a vacuum holds the glass in position, facilitating the breakdown of the optically clear adhesive (OCA) bonding the glass to the display.
Using a .08 mm molybdenum wire, carefully detach the LCD from the glass panel after the OCA adhesive has been sufficiently weakened.
Step 9
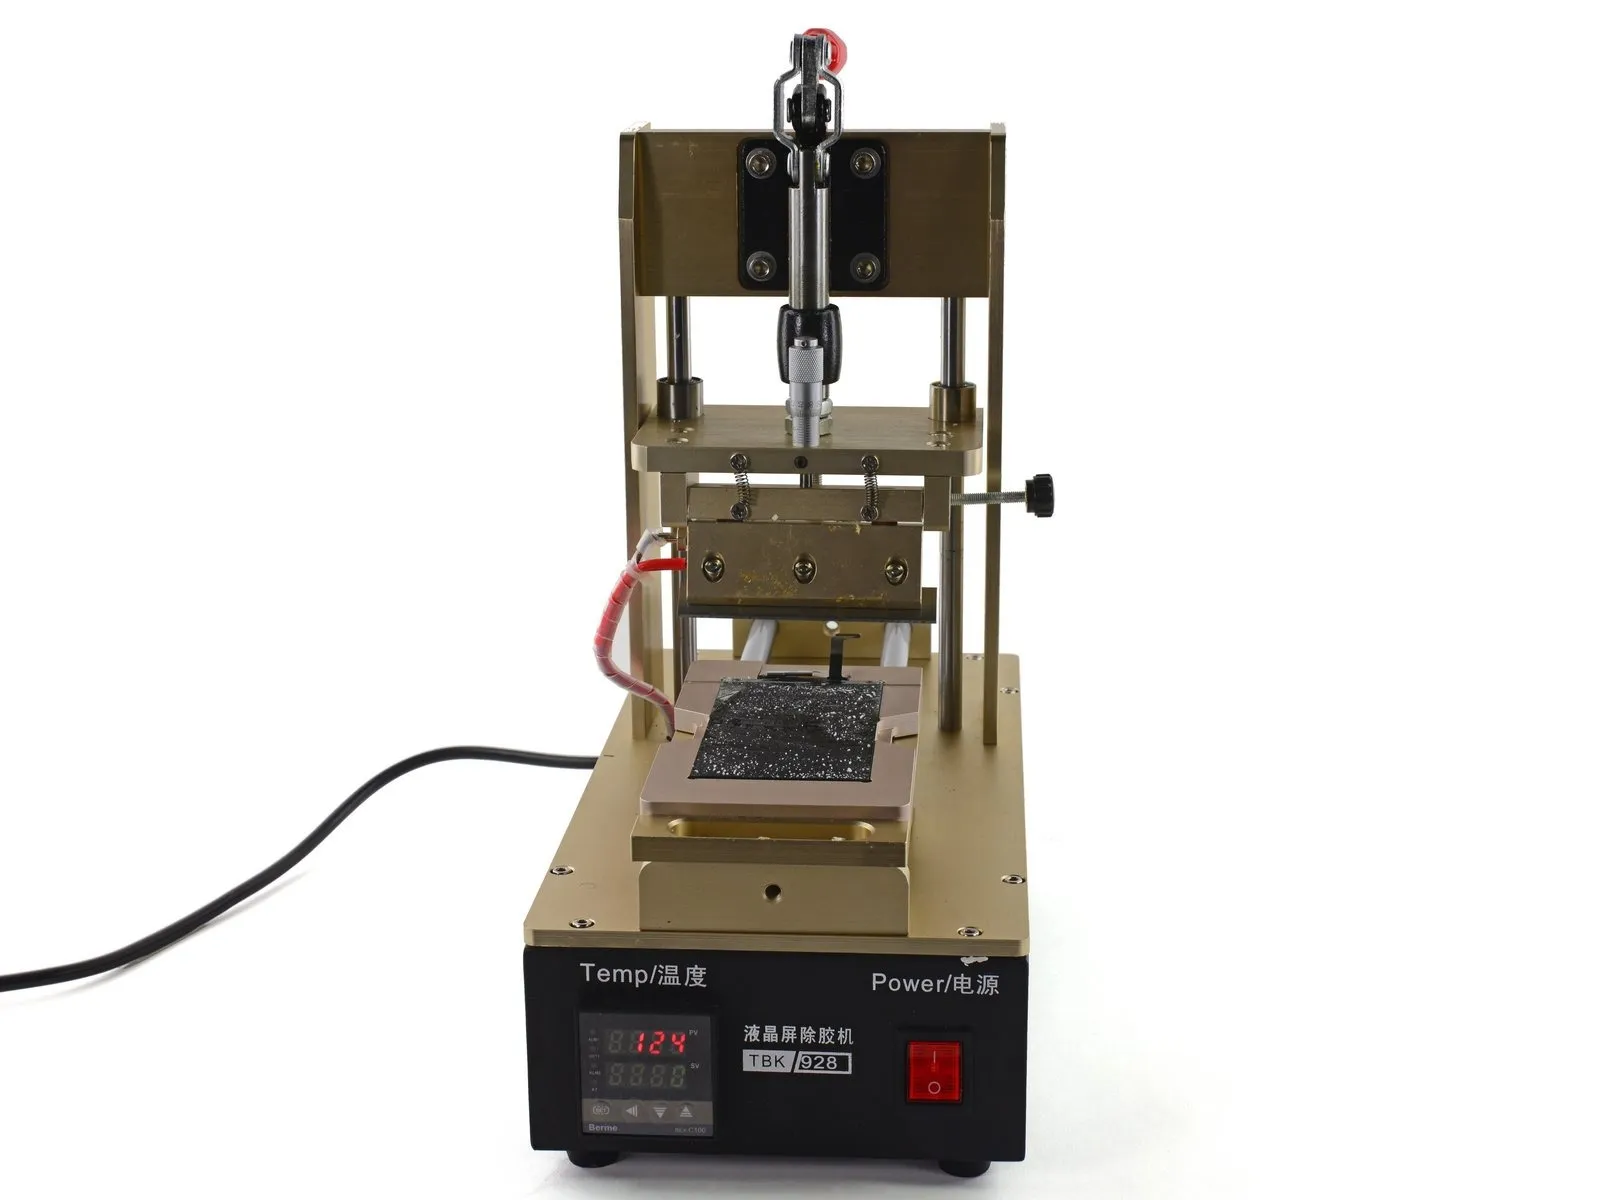

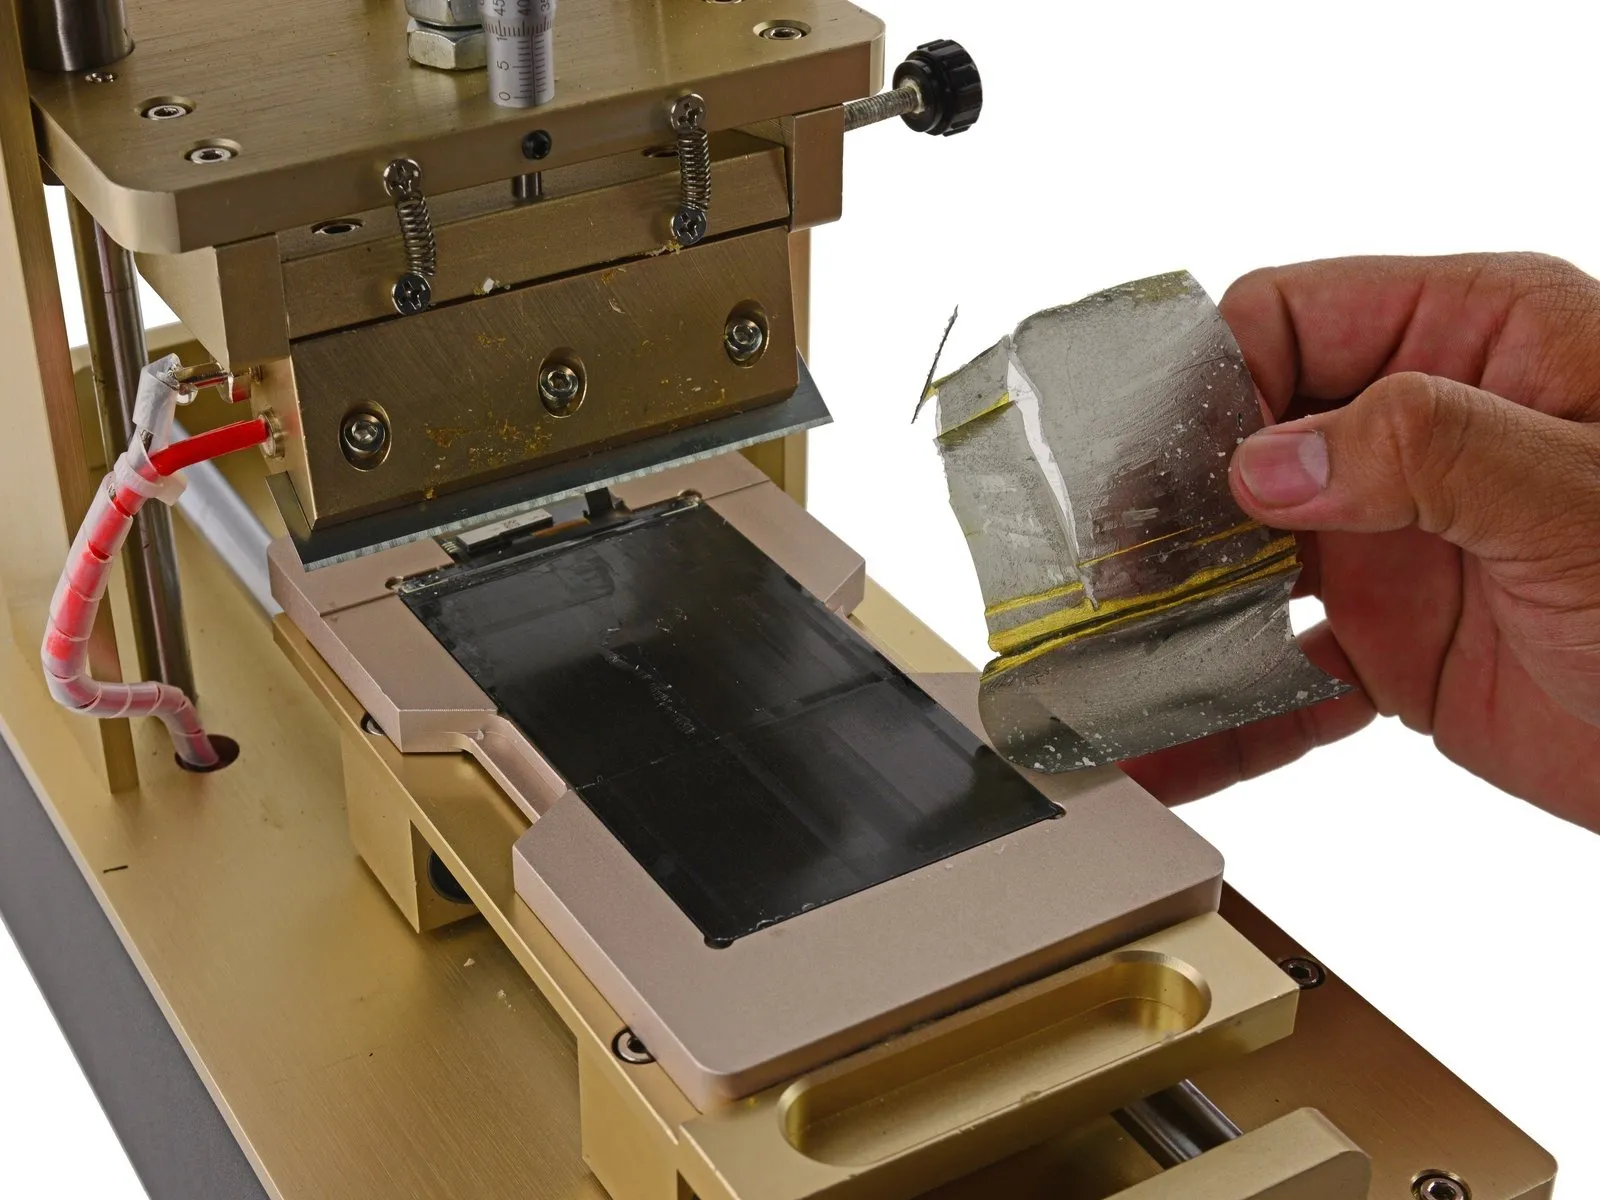
- STS Parts provided a Polarizer Remover Machine, essentially a guillotine, which effectively removes the polarizer layer by scraping it away.
- Because this component is delicate, the protective film will be damaged during its removal; however, obtaining replacement films is straightforward.
Step 10

- Initially, a backlight illuminates a slender layer of liquid crystals; the crystals then redirect the light at varying angles based on their alignment.
- The perceived color of light is dictated by the reflection angle, which is altered by applying a voltage to the liquid crystals, causing them to reorient.
- To enable the display of a full spectrum of colors, every pixel is composed of three independently controlled components: a red subpixel, a green subpixel, and a blue subpixel.
- Individual voltage levels control the brightness of each subpixel, allowing for the generation of millions of color variations through their combined effect.
Step 11
This component, the polarizing film, functions as a color filter, selectively allowing specific wavelengths of light to pass through and create the display's images.
Step 12

- The backlight design utilizes LEDs positioned along a single edge to illuminate the display; a diffuser, constructed from multiple layers of semi-transparent plastic sheeting, distributes the light emitted from these diodes uniformly across the screen's surface.
- Previously, the backlight assembly incorporated a layer of reflective mylar.
- The iPhone's mylar layer now performs a dual function: it blocks visibility of the 3D Touch sensors and continues to redirect diffused light away from the device's internal components.
Step 13


- Observe the eight remaining layers of the iPhone 6s display assembly, presented for inspection.
- The adhesive optical clear film (OCA) layer, which will appear heavily soiled and require removal, is not shown in the illustration.
Acknowledging the critical support provided, STS Parts and Israel generously supplied the necessary tools and specialized knowledge to facilitate this disassembly.