iPhone 16e Disassembly
The iPhone 16e joins Apple's iPhone 16 series, incorporating an increased capacity battery, an A18 processor, and additional enhancements while maintaining a budget-friendly cost.REWA Tech performed a detailed disassembly analysis to evaluate the device's value proposition.This examination was undertaken to ascertain whether the iPhone 16e's features and performance justify its price point.
Step 1 | Weighing the iPhone 16e
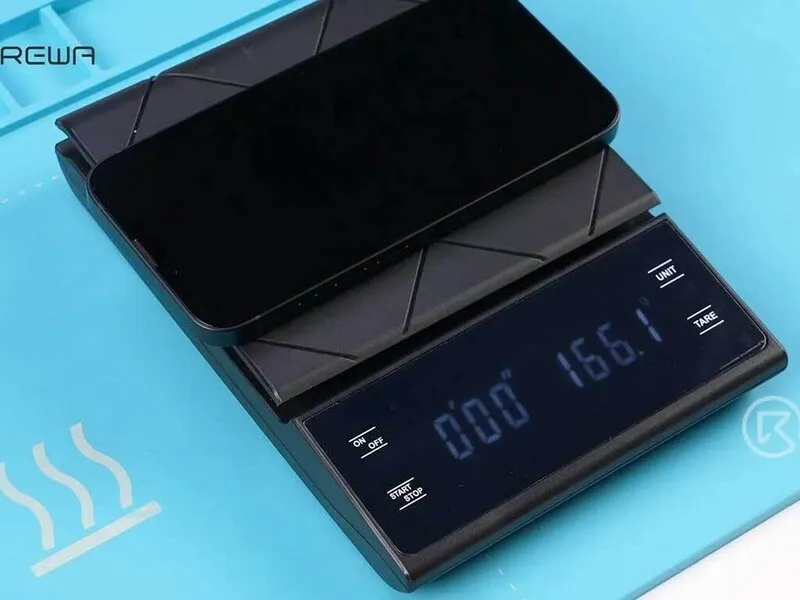
With a mass of 166.1 grams, the iPhone 16e exhibits a reduced weight profile when compared to other devices in the iPhone 16 series, aligning with the general weight range observed in contemporary smartphones.
Step 2 | Dissemble the Phone
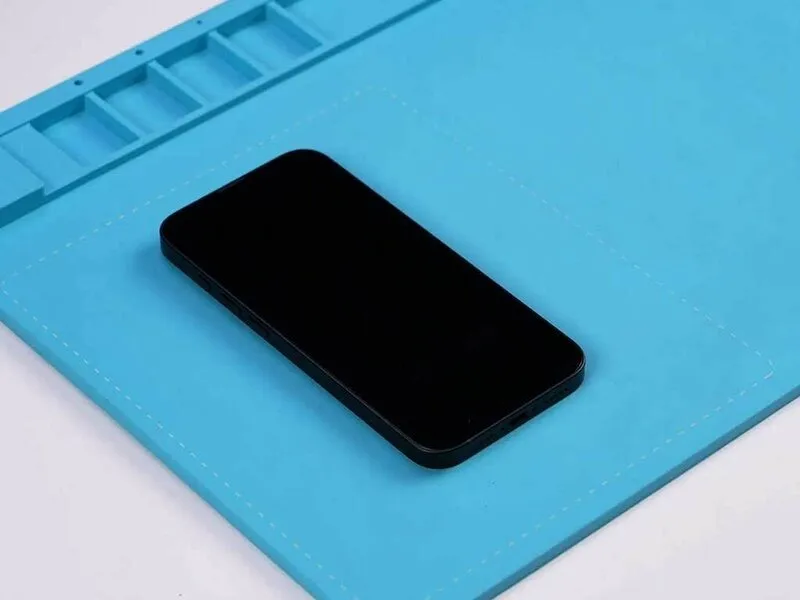
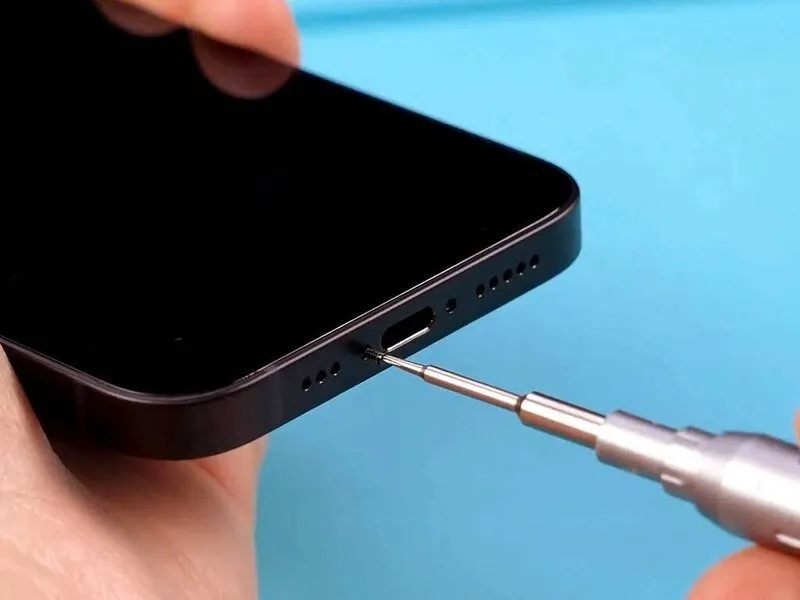
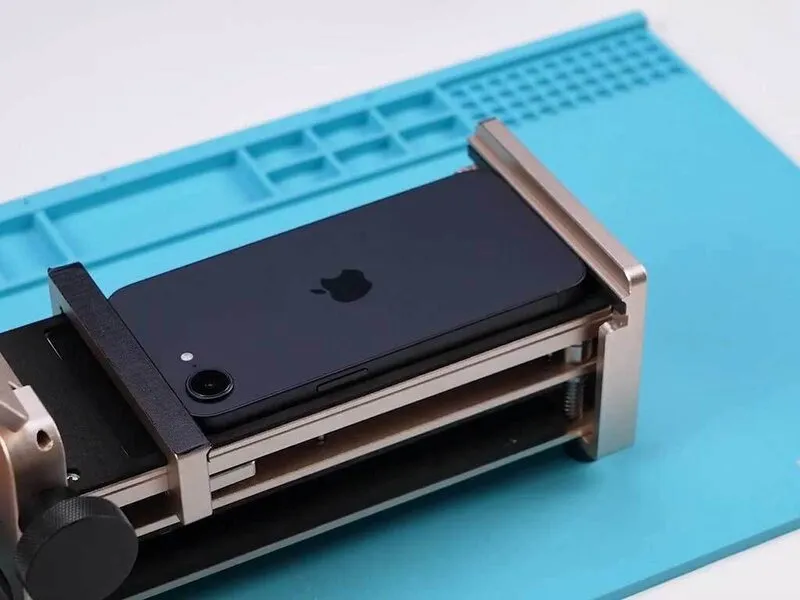
- Detach the two Pentalobe screws situated on the device's lower edge.Position the iPhone with its screen facing upwards on a heating pad to soften the adhesive securing the rear enclosure.Introduce a specialized phone opening tool to establish a separation between the rear cover and the internal frame.
- The Pentalobe screws, each with a 5-point star head, require careful removal to avoid damage.
- Applying gentle, consistent heat facilitates adhesive separation, minimizing the risk of scratching or cracking the back cover.
Step 3 | Opening the Back Cover
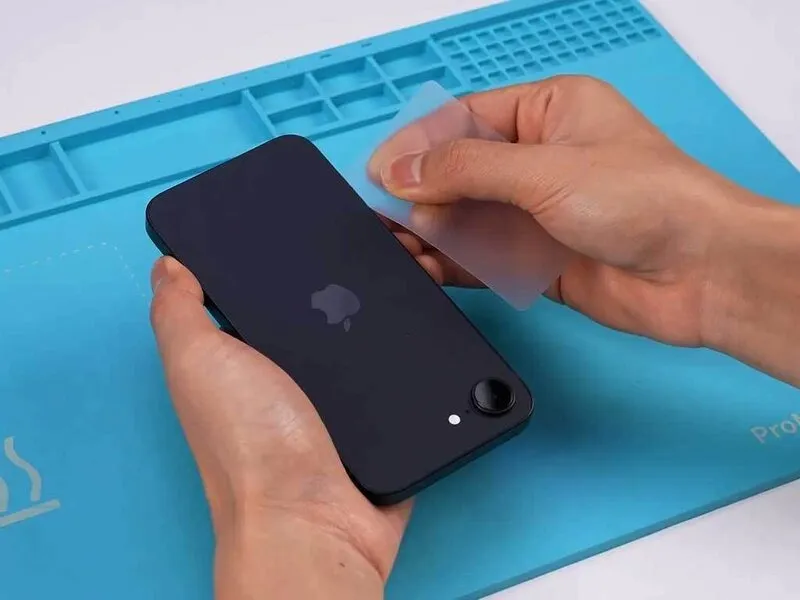
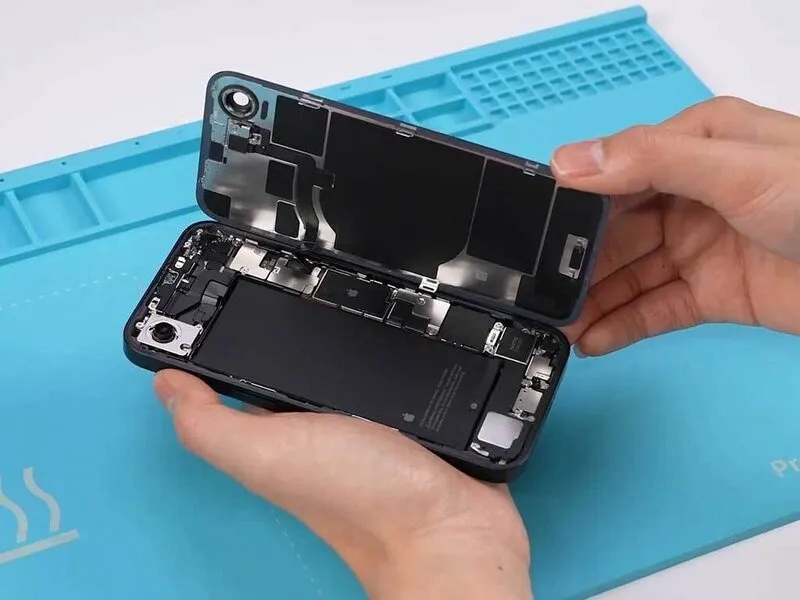
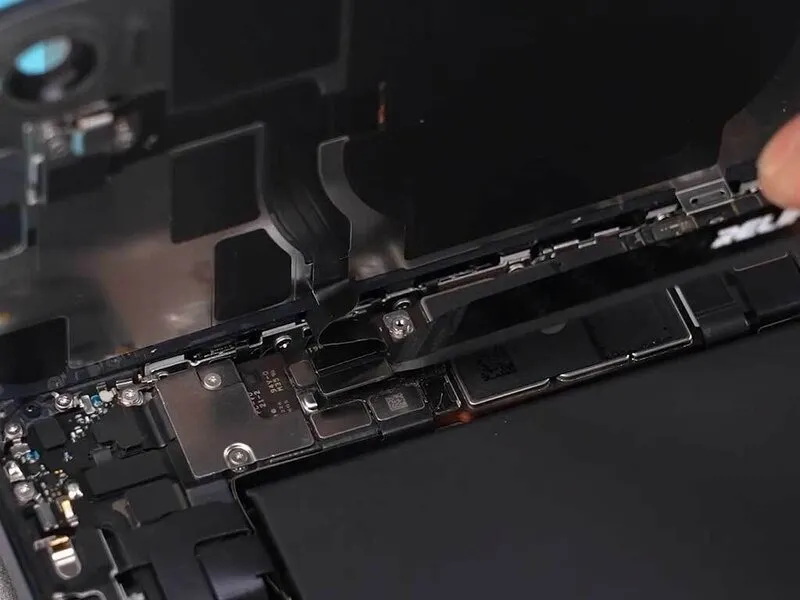
- Utilize a specialized opening tool to gently pry apart the device's enclosure, moving it along the seam.
- Access the internal components by raising the rear housing assembly.
- To facilitate access, detach the battery connector and the wireless charging coil connector before removing the rear cover.
- The internal architecture exhibits a strong similarity to the layout found within the iPhone 15.
Step 4 | Removing the Battery
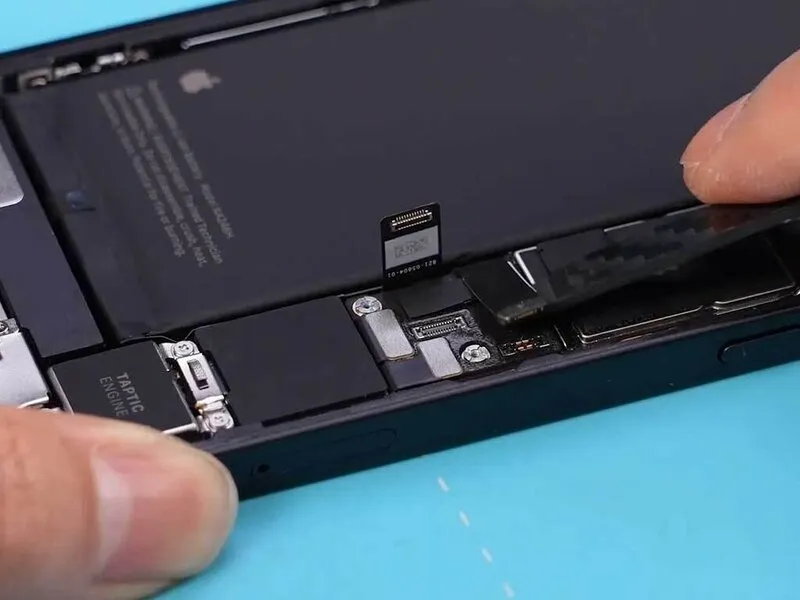
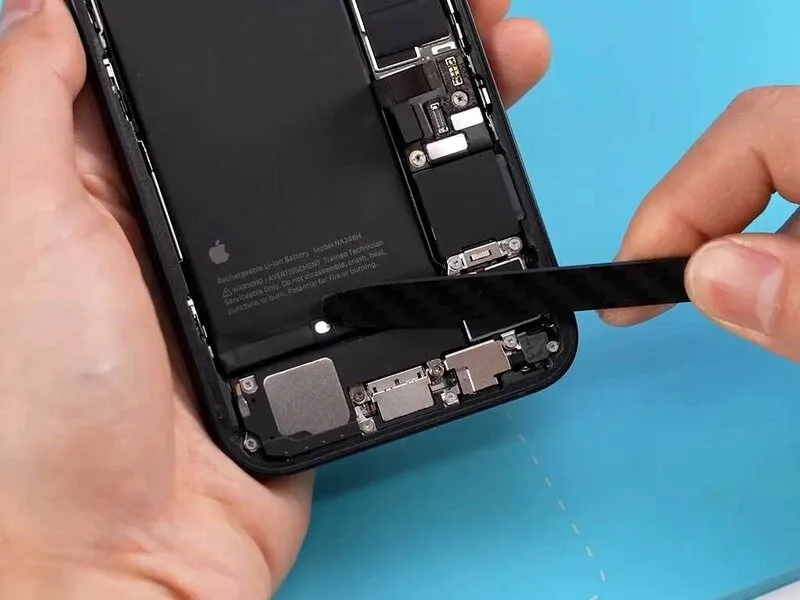
- Begin by detaching the cable connecting the SIM card holder's base.
- The battery is secured with a unique adhesive, which requires an electrical current to loosen its bond.
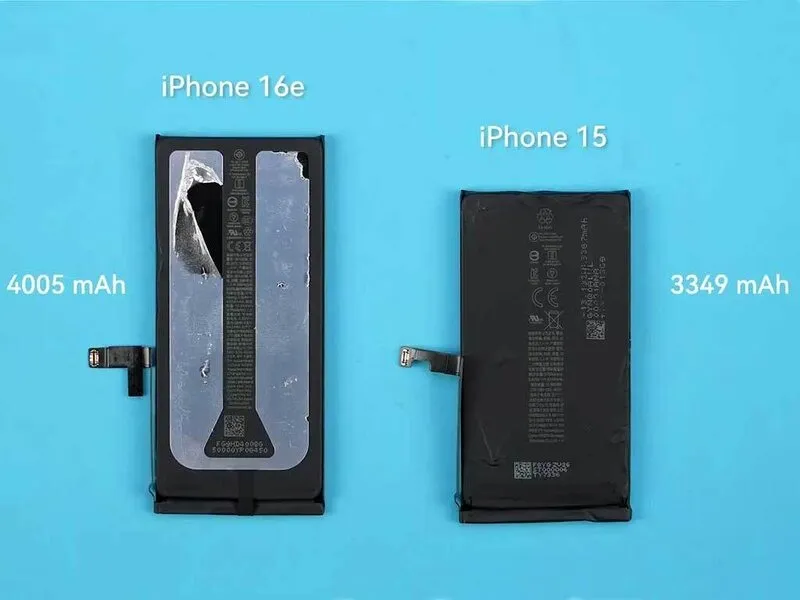
- Apple's design incorporates a revised internal layout, enabling a greater capacity battery facilitated by a reduced camera size.
- The iPhone 16e incorporates a 4005mAh battery offering a substantial increase in both capacity and performance compared to the iPhone 15.
Step 5 | Front Camera Removal
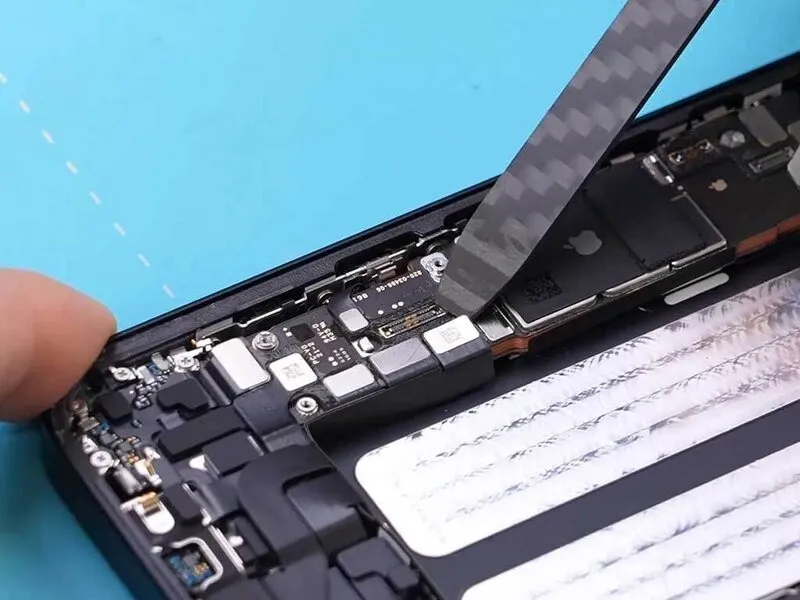
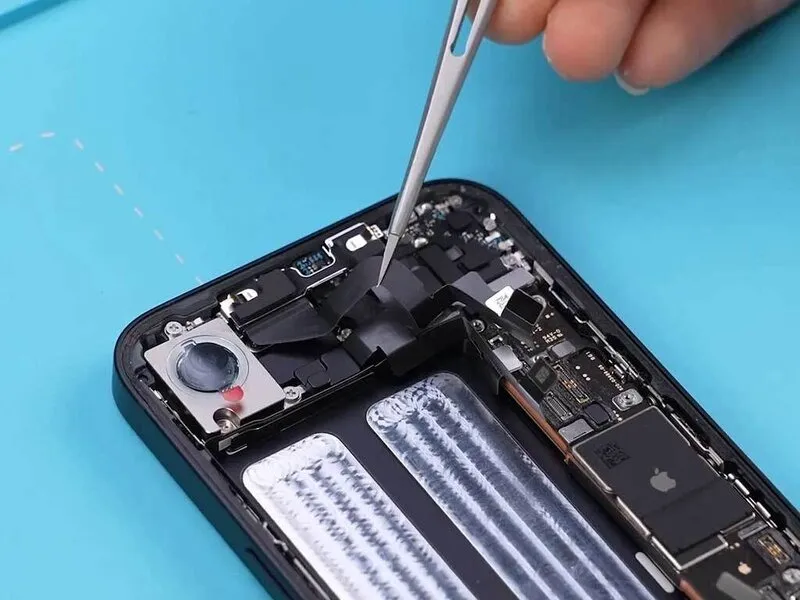
- To prevent damage, detach the flexible cable connector.
- Eject the Subscriber Identity Module (SIM) card from its housing.
- Carefully disassemble the front-facing camera component.
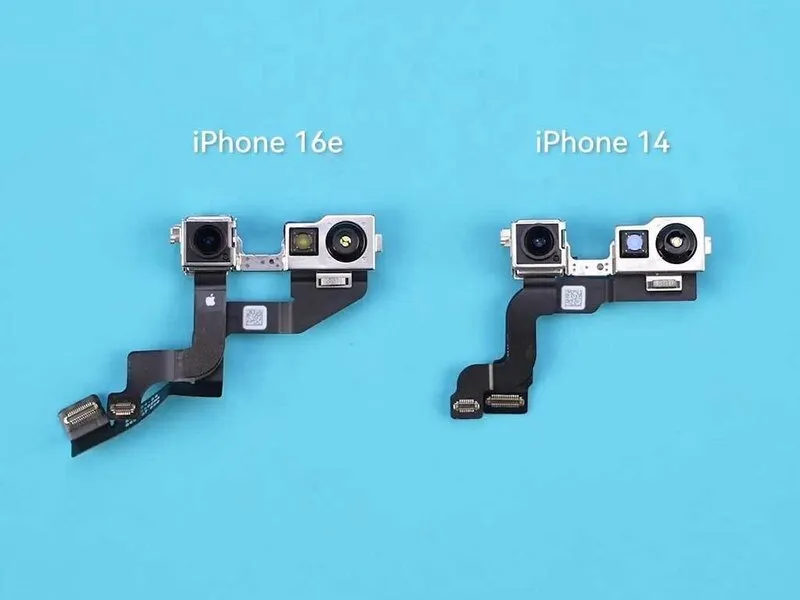
- The front camera module utilized in the iPhone 16e model is functionally equivalent to the one found in the iPhone 14.Notably, the iPhone 16e lacks the Dynamic Island feature present in other models.This similarity extends to the camera hardware itself.Ensure proper alignment during removal to avoid component stress.The physical dimensions and specifications of the camera remain consistent between these iPhone generations.
Step 6 | Rear Camera Removal
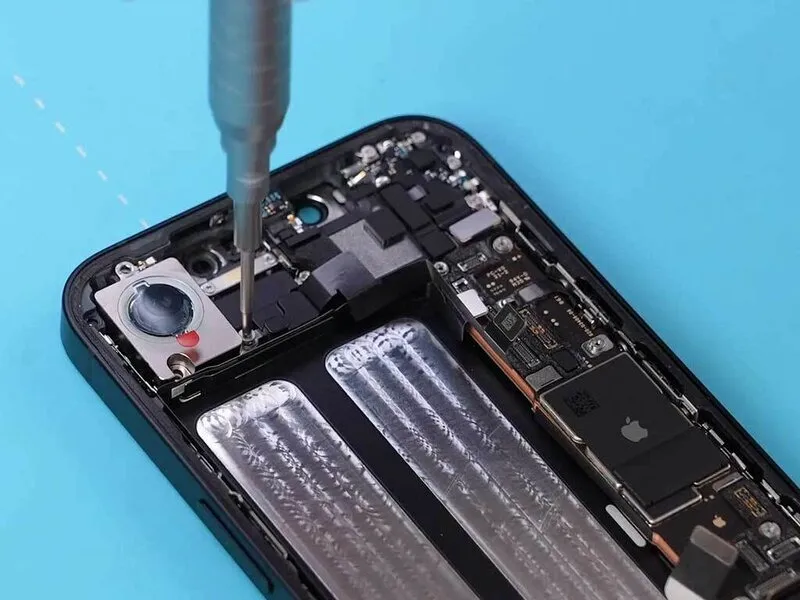
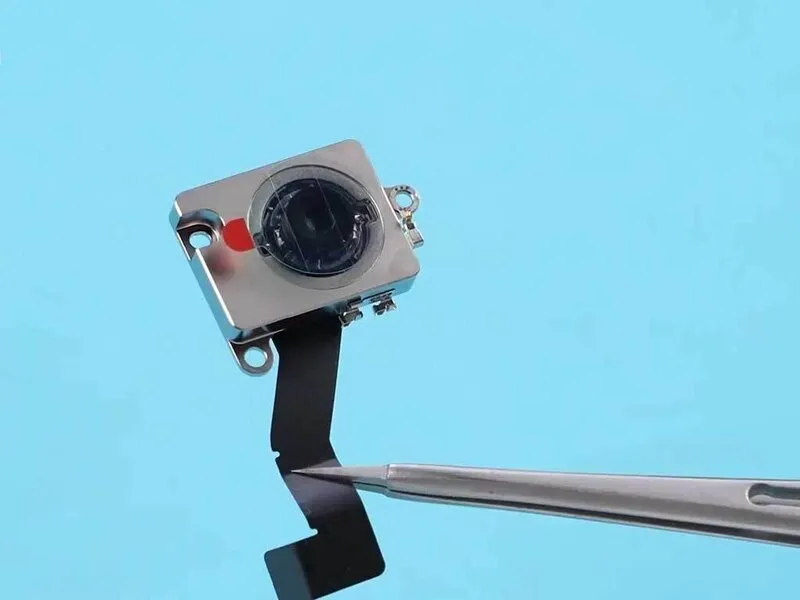
- To detach the rear camera module, first eliminate the screws that hold it in place.
- The iPhone 16e incorporates a 48-megapixel image sensor, complemented by a 2x telephoto lens.Notably absent from this model are a wide-angle camera and LiDAR technology.The absence of these components restricts capabilities such as capturing ultra-wide-angle images, utilizing cinematic mode, recording spatial video, and performing macro photography.
Carefully disengage the screws, ensuring you retain them for reassembly.
Step 7 | Disassembling the Motherboard
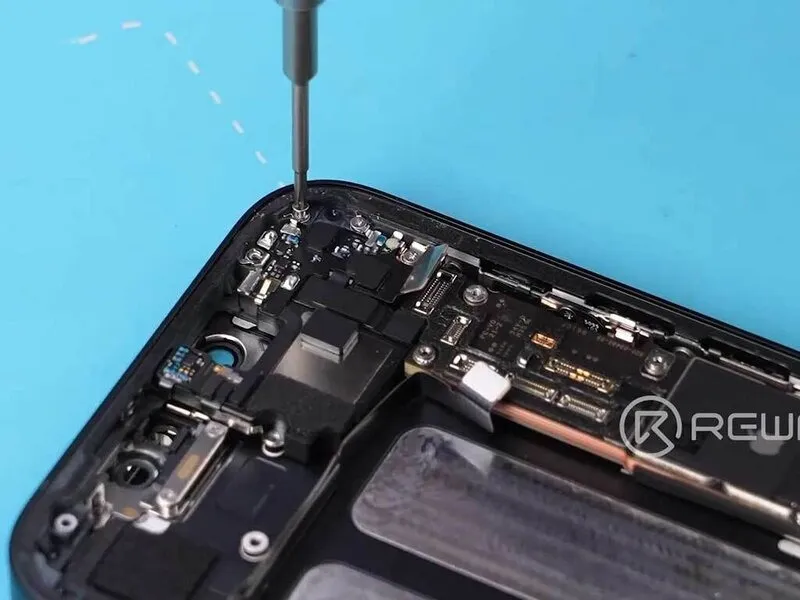
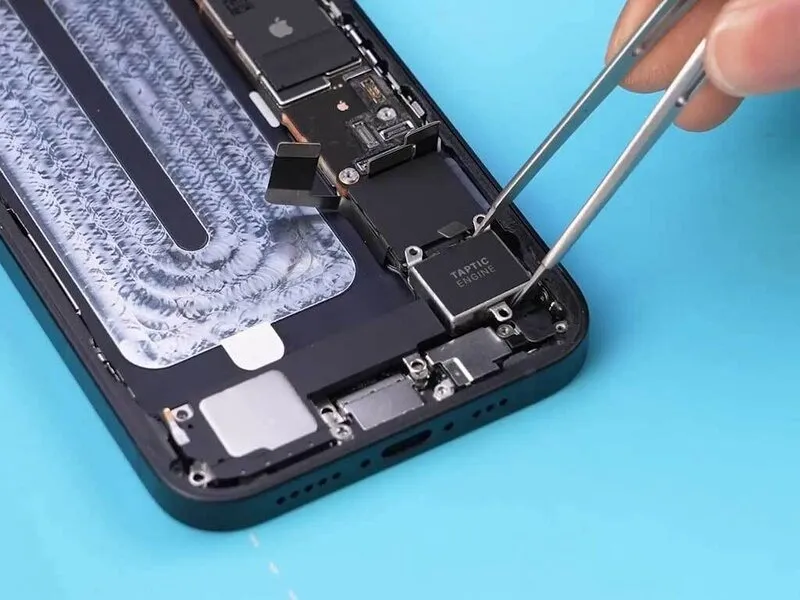
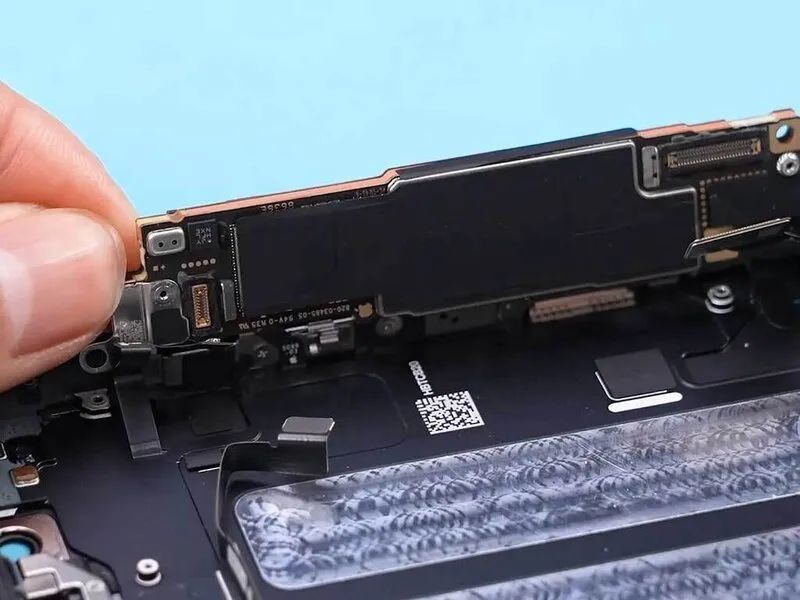
- Detach the securing screws, then extract the earpiece assembly.
- Carefully extract the taptic engine and speaker components.
- Loosen the motherboard's fasteners and carefully pivot the board away from the device.
- Verify that the display cable and proximity sensor cable are completely separated from their connectors within the iPhone 16e..Proceed with caution.
Step 8 | Removing the Screen
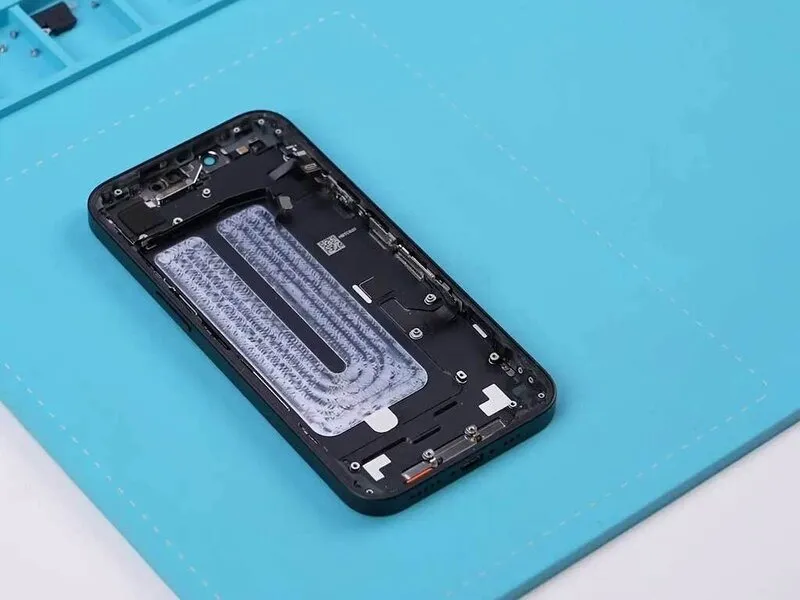
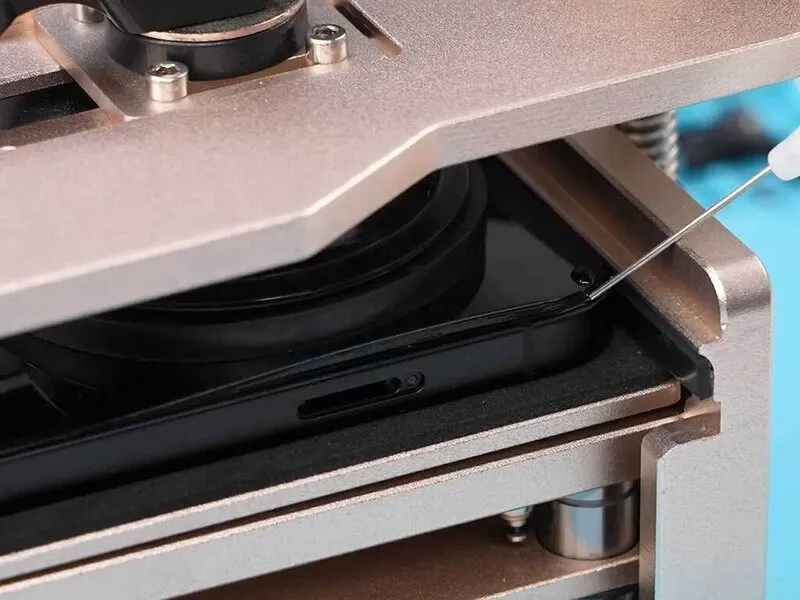
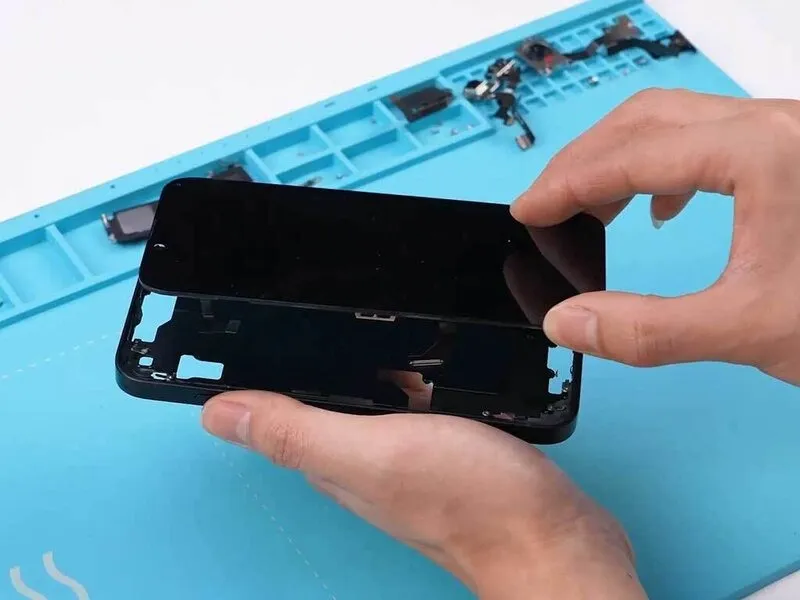
- Prior to screen detachment, disconnect the SIM card holder's foundation, antenna, and the flex cable that provides power to the charging port.
- Position the iPhone with its front surface resting on a heating pad to soften the adhesive.
- Establish an initial separation between the display assembly and the internal frame by utilizing a specialized opening tool or a suction device.
- After creating a small space, introduce a thin, flat tool and carefully move it along the perimeter to release the adhesive seal.
- The iPhone 16e incorporates a 6.1-inch OLED screen, which shares a connector design with the iPhone 14 demonstrating a shared component architecture.
Step 9 | Exploring the New C1 Chip
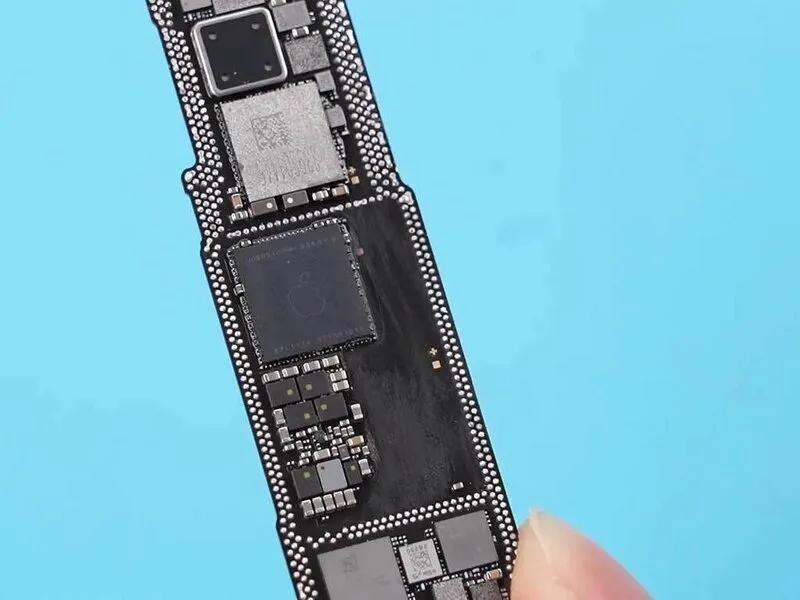
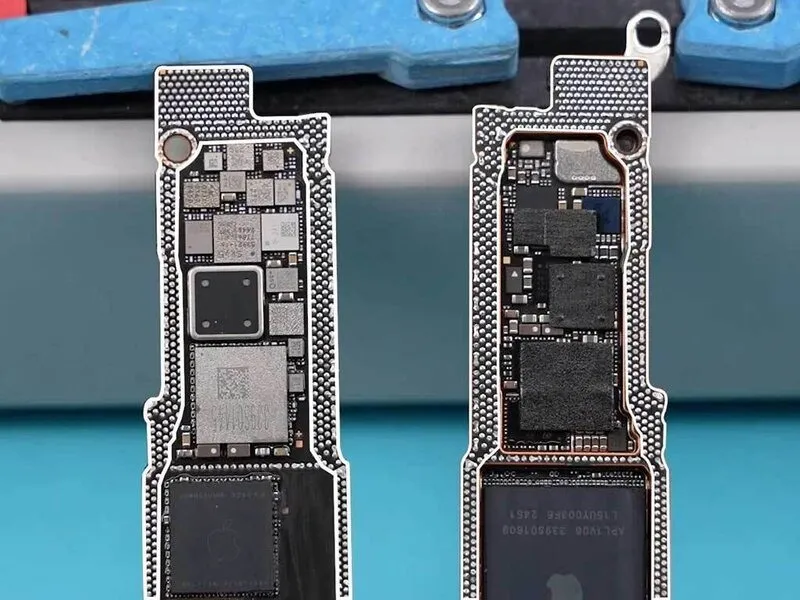
- Apply thermal energy to facilitate the detachment of the motherboard assembly.
- The intermediate layer exhibits larger solder joints and a more dispersed component layout, which eases the separation of layers.
- The A18 chipintroduces complexity to CPU repairs because of its greater depth within the device; the Apple C1 chip, Apple's initial internally designed cellular modem, incorporates a 4-nanometer baseband architecture alongside a 7-nanometer transceiver design, representing the most energy-efficient modem ever incorporated into an iPhone.