iPhone 12 Back Glass Replacement
Apple incorporated MagSafe technology into the iPhone 12 lineup, a widely recognized feature.During attempts to detach the rear glass covering, it was observed that the magnetic components are affixed with adhesive to the back glass.This adhesive attachment significantly complicates the refurbishment process for iPhone 12 devices.
Leveraging extensive practical experience and specialized tools, we successfully determined the appropriate method for repairing the iPhone 12 back glass.The following instructions detail a precise and accurate procedure for replacing the
iPhone 12 back glass.The process of discovering the correct repair technique presented considerable obstacles.An initial repair attempt nearly resulted in failure, highlighting the complexities involved.
Further details regarding the encountered challenges are presented below.
Step 1 | Laser Marking


- Employ the laser marking machine's focus positioning probe to precisely locate the iPhone 12's rear glass component.
- Engrave the rear glass surface using the laser marking machine, excluding the camera module and wireless charging coil zone, with the wireless charging area intentionally omitted to prevent potential harm.
Step 2 | Back Glass Separation


- The product line of tools for repairing rear glass now includes a novel addition: the Glass Breaking Pen.
- Utilize the Glass Breaking Pen to fracture the rear glass, subsequently employing a Pry Bar to extract the resulting fragments.The Glass Breaking Pen facilitates the controlled separation of the rear glass panel.Due to the adhesive securing magnets within the wireless charging zone, the iPhone 11 back glass repair procedure is incompatible with iPhone 12 models.
Adhering to previous repair techniques risks magnet detachment, complicating subsequent reassembly and increasing repair time.
Direct laser marking of the wireless charging area is discouraged to prevent potential damage to the component.
Step 3 | Back Glass Separation
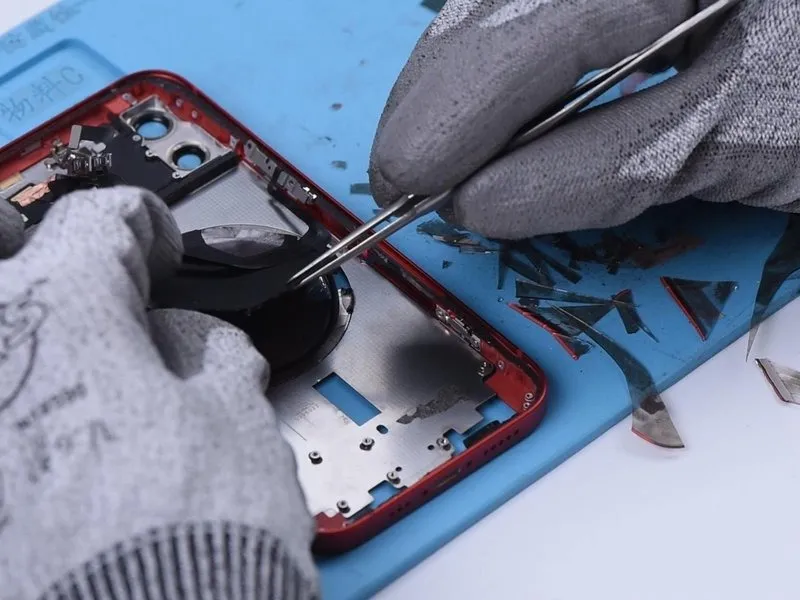


- Prior to marking the location, detach the wireless charging coil.
- Following the marking process, the magnet array and its associated shield are readily removable.
Step 4 | Back Glass Separation


Carefully detach the camera cover glass, exercising caution to avoid contact with the camera lens.
Following complete removal of the glass, re-mark the rear surface to facilitate the elimination of any remaining adhesive residue.
Step 5 | Back Glass Gluing


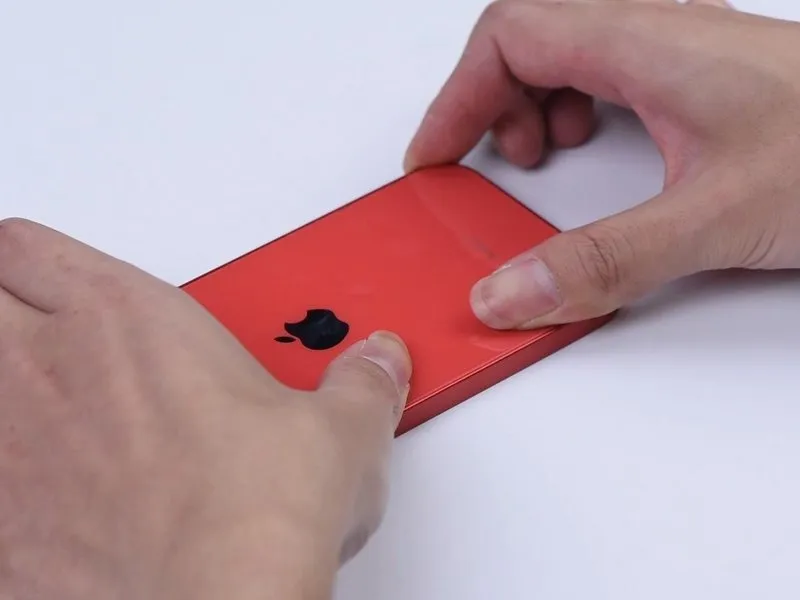
- Prior to proceeding, secure a replacement back glass, characterized by camera apertures of increased dimensions, to the central frame using a clamping mechanism to verify proper alignment and compatibility.
- Distribute an even layer of adhesive across the surface of the central frame, then carefully position the back glass and apply mild pressure to ensure consistent contact and adhesion.
Step 6 | Back Glass Gluing

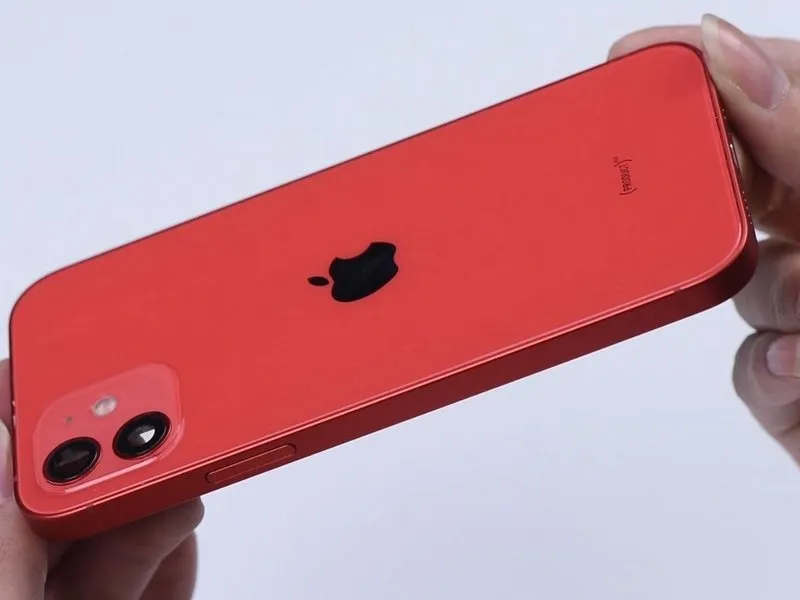
- Apply additional force to the rear glass, ensuring firm contact with the central chassis.Activate the clamping mechanism.Indicate completion of the adhesive curing process after a 10-minute duration.
Evaluate the separation of the rear cover, noting any excessive gaps, adhesive extrusion, or inconsistencies in the alignment.
Step 7 | Back Glass Gluing


- Once the adhesive securing the rear glass is fully cured, proceed with the installation of the magnetic array and its associated shielding.
- A quantity of B-7000 Adhesive should be applied to the magnet's circular surface to facilitate attachment of the magnetic array to the rear casing.
Carefully position the magnetic array's aperture to match the reference image provided, ensuring correct alignment.
- Reattach the severed magnet fragment and secure the alignment magnet with adhesive to restore functionality.
Finally, reassemble the device and verify proper operation of the MagSafe charging system, confirming its expected behavior.